


The Science of Stability: Why Weight Distribution Dictates Workflow
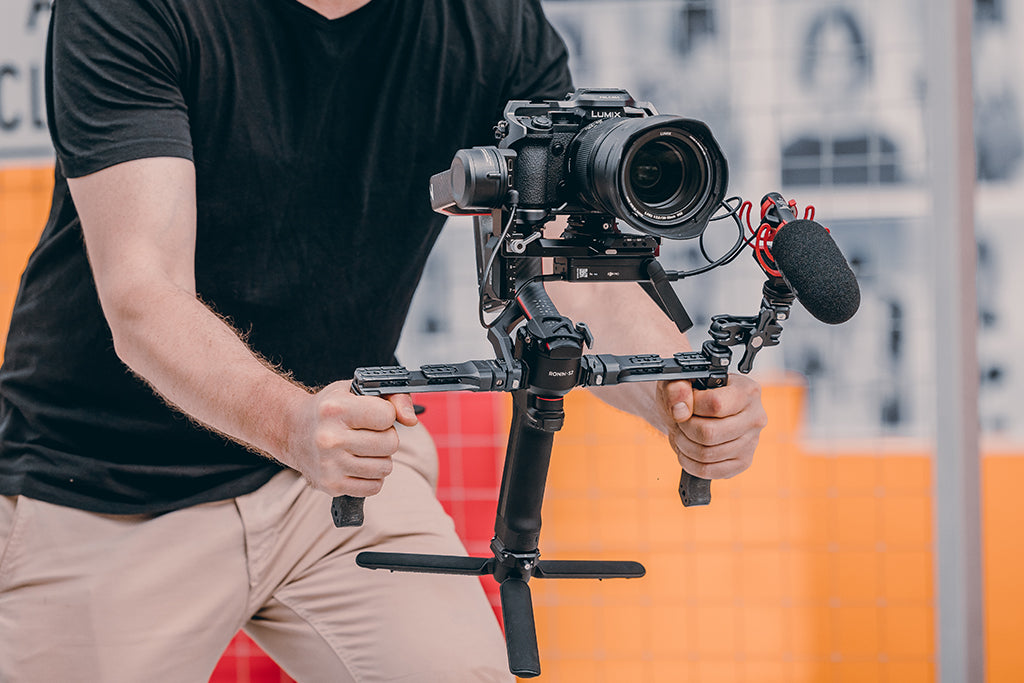
For the solo creator, transitioning from a single-light setup to a complex, multi-light handheld rig is a significant professional milestone. However, as we add lighting points, microphones, and monitors to our cages, we often encounter a silent enemy: rotational torque.
A rig that is poorly balanced doesn't just feel "heavy"—it can become a functional liability. Imbalance introduces micro-shakes that post-production stabilization may struggle to fix and causes localized muscle fatigue that can shorten shooting windows. We view rigging as "creator infrastructure." According to The 2026 Creator Infrastructure Report, building a trusted ecosystem around modular components is essential for long-term professional viability.
Quick Guide: Rigging Decision Card
| Metric | Optimization Goal | Practical Check |
|---|---|---|
| Torque ($\tau$) | Minimize by reducing Lever Arm ($L$) | Keep heavy items close to the grip |
| Lateral Balance | Neutralize "Roll" | Use the "Rule of Thirds" layout |
| Dynamic Bias | +50–100g forward (for walking) | Perform the "Forward-Bias" check |
| Safety | Secure all locking pins | The "Tug Test" |
Biomechanical Leverage: The "Hidden" Physics of Wrist Strain
When discussing rig weight, we often focus on total mass. However, leverage truly dictates how long you can operate comfortably. In physics, this is expressed as Torque ($\tau$).
The Torque Formula for Rigging
To estimate the strain on your wrist, we use the following calculation: $$\tau = m \times g \times L$$
- $m$: Mass of the component (kg)
- $g$: Acceleration due to gravity (approx. $9.8 m/s^2$)
- $L$: Lever Arm (the distance from the grip point to the component's center of mass in meters)
Logic Summary: This biomechanical model assumes a static hold where the wrist acts as the fulcrum. Based on common ergonomic observations, even a light accessory—if placed at the end of a long mounting arm—can generate more fatigue than a heavier item mounted close to the grip.
Consider a standard rig weighing 2.8kg. If the center of mass is shifted 0.35m away from the wrist's neutral axis, it generates approximately $9.61 N\cdot m$ of torque. Based on general anthropometric datasets for static holds, this load can represent an estimated 60-80% of the Maximum Voluntary Contraction (MVC) for an average adult. While individual strength varies, approaching these thresholds often leads to rapid muscle tremors. This is why we prioritize moving heavy accessories to compact mounts, such as the FALCAM F22 system (a modular solution we frequently utilize in professional builds). By reducing the "Lever Arm" ($L$), you exponentially reduce the physical effort required to keep the camera level.
The Rule of Thirds: Structuring the Modular Cage
Experienced riggers don't mount lights where it is "easiest" for cable management; they mount them where they balance the system. A common pattern we observe in handheld setups is placing all lights on one side to keep cables tidy, which creates significant lateral torque.
To solve this, we suggest a "Rule of Thirds" heuristic for cage layout:
- The Center Third: Visualize your cage divided into three sections. The primary and heaviest light (your "Key" light) should ideally be mounted centrally to ensure the bulk of the mass is aligned with the lens axis.
- The Outer Thirds: Secondary lights (Fill or Rim lights) should be placed in the outer thirds.
- Lateral Torque Cancellation: If you place a light on the far left, balance it with a component of similar mass (like a monitor or side handle) on the far right.
By distributing mass this way, you create a neutral center of gravity (CoG). This alignment is critical for maintaining the integrity of ISO 1222:2010 Photography — Tripod Connections, as off-center loads can put unnecessary stress on 1/4"-20 screw threads, potentially leading to material fatigue over time.
Counterweighting and Battery Placement
Batteries are often the "hidden" culprit of rig imbalance. Many high-output LED lights feature rear-mounted batteries, which shift the rig's CoG backward. When the camera is tilted down, this rear-heavy bias can cause the rig to "flip" away from the operator.
Strategic Battery Tactics
- Side-Mounting: Whenever possible, use lights with side-mounted battery plates to keep mass closer to the cage's center.
- External Power as a Counterweight: Instead of mounting a large V-mount battery directly to the camera, consider a smaller external battery pack mounted on the opposite side of your heaviest light.
- Vertical Rigging: For vertical content, torque challenges are amplified. Ensure your overhead supports can handle the off-center weight; professional overhead rigs often require payload capacities of up to 11kg (24 lbs) to safely counteract the leverage of a vertical light array.
Verification: The Wrist-Flick and Dynamic Balance Tests
How do you know if your distribution is truly neutral? We recommend two real-world checks:
1. The Wrist-Flick Test
Adapted from the Flick Maneuver Test used in clinical assessments, this version validates engineering balance:
- Hold the powered-off rig naturally with your primary grip.
- Give a sharp, small flick of the wrist (rotating the camera slightly up or down).
- The Result: If the rig continues to rotate or feels like it wants to "carry on" past your stop point, the CoG is too far from your hand. A balanced rig will stop almost instantly when you stop your wrist movement.
2. Dynamic Balance for Walking Shots
Static balance is for the tripod; dynamic balance is for the operator. In our experience, a rig that feels neutral while standing may wobble fore and aft during a stride. For a typical 3–5kg handheld setup, adding a slight forward weight bias (approx. 50–100 grams)—such as moving a monitor an inch forward on the top rail—often helps keep the lens more stable during tracking shots.
The Workflow ROI: Quantifying the Modular Advantage
Investing in a balanced, modular system like FALCAM is often a financial decision as much as an ergonomic one. The speed of a quick-release (QR) ecosystem directly impacts billable hours.
Illustrative ROI Model: Traditional vs. Quick-Release
Note: This model is an estimate based on common production patterns; actual savings depend on individual workflow speed and equipment complexity.
| Metric | Traditional Thread Mounting | FALCAM Quick-Release (F22/F38) |
|---|---|---|
| Time per Swap (Est.) | ~40 seconds | ~3 seconds |
| Swaps per Shoot | 60 | 60 |
| Time Saved per Shoot | 37 minutes | - |
| Annual Shoots (Pro) | 80 | 80 |
| Total Annual Time Saved | ~49 Hours | - |
ROI Analysis: If a professional's rate is $120/hr, saving 49 hours annually results in a potential value gain of over $5,880. This efficiency allows for more creative takes and faster teardowns, justifying the investment in precision-machined 6061 aluminum alloy components. (Note: This calculation assumes a baseline of 60 swaps per day, including lights, monitors, and handles).
Furthermore, streamlined plates (like the F38 or F50) help gear remain within "personal item" perception for travel, aiding in IATA Lithium Battery Guidance compliance by reducing the visible bulk of the rig during transit.
Safety Standards and Logistics
- Photobiological Safety: When mounting multiple high-intensity LEDs near the face, ensure they comply with IEC 62471:2006 to prevent eye strain.
- Color Consistency: Prioritize lights with high TLCI-2012 scores to reduce post-production correction time.
- Battery Integrity: Use batteries meeting IEC 62133-2:2017 requirements. A heavy battery failing mid-shoot is both a power and a structural risk.
Pre-Shoot Safety Checklist
- Audible: Listen for the "Click" when sliding a plate into its base. No click usually means the secondary lock isn't engaged.
- Tactile: Perform the "Tug Test." Pull firmly on every mounted accessory to ensure zero play.
- Visual: Check that safety indicators (often orange or silver) are in the "Locked" position.
A Note on Thermal Shock: In extreme cold, aluminum alloy plates can act as a thermal bridge. We recommend attaching QR plates to the camera indoors before heading out to minimize "metal-to-skin" shock and slow the rate of battery cooling.
Disclaimer: This article is for informational purposes. Rigging equipment involves inherent risks. Always consult manufacturer load ratings. If you have pre-existing wrist or back conditions, consult a medical professional before using heavy handheld rigs.


