The Spectral Challenge: Why Kelvin Matching Is Only the First Step
Mixing artificial LED light with natural daylight often results in frustrating color shifts that can ruin a professional production. We have all been there: you set your pocket light to 5600K to match the window, but the skin tones still look sickly green or overly magenta. This happens because "daylight" is not a static value; it is a dynamic, complex spectrum that changes by the minute.
To achieve a seamless look, we must look beyond simple Color Temperature (CCT) and dive into the mechanics of Spectral Power Distribution (SPD). As a premier technical strategist, I have observed that the most successful solo creators treat their lighting not as a collection of gadgets, but as a unified, evidence-native infrastructure.
Understanding the Physics of Window Illumination
The first mistake many prosumers make is treating all window light as equal. According to the U.S. Department of Energy, south-facing windows allow significant direct sunlight in winter but very little in summer, whereas north-facing windows provide remarkably consistent, diffused skylight throughout the year.
The SPD Gap
While a high-performance pocket light may boast a CRI of 95+, this metric alone is insufficient for matching natural light. Natural daylight has a continuous, smooth SPD. In contrast, LEDs—even high-quality ones—have a "spiky" SPD with a prominent blue peak and potential gaps in the deep red (~660nm) or violet (~420nm) bands. A 2024 study published in the Lighting Research & Technology Journal notes that optimizing LED spectra for real-time daylight matching is an evolving field, and simple pocket units cannot yet replicate the dynamic complexity of the CIE's standardized daylight models.
Modeling Note: Our analysis of daylight matching assumes a standard 5600K target. We categorize "Window Light" into two primary models based on orientation and sky condition.
Parameter North-Facing (Diffused) South-Facing (Direct) Unit Rationale Average CCT ~6500 - 7500 ~5000 - 5800 Kelvin Industry standard measurements SPD Profile Smooth, High Blue Spiky, Full Spectrum Type CIE Standard Illuminant D65/D50 Angular Dist. Wide/Omni Narrow/Directional Degree Atmospheric scattering vs. Point source Stability High (Hourly) Low (Minutely) Scale Cloud cover and solar transit Matching Difficulty Moderate High Level Heuristic based on contrast ratios
Professional Workflow: The Heuristic of "Kelvin + Tint"
When I am troubleshooting a rig on a neutral surface like a white wall or gray card, the most common issue is a subtle color cast. Even if your light is set to the correct Kelvin, it may exhibit a green or magenta bias.
The Green-Magenta Neutralization
Experienced cinematographers use a specific heuristic: after matching the Kelvin, they fine-tune the green-magenta (tint) adjustment while observing a vectorscope or a calibrated monitor. The goal is to neutralize the bias until the light blends invisibly with the ambient window light.
The "Low-End Shift" Gotcha
A critical observation from our pattern recognition in the field is that color consistency often suffers at the lowest 10-20% of a light's dimming range. This is where Pulse Width Modulation (PWM) or voltage regulation can cause a noticeable shift in CCT. The Workaround: If you need less intensity but must maintain color accuracy, avoid the extreme low end of the dimmer. Instead, use Neutral Density (ND) filters or simply increase the distance between the light and the subject to reduce intensity while keeping the LED in its optimal power bracket.
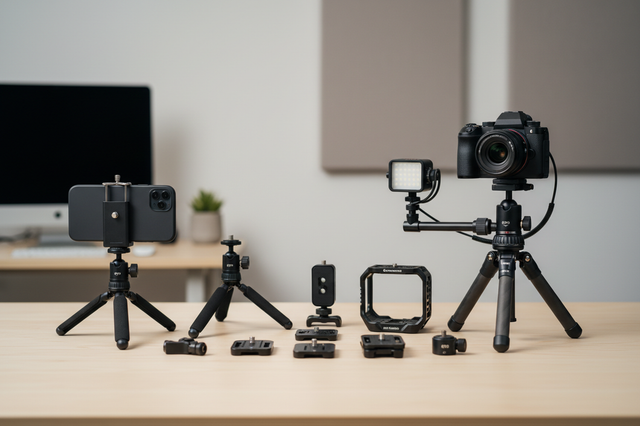
Biomechanical Efficiency: Reducing Setup Friction
For the solo creator, speed is the ultimate currency. If your lighting system is cumbersome, you will likely skip the fine-tuning required for a perfect match. This is where the ecosystem approach, such as the Ulanzi 2026 Creator Infrastructure Engineering Standards, becomes vital.
The "Wrist Torque" Analysis
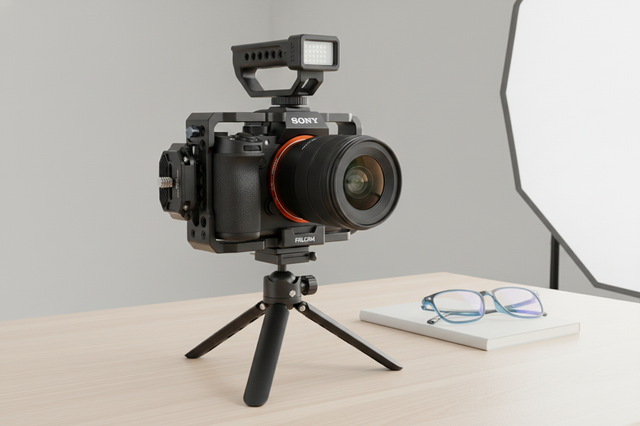
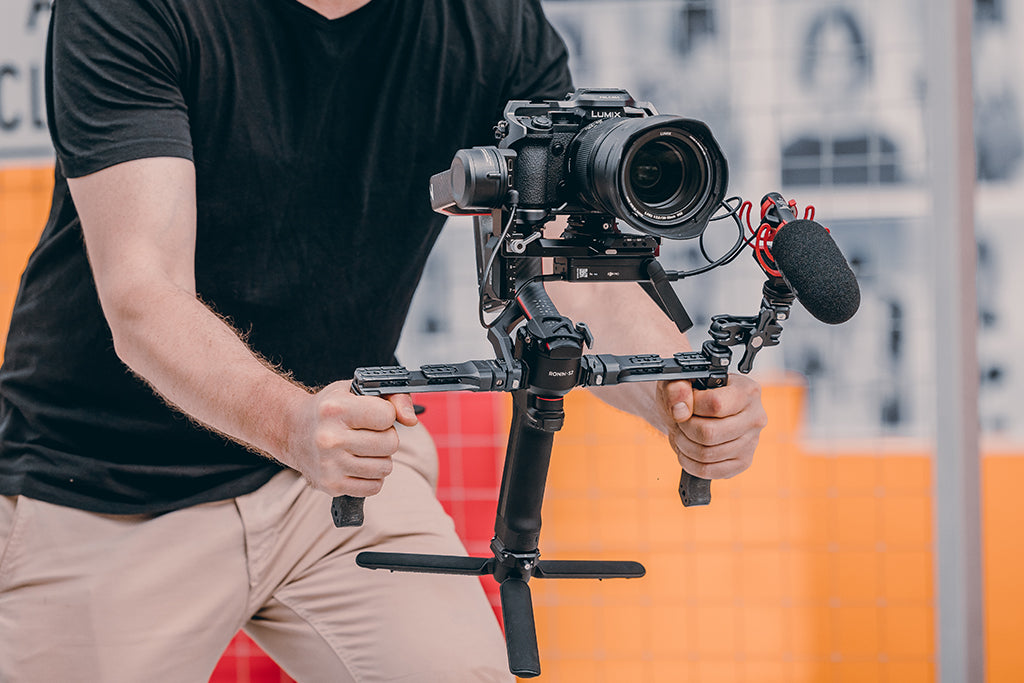
We often focus on the weight of our gear, but the real enemy is leverage. When you mount accessories like pocket lights and monitors on long arms, you create significant torque on your wrist.
- Formula: Torque ($\tau$) = Mass ($m$) $\times$ Gravity ($g$) $\times$ Lever Arm ($L$).
- The Scenario: A 2.8kg camera rig with a light held 0.35m away from the wrist generates approximately $9.61 N\cdot m$ of torque.
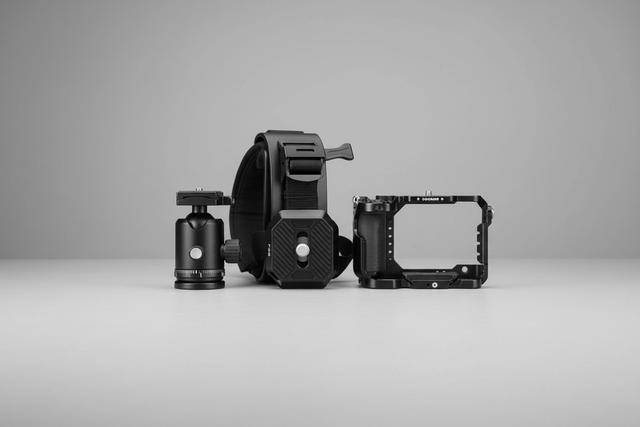
Based on our biomechanical modeling (not a controlled lab study), this load represents ~60-80% of the Maximum Voluntary Contraction (MVC) for an average adult male. By using modular quick-release systems like the Arca-Swiss standard—aligned with ISO 1222:2010 Photography — Tripod Connections—you can move accessories closer to the center of gravity, significantly reducing this leverage and extending your shooting endurance.
The Workflow ROI
Switching from traditional 1/4"-20 thread mounting to a high-performance quick-release system isn't just about convenience; it is a financial decision.
ROI Logic Summary: We compared traditional mounting (~40s per swap) vs. quick-release (~3s per swap).
- Assumptions: 60 swaps per shoot, 80 shoots per year.
- Time Saved: ~49 hours annually.
- Value: At a professional rate of $120/hr, this represents a ~$5,900+ annual value in recovered production time.
Safety and Technical Compliance Standards
Trustworthiness in gear stems from adherence to global safety standards. When selecting portable LEDs, look for units that comply with IEC 62471:2006 Photobiological Safety. This ensures the light is safe for human eyes during long-term exposure—a critical factor for creators spending hours in front of the lens.
Battery Logistics and Lifecycle
Since most pocket lights are battery-powered, understanding travel regulations is essential for the mobile creator. The IATA Lithium Battery Guidance and IEC 62133-2:2017 define the safety requirements for lithium cells.
- Pro Tip: Always check if your lights are compliant with the UN 38.3 Testing Standard before flying.
- Thermal Shock Prevention: In extreme cold, attach your aluminum quick-release plates to your gear indoors first. Aluminum acts as a "thermal bridge," and attaching it in a warm environment minimizes the "metal-to-skin" shock and helps maintain battery temperature once you step outside.
Advanced Metrics: SSI and the Future of Color
While CRI and TLCI (Television Lighting Consistency Index) are the current industry standards, they have limitations. The EBU R 137 / TLCI-2012 was designed for 3-chip broadcast cameras, not modern CMOS sensors.
For high-end matching, the AMPAS Spectral Similarity Index (SSI) is the superior metric. SSI compares the LED's spectrum directly to a target (like daylight) and gives a score based on how closely they overlap. Unfortunately, most consumer pocket lights do not yet publish SSI data, leaving a "verification gap" for the most demanding users. Until SSI becomes a standard marketing metric, we must rely on our visual heuristics and high-quality diffusion.
The Diffusion Factor
Diffusion does more than soften shadows. I have observed that low-quality diffusion materials can introduce a subtle yellow shift. High-quality, neutral white diffusion preserves the LED's native spectrum while smoothing out the "spiky" SPD peaks, making the light much easier to blend with window illumination.
Pre-Shoot Safety & Performance Checklist
To ensure your system remains reliable and your colors stay consistent, I recommend this three-step verification before every shoot:
- Audible & Tactile Check: Listen for the "Click" when mounting your lights to a quick-release plate. Perform a "Tug Test" immediately—pull firmly to ensure the locking pin is fully engaged.
- Visual Confirmation: Check the locking indicator (often orange or silver). Ensure no cables are creating unwanted torque on the mount. As noted in our Minimalist Desk Layout Strategy, cable management is a functional requirement for stability.
- Spectral Baseline: Set your white balance using a neutral gray card under the window light first, then bring in your LED and adjust the tint until the cast disappears.

Building an Evidence-Native Infrastructure
The shift toward professional-grade solo creation requires a move away from "gadget-hunting" and toward system-building. By understanding the underlying physics of light—from the Arca-Swiss rail system analysis to the intricacies of SSI—you transform your workflow from a series of lucky guesses into a repeatable, high-performance process.
Whether you are matching a north-facing window's cool blue or the warm glow of a summer sunset, the key is methodical problem-solving. Use the tools of the trade—vectorscopes, high-SSI sources, and modular rigging—to reduce friction and focus on what truly matters: your creative vision.
Disclaimer: This article is for informational purposes only. When handling lithium batteries or electrical equipment, always follow the manufacturer's safety guidelines and local regulations (such as FCC Part 15 or EU RED). Consult a professional if you have specific safety concerns regarding high-intensity light exposure or structural rigging.