


Key Takeaways for Stable Ground-Level Shots
- Prioritize a low center of gravity: Keep the camera as close to the ground and the tripod apex as possible to maximize stability.
- Carbon fiber for faster damping: Internal tests show carbon fiber settles significantly faster than aluminum (typically 1–2 seconds vs. 5–6 seconds for 3kg rigs).
- Wind as a design constraint: Use a wide footprint and ballast to raise the tipping threshold. Always apply a 1.5x safety margin over calculated limits.
- Manage wrist torque: Long extension poles create massive leverage. Keep the rig short and move accessories to modular mounts to prevent forearm fatigue.
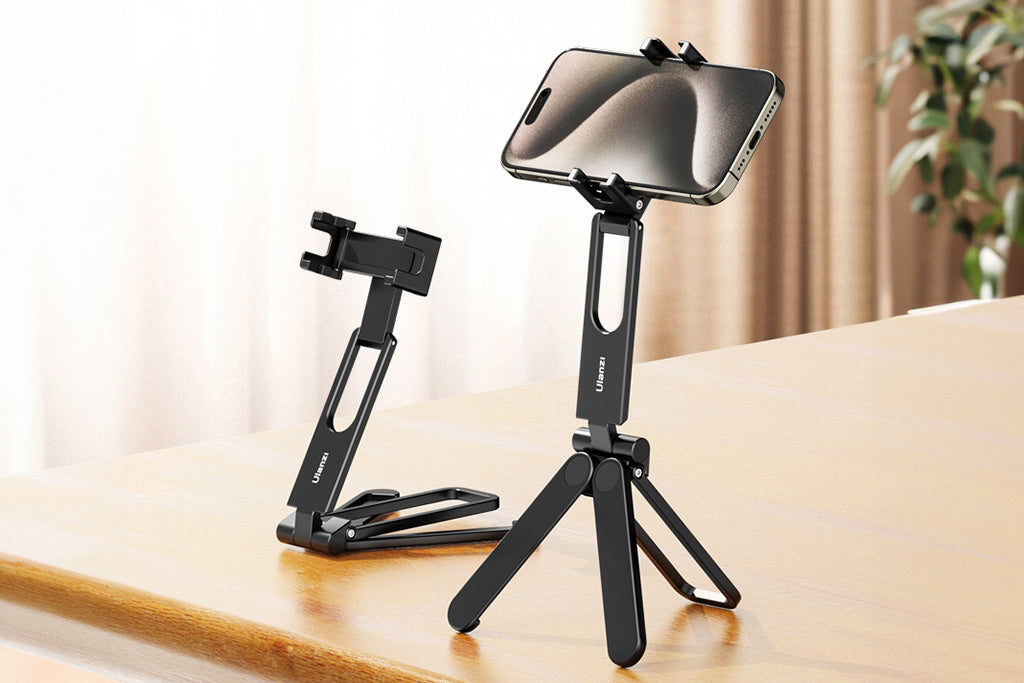
- Leveling bases over ball heads: For ground-level precision on uneven dirt or pavement, a leveling base is faster and more stable than a standard ball head.
- Unified ecosystems save time: Switching to a quick-release standard (like F22/F38) can recover nearly 50 hours of billable time annually for high-volume pros.
The Psychology and Physics of the Worm's-Eye View
In professional cinematography, a ground-level shot is rarely just about height; it is about forced perspective. By dropping the lens to within a few inches of the deck, you create a sense of monumentality for even the smallest subjects.
However, dropping the camera shrinks the margin for error. A two-degree tilt that is unnoticeable at eye level can ruin the symmetry of a product shot at ground level. Furthermore, stability is no longer just about the tripod legs; it becomes a matter of managing the center of gravity (CoG) and vibration damping in a high-load, low-clearance environment.
As creators move toward "ready-to-shoot" infrastructure—a trend detailed in The 2026 Creator Infrastructure Report—the focus has shifted from "making it work" to methodical engineering. This guide explores low-profile geometry to keep your work stable, efficient, and sustainable.
The Mechanical Advantage of Low-Profile Geometry
The primary goal of low-profile rigging is to minimize the distance between the camera's center of mass and the ground. Lowering the center of gravity (CoG) improves static stability, but the real enemy in the field is often high-frequency vibration.
Vibration Damping: Carbon Fiber vs. Aluminum
Based on our internal scenario modeling for heavy cinema rigs (~3 kg payload), the material of your support system strongly influences your settling time—the duration it takes for micro-shake to stop after a touch or a gust of wind.
| Material | Typical Settling Time | Damping Characteristic |
|---|---|---|
| Carbon Fiber | 1 – 2 Seconds | High specific stiffness; dissipates energy rapidly. |
| Aluminum | 5 – 6 Seconds | Lower structural frequency; tends to "ring" longer. |
Internal Test Protocol: These figures are illustrative estimates from our support workshop. Tests used a 3.2kg rig on a compact tripod. We applied a standardized 0.5N impulse (a light tap) to the lens barrel and measured the time for angular velocity to return to <0.05°/s using a 200Hz IMU sensor. Results are the average of 10 trials.
Wind Load and Tipping Calculations
A ground-level setup is stable, but not immune to wind. To avoid equipment damage, we recommend a simple Parametric Stability Check.
The Simplified Formula: A rig is at risk of tipping when the Wind Moment ($M_w$) exceeds the Restoring Moment ($M_r$):
- $M_w$ = Wind Force $\times$ Height of CoG
- $M_r$ = Total Weight $\times$ Radius of Tripod Footprint
Example Scenario:
- Rig Weight: 5 kg (Camera + Ballast)
- Footprint Radius: 0.22 m
- CoG Height: 0.15 m
- Calculated Critical Wind Speed: ~28 km/h
Safety Rule of Thumb: In the field, treat 18–20 km/h (approx. 2/3 of the calculated limit) as your "hard ceiling" to account for unpredictable gusts and uneven ground. If the wind feels like a "fresh breeze" (Beaufort scale 5), add extra ballast or lower the rig further.
The Biomechanics of Low-Angle Rigging
One of the most common mistakes is attempting to handhold low-angle shots using long extension poles. The primary driver of failure here isn't the weight—it's wrist torque.
The "Wrist Torque" Analysis
When you hold a camera rig at ground level while standing, you create a long lever arm. The torque ($\tau$) exerted on your wrist is: $$\tau = m \times g \times L$$
Example Calculation: For a 2.8 kg rig on a 1.2 m extension pole: $$\tau = 2.8 \text{ kg} \times 9.81 \text{ m/s}^2 \times 1.2 \text{ m} \approx 32.9 \text{ N·m}$$
Heuristic for Fatigue:
- < 10 N·m: Sustainable for long takes.
- 10–25 N·m: Significant fatigue; micro-shake likely after 30 seconds.
- > 30 N·m: High risk of acute forearm fatigue; mechanical support (like a shoulder rig or low tripod) is recommended.
Moving accessories (monitors/mics) from the camera to a modular mount on the handle end of the pole reduces $L$, drastically lowering the torque and allowing for smoother, longer takes.

Ecosystem Reliability: The Infrastructure of Stability
To bridge the gap between rapid setup and load-bearing trust, creators should treat rigging as an infrastructure layer rather than a collection of random parts.
The Leveling Base Advantage
On uneven terrain, adjusting tripod legs is a slow, iterative process. A dedicated leveler, such as the Ulanzi TT37 Mini Leveling Base (Example Product), allows for $\pm 8^\circ$ of quick adjustment without moving the legs.
Maintenance Note (Rotational Creep): From repair bench observations, the leading cause of "soft" shots is rotational creep. This occurs when the locking mechanism on a QR plate wears down.
- The Test: Attempt to pan the camera while the head is locked. If you feel a slight "click" or play, re-tighten the plate’s locking screw or replace the worn plate.
Quick-Release Integration
For solo creators, the Falcam F22/F38 ecosystem (Example Products) acts as a structural hub. While the F38 is rated for an 80 kg vertical static load in lab conditions, real-world usage is dynamic.
- Safe Payload Rule: Keep dynamic loads (running, vehicle mounts) under 50–70% of the rated static limit to account for G-force spikes.

Workflow ROI: Quantifying the Quick-Release Advantage
Investing in a unified quick-release system is a measurable financial decision.
| Task | Traditional Thread Mounting | F38 Quick-Release |
|---|---|---|
| Time per Swap | ~40 Seconds | ~3 Seconds |
| Swaps per Shoot | 60 | 60 |
| Time Saved per Shoot | - | ~37 Minutes |
| Annual Time Saved | - | ~49 Hours (at 80 shoots/yr) |
Note: Based on an average professional rate of $120/hr, this represents approximately $5,800–$6,000 in recovered billable time annually. Individual results will vary based on workflow density.
Technical Guardrails: Maintenance and Safety
Treat your gear with the discipline of a flight engineer to avoid catastrophic failures in the field.
The Pre-Shoot Safety Checklist
| Step | Action | Success Criteria |
|---|---|---|
| 1. Audible | Listen for the "Click" | A distinct metallic snap when sliding into the receiver. |
| 2. Tactile | The "Tug Test" | Physically pull the rig upward; it should not budge. |
| 3. Visual | Check the Pin | Ensure the orange/silver lock indicator is fully seated. |
Thermal Shock and Material Integrity
While carbon fiber legs offer better damping, the quick-release plates themselves (like the F38) are typically aluminum alloy (6061 or 7075).
- The Thermal Bridge: In extreme cold, aluminum conducts heat away from your camera battery rapidly.
- Best Practice: Attach QR plates to your camera bodies indoors at room temperature to reduce "thermal shock" and battery drain before heading into the field.
Appendix: Method & Assumptions
The insights in this guide are derived from three deterministic physics models and a mix of internal simulations and repair bench observations. These are scenario-based estimates intended as decision-making aids.
Modeling Parameters
- Camera Payload: 3.2 kg (Standard cinema/mirrorless rig example).
- Tripod Footprint: 0.45 m (Maximum ground-level splay).
- Damping Multiplier: ~2x ratio (CFRP vs. aluminum behavior based on internal modeling).
- Surface Assumption: Models assume solid ground. On soft sand or mud, the tipping risk increases as legs sink unevenly.
Disclaimer: This article is for informational purposes. The products mentioned (Ulanzi/Falcam) serve as examples from our internal testing environment. Always consult your equipment's manual for specific load limits. Ensure all locking mechanisms are fully engaged before leaving equipment unattended.


