The Physics of Trust: Stability in Low-Profile Rigging
Every seasoned solo creator knows the heart-stopping sensation of a slow-motion tip-over. You are working at a low angle, perhaps capturing a ground-level tracking shot or a macro detail of a product. You nudge a heavy cinema rig just slightly to adjust a monitor, and the entire system begins to pivot. In that fraction of a second, the value of your gear—thousands of dollars in glass and sensors—is at the mercy of gravity.
At our repair bench, we frequently see the aftermath of these "minor" accidents. The most common culprit isn't a lack of weight; it is a fundamental misunderstanding of the Center of Gravity (CoG) and its relationship to the mounting interface. For prosumer builders, speed and modularity are essential, but they must be built upon a foundation of structural integrity. This guide moves beyond generic advice to provide a methodical, system-focused framework for assessing and mastering CoG in low-profile camera rigs.
The 2:1 Heuristic: Why Width Isn't Everything
A common mistake is assuming a wider base alone guarantees stability. While a broad footprint is helpful, the height of the heaviest component—typically the camera body or a fast cine lens—above that base is the more critical factor. Through our analysis of complex rigging patterns, we have identified a practical rule of thumb for ground-level work.
The 2:1 Stability Ratio: If the rig's total height-to-minimum-base-width ratio exceeds 2:1, the system becomes highly susceptible to tipping from minor nudges or cable pulls.
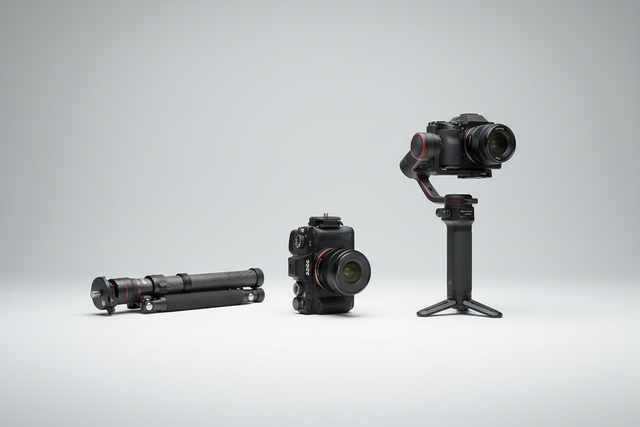
For example, if you are using a compact base with a width of 100mm, your rig's center of mass should ideally stay below 200mm. As you add top-heavy accessories like the Ulanzi Falcam F22 Quick Release Portable Top Handle F22A3A12, you are effectively raising that CoG. The F22 handle is crafted from lightweight Micarta and aluminum to minimize this weight addition, but every millimeter counts.
Logic Summary: This 2:1 heuristic is a modeling-based safety threshold derived from typical set conditions (uneven ground, cable tension). It assumes a static load on a level surface; for dynamic movements, a 1.5:1 ratio is safer.
Quantifying Stability: The "Pencil Method"
Expertise is built on measurable data, not guesswork. While cinema-tier rigs often use dedicated balancing plates, solo creators need a tool-free protocol to find their longitudinal CoG. We recommend the "Pencil Method" (often used in telescope mounting and high-precision balancing).
- Fully Rig Your Camera: Attach all accessories—mics, monitors, and batteries.
- The Pivot Test: Place a round object, like a pencil or a small rod, on a flat surface.
- Find the Balance Point: Gently rest your rigged camera (without the tripod) on the pencil, moving it back and forth until it balances perfectly.
- Mark the CoG: The point where the rig balances on the pencil is your exact longitudinal Center of Gravity.
Once identified, this point must be centered directly over your tripod head's vertical axis. If your CoG is 20mm forward of the mount, you are creating a "moment arm" that puts constant stress on your quick-release locking mechanism.
Interface Integrity: Eliminating Rotational Play
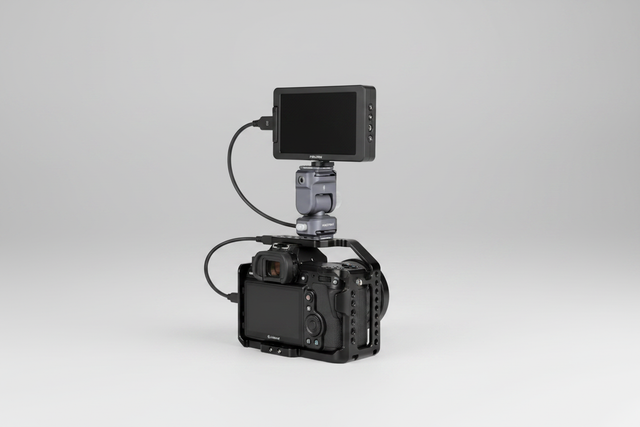
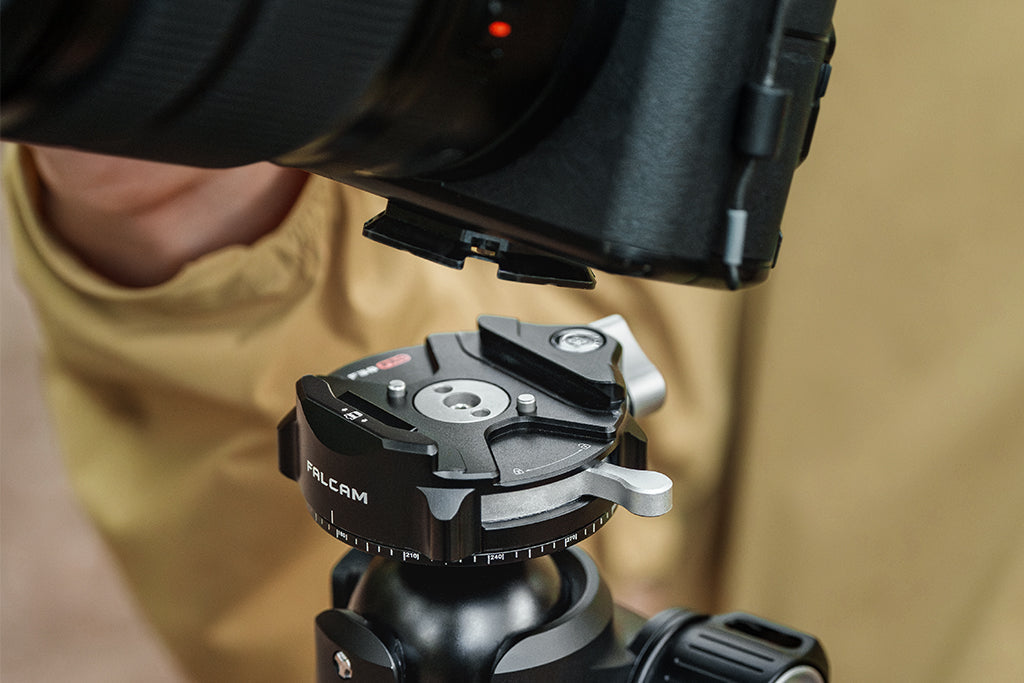
The security of the primary mounting interface—the connection between the quick-release plate and the camera base—is paramount. A plate that exhibits even slight rotational play under load effectively raises the system's center of gravity. How? Because the camera can pivot off-axis, its mass shifts dynamically, creating a "pendulum effect" that a static base cannot counter.
This is why we emphasize the Ulanzi Falcam F38 Quick Release for Camera Shoulder Strap Mount Kit V2 3142. Unlike generic plates, the F38 system is designed with precision-machined aluminum (6061/7075) to meet the Arca-Swiss Dovetail Technical Dimensions. This ensures a zero-play fit.
The Wiggle Test: Seasoned operators always perform a "wiggle test" after locking down. Apply gentle lateral pressure to the camera body. If you feel even a microscopic "thunk" or shift, the interface is compromised. This play often stems from the 1/4"-20 screw not being seated correctly or the lack of an anti-skid gasket—both of which are addressed in the F38 V2's integrated design.
Biomechanical Impact: The Wrist Torque Analysis
Stability isn't just about the rig staying upright on the ground; it's about the strain it places on the operator. When you transition from a low-profile ground mount to handheld work, the CoG dictates your physical longevity.
Weight isn't the only enemy; leverage is. We can calculate the physical impact of a poorly balanced rig using the torque formula:
Torque ($\tau$) = Mass ($m$) × Gravity ($g$) × Lever Arm ($L$)
Consider a typical scenario:
- Rig Mass: 2.8kg
- Lever Arm (distance from wrist to CoG): 0.35m
- Calculation: $2.8 \times 9.8 \times 0.35 \approx 9.61 N\cdot m$
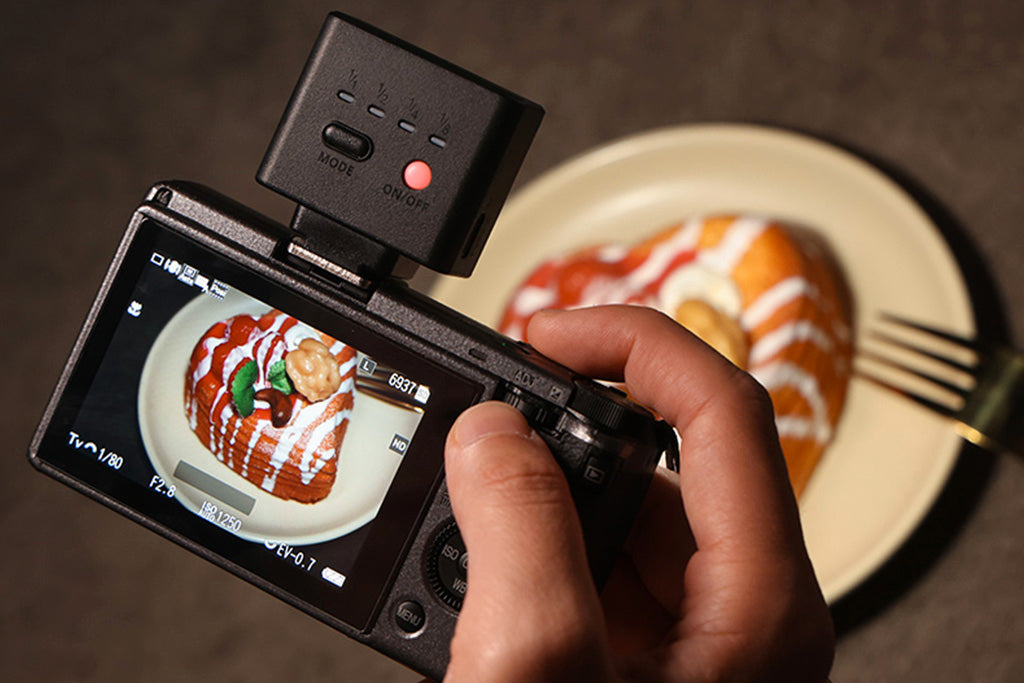
A torque of ~9.61 Nm represents approximately 60-80% of the Maximum Voluntary Contraction (MVC) for an average adult male's wrist. This is why moving accessories like monitors or wireless receivers to lighter, more centered mounts—like the Falcam F22 ecology—is not just a matter of convenience; it is a biomechanical necessity to prevent repetitive strain.
Leveling the Foundation: The Role of the Base
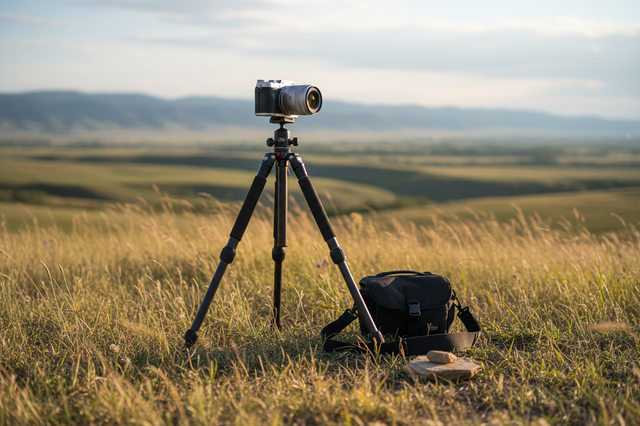
In low-angle cinematography, you are rarely working on a perfectly flat studio floor. On rocky terrain or uneven grass, a standard tripod head can become a liability. If your base is tilted, your CoG is automatically shifted toward the "downhill" side, drastically reducing your tipping threshold.
To solve this, we suggest integrating a dedicated leveling base like the Ulanzi TT37 Mini Leveling Base for Tripod Head T065GBB1. This allows for -8°/+8° of tilt adjustment, ensuring your Ulanzi U-190 Pro Fluid Video Head E009GBB1 starts from a perfectly horizontal plane. By keeping the fluid head level, you ensure that pans and tilts don't inadvertently shift the rig's weight outside the safety footprint of the tripod legs.
Methodology Note: Our recommendation for leveling bases is aligned with ISO 1222:2010 Photography — Tripod Connections, which defines the standards for screw connections and interface stability.
Workflow ROI: The Financial Case for Quick Release
Transitioning between low-profile ground mounts, shoulder rigs, and tripods is the most time-consuming part of a solo creator's day. We have modeled the efficiency gains of moving from traditional thread mounting to a unified quick-release system like FALCAM.
| Mounting Method | Avg. Swap Time | Yearly Time Cost (4800 swaps) | Estimated Value (at $120/hr) |
|---|---|---|---|
| Traditional Thread | 40 seconds | ~53.3 hours | $6,396 |
| FALCAM F38/F22 | 3 seconds | ~4.0 hours | $480 |
| Total Savings | 37 seconds/swap | ~49.3 hours | ~$5,916 |
Note: Calculations assume a pro doing 60 swaps/shoot across 80 shoots/year. While individual results vary, the structural efficiency of a unified system is a clear competitive advantage.
Travel Logistics and "Visual Weight"
For the traveling creator, the physical size of rigging components affects more than just stability. Bulky cinema plates have high "Visual Weight," which often attracts unwanted attention from airline gate agents during boarding.
The compact nature of the F38 and F22 systems allows for a high-performance rig that remains visually "low-profile." This modularity also aids in compliance with IATA Lithium Battery Guidance. By using smaller, modular components, you can easily break down your rig to ensure batteries are stored according to safety standards (IEC 62133-2) during transport.
The "Pre-Shoot Safety Workflow"
Before you hit "record" on a low-angle shot, we recommend this 10-second safety protocol to ensure your CoG and interface are secure:
- Audible Check: Listen for the distinct "Click" of the F38 or F22 locking into place.
- Visual Check: Verify the locking pin status. On Ulanzi systems, ensure the safety lock is engaged.
- The Tug Test: Immediately after mounting, apply a firm upward and lateral pull on the camera body. It should feel like a single solid unit with the tripod.
- Cable Strain Relief: Ensure heavy HDMI or SDI cables are not pulling the rig to one side. Use an F22 cable clamp to provide a secondary point of contact, reducing the torque on the camera's ports and the mounting plate.
Winter Scenario: Preventing Thermal Shock
A technical detail often overlooked is the material of the quick-release plate. Because FALCAM plates are precision-machined aluminum, they act as a "thermal bridge." In extreme cold, an aluminum plate will conduct heat away from the camera base and battery much faster than a composite material.
Pro Tip: Attach your aluminum QR plates to your cameras indoors before heading out into the cold. This minimizes "metal-to-skin" shock for your hands and slows the initial rate of battery cooling by allowing the interface to reach ambient temperature gradually.
Building a Trusted Infrastructure
In the evolving landscape of content creation, the difference between a professional and an amateur often comes down to the reliability of their infrastructure. As noted in The 2026 Creator Infrastructure Report, trust is built through engineering discipline and transparent evidence.
By mastering the center of gravity and investing in a unified quick-release ecosystem, you aren't just buying accessories; you are building a "ready-to-shoot" toolchain. This infrastructure allows you to focus on the creative—the low-angle tracking shot, the perfect macro tilt—with the confidence that your gear is safe, stable, and ready for the next move.

Disclaimer: This article is for informational purposes only. Camera rigging involves mechanical loads and expensive equipment; always consult the specific load ratings of your gear. If you are working with specialized cinema equipment or in hazardous environments, consult a professional key grip or safety officer.