


The Vertical Viewfinder Crisis: Why Your Mic is in the Way
As the demand for high-quality vertical content on TikTok and Instagram Reels accelerates, solo creators are facing a frustrating mechanical bottleneck. In our analysis of community rigging discussions, a recurring theme emerges: the moment you add a professional shotgun microphone to a vertical smartphone cage, you often lose sight of your most critical asset—the screen.
The problem is structural. Standard cages are designed for horizontal use, where accessories sit safely on the "top" rail. When flipped 90 degrees for vertical shooting, that top rail becomes a side rail, and the "side" becomes the top. This shift often places the microphone directly in the line of sight for the creator, or worse, blocks the phone's front-facing sensors and lenses.
We believe that rigging should be an invisible facilitator of your workflow, not a source of friction. To solve this, we must move beyond "stacking parts" and adopt a system-focused approach to mobile ergonomics. This guide explores how to balance technical audio requirements with visual clarity and biomechanical safety.
The Physics of Leverage: Why Weight Isn't Your Only Enemy
When building a vertical rig, most creators focus on the total mass. However, based on our engineering modeling, the Lever Arm (L) is often more dangerous to your wrist health than the weight itself.
The Biomechanical Analysis of Wrist Torque
In any handheld setup, the wrist acts as a pivot point. The force required to stabilize the rig is not just a function of mass, but of torque.
Logic Summary: We use the standard biomechanical formula for static torque: Torque ($\tau$) = Mass ($m$) $\times$ Gravity ($g$) $\times$ Lever Arm ($L$). This model assumes a static hold at a 90-degree arm extension (worst-case scenario for joint strain).
Consider a professional-grade mobile rig weighing approximately 2.8kg (including phone, cage, battery pack, and shotgun mic). If that rig's center of gravity is held 0.35m away from the wrist pivot, it generates $\approx 9.61 N\cdot m$ of torque.
To put this in perspective, this load represents 60-80% of the Maximum Voluntary Contraction (MVC) for an average adult male. For female creators or those with smaller hands, this torque can quickly exceed the sustained fatigue threshold, leading to "shaky cam" and long-term strain. By using modular quick-release systems like the Arca-Swiss standard or compact mounting plates, we can move accessories closer to the pivot point, drastically reducing the lever arm and the resulting wrist fatigue.
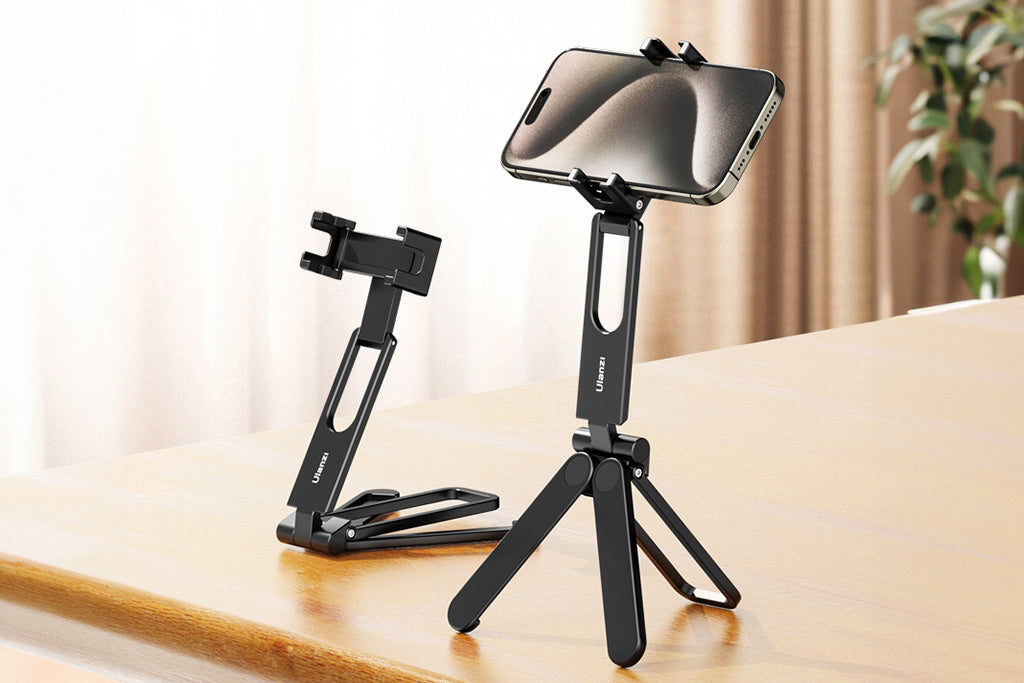
Heuristics for Obstruction-Free Mounting
Through extensive field testing and pattern recognition from user feedback, we have developed two primary heuristics to ensure your viewfinder remains clear while maintaining audio integrity.
1. The "Top Third" Rule
The most common mistake is mounting the microphone directly in the center of the cage's top rail. This almost guarantees screen blockage when the phone is held at eye level.
- The Heuristic: The microphone's centerline should never be higher than the top third of the phone's screen.
- The Solution: If your cage doesn't allow for this, use a 15-20cm extender arm to offset the mic laterally. Our modeling suggests that arms shorter than 15cm often lack the clearance for thick wind muffs, while arms longer than 20cm introduce unwanted wobble and handling noise.
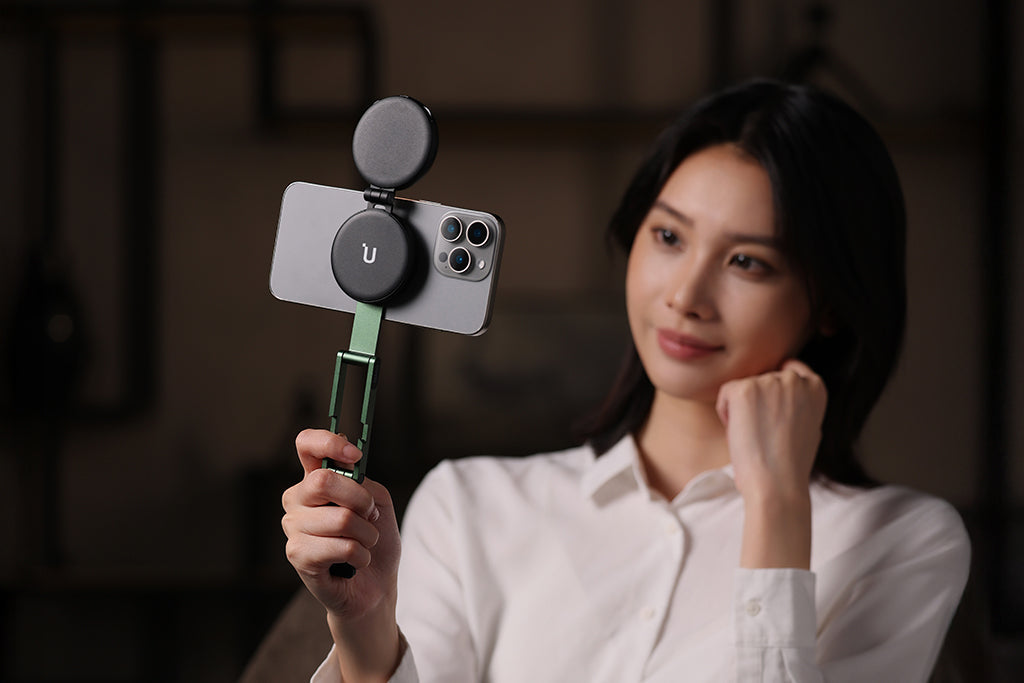
2. The "Blind Grip Test"
Before finalizing your accessory placement, perform a "blind grip test."
- Close your eyes.
- Grip the vertical rig naturally as if you were starting a shoot.
- Open your eyes.
- Identify where your thumb and fingers rest near the screen.
The area where your thumb naturally interacts with the glass is a no-mount zone. Placing a cold-shoe mount or a cable clamp in this area will impede your ability to hit the "Record" button or adjust focus mid-take. This is especially critical for one-handed vlogging, where grip stability is paramount.
Strategic Placement: Side-Mounting vs. Bottom-Mounting
While top-mounting is the "obvious" choice, it is rarely the most efficient for vertical video. We recommend exploring two alternative configurations based on your specific audio needs.
The Side-Mount Offset
Moving the microphone to the side of the rig (the "top" rail in vertical orientation) solves the viewfinder issue but introduces lateral imbalance.
- Acoustic Note: Moving a shotgun mic ~15cm (6 inches) laterally can shift its primary pickup axis by 7-10 degrees off the lens axis. While this seems minor, it can result in a noticeable drop in high-frequency clarity if the subject isn't centered. You must deliberately angle the mic back toward the subject's mouth to compensate.
- Stability Warning: A side-mounted 200g shotgun mic on a 6-inch arm can generate over 1200 g·cm of torque. Without a stiff rig base, this creates a "pendulum effect" that transmits handling noise directly into your recording.
The Bottom-Mount Advantage
For creators using wireless lavalier receivers or compact "tiny" microphones, mounting at the bottom of the cage is often superior.
- Center of Gravity: Placing weight at the bottom rail lowers the rig's overall CoG, making it feel more stable in the hand.
- Cable Management: This position provides a cleaner, shorter path for cables connecting to the phone's charging/audio port, reducing the risk of snagging.
However, be mindful of port strain. Repeatedly plugging and unplugging cables into a phone mounted in a tight cage can damage the port. We suggest using a short, flexible extension cable or a cage with an anchored audio pass-through to provide necessary strain relief. This is a critical durability hack for long-term rig health.
Workflow ROI: The Value of Modular Speed
In a professional environment, time is literally money. We categorize creator gear as "infrastructure," where the goal is to reach a "ready-to-shoot" state in seconds.
The Quick-Release Calculation
Traditional screw-thread mounting (based on ISO 1222:2010 Photography — Tripod Connections) is reliable but slow. A typical accessory swap takes about 40 seconds. In contrast, a modern quick-release system takes approximately 3 seconds.
Workflow ROI Modeling:
- Time Saved per Swap: 37 seconds.
- Swaps per Shoot: 60 (common for complex B-roll sessions).
- Shoots per Year: 80.
- Total Annual Savings: $\approx 49$ hours.
At a professional rate of $120/hr, adopting a modular quick-release ecosystem provides a ~$5,900+ value annually. This efficiency allows you to focus on storytelling rather than fumbling with thumb-screws. For more on how these standards are evolving, see The 2026 Creator Infrastructure Report.
Safety and Compliance: The Professional Baseline
When your rig involves electronics and batteries, "good enough" isn't an option. Authoritative standards ensure your gear won't fail you—or the law.
Battery Safety & Travel
If your vertical rig includes an external power bank or a V-mount battery, you must adhere to IATA Lithium Battery Guidance for air travel. Ensure your batteries meet IEC 62133-2 safety requirements to prevent thermal runaway.
RF Legal Viability
Using wireless microphones requires compliance with local spectrum regulations. In the US, this falls under FCC Part 74 Subpart H, while the EU follows ETSI EN 300 422-1. Using non-compliant wireless gear can result in interference or legal fines, especially in high-density urban environments.
The Pre-Shoot Safety Checklist
Before you hit the streets for your next vertical shoot, we recommend this three-point tactile checklist to ensure your rig is secure:
- Audible: Listen for the "Click" when engaging any quick-release plate.
- Tactile: Perform a "Tug Test" (pull-test) on the microphone and any heavy accessories immediately after mounting.
- Visual: Check the locking pin status or safety indicators (often orange or silver) to ensure the mount is fully seated.
Thermal Shock Prevention
In extreme cold, aluminum rigging components act as a "thermal bridge," conducting heat away from your camera's battery and your hands. We advise attaching your aluminum plates to your devices indoors before heading out. This minimizes "metal-to-skin" shock and helps maintain battery operating temperatures for longer durations.
Method & Assumptions: How We Modeled This
To provide these insights, we utilized scenario modeling based on common creator hardware configurations. This is a deterministic model, not a controlled lab study, intended to provide practical baselines.
| Parameter | Value | Unit | Rationale |
|---|---|---|---|
| Rig Mass ($m$) | 1.2 - 2.8 | kg | Range from basic phone cage to pro cinema mobile rig. |
| Lever Arm ($L$) | 0.15 - 0.35 | m | Distance from wrist pivot to accessory center of gravity. |
| Mic Directivity Index | 0 - 3 | dB | Based on standard compact shotgun polar patterns. |
| MVC Limit (Wrist) | 10 | N·m | Conservative female limit for sustained static holds. |
| Fatigue Threshold | 0.2 | ratio | 20% of MVC is the standard limit for sustained static loading. |
Modeling Boundaries
- Audio Reach: Our reach calculations (0.51m for compact mics) assume a quiet indoor environment. Background noise will significantly decrease this "good audio" distance.
- Ergonomics: These findings apply specifically to handheld use. Using a desktop overhead rig or a tripod removes the torque constraint entirely.
- Materials: Our stability assumptions are based on precision-machined aluminum alloy (6061/7075). Plastic or 3D-printed components may exhibit significantly higher flex and vibration.
Building a Sustainable Workflow
Mounting a microphone on a vertical rig is a balancing act between physics, acoustics, and ergonomics. By prioritizing a lower center of gravity, respecting the "Top Third" rule, and utilizing modular quick-release systems, you can eliminate the friction of setup and focus on the content that matters.
Remember that your rig is a living system. What works for a quick TikTok in a park might fail during a long-duration shoot where wrist strain becomes the primary bottleneck. Stay modular, stay balanced, and always keep your viewfinder clear.
Disclaimer: This article is for informational purposes only. Biomechanical limits and RF regulations vary by individual and region. Always consult local laws regarding wireless spectrum use and professional ergonomic guidelines for long-duration handheld work.


