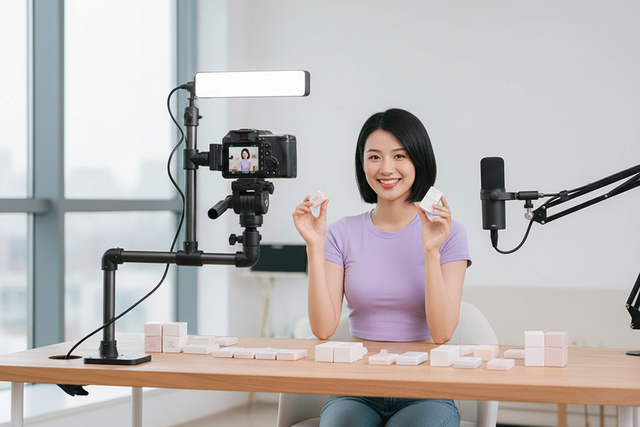
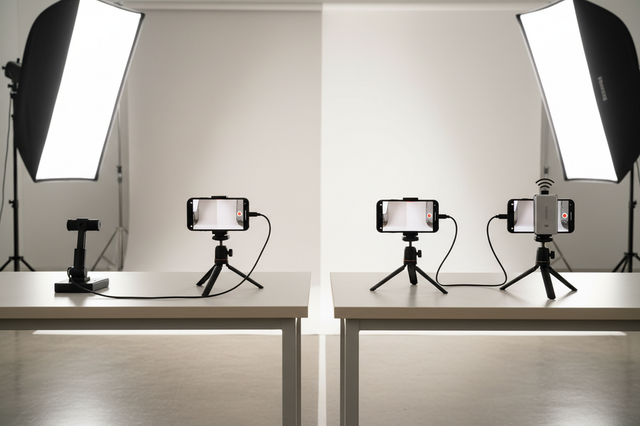
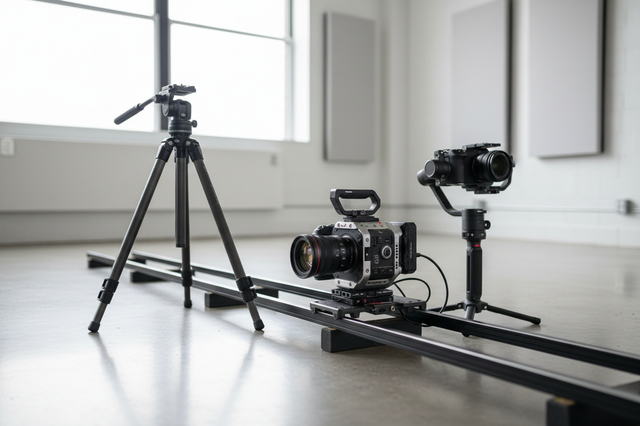
The right desk camera mount is the one that fits your desk, supports your full setup, reaches the product area without excessive leverage, and stays stable in the position where you actually film. Start by measuring the desk edge or available tabletop footprint. Then check the camera-and-accessory load, maximum reach, cable movement, and whether you can repeat both overhead and eye-level framing.

There is no universal best mount for every product demo. A clamp may suit a compact desk with a usable edge, while a desktop stand may be easier when the desk edge is obstructed. A flexible arm can help when you regularly change positions, but its reach and movement still need to work with your full setup.
 ## Choose the Support Style That Matches the Demo
Choose the support style based on the shot you make most often. A clamp favors a clear desk edge and preserves tabletop space, a flexible arm favors repositioning, and a desktop stand favors a mostly fixed setup with enough room for its base.
## Choose the Support Style That Matches the Demo
Choose the support style based on the shot you make most often. A clamp favors a clear desk edge and preserves tabletop space, a flexible arm favors repositioning, and a desktop stand favors a mostly fixed setup with enough room for its base.
An editorial comparison of overhead camera mounts groups options by positioning flexibility, reach, workspace fit, and stability for recording, livestreaming, and lessons. Use those as decision categories, not as proof that one support is safer or stronger than another.
| Support style | Best-fit demo pattern | Main tradeoff |
|---|---|---|
| Clamp mount | Compact top-down camera mount for a desk with a usable edge and clear underside | Saves tabletop space, but edge shape, thickness, and obstructions can rule it out |
| Flexible arm | Demos that alternate between positions or need frequent framing changes | Repositioning may be convenient, but extended reach can increase movement and support demand |
| Desktop stand | Mostly fixed overhead or front-facing shots on a desk with spare surface area | Simple footprint and placement, but the base uses filming space |
| Other support, such as a pole or fixed bracket | A dedicated setup with a known mounting location and limited repositioning | May preserve a particular workflow, but requires closer interface and space checks |
For a small desk, treat the clamp's space advantage as conditional. It only helps when the clamp can grip the actual edge cleanly and clear everything underneath; otherwise, a desktop footprint may be more practical than forcing an unsuitable edge mount. This is the first step in choosing a desk overhead camera mount: match the support to the physical workspace before comparing features.
Match the Mount to Your Desk and Available Space
Desk fit comes before reach. Confirm the mounting point, underside clearance, and remaining product area before selecting a clamp or desktop support; a nominal category match does not prove that the selected mount fits your desk.
Check Desk Thickness and Edge Clearance
Measure the exact desk location where the mount will sit, then compare those measurements with the selected product's current documentation. Retail listings often show fields such as clamp range, mounting interface, and supported device type, but verify those details on the product page or in the manual before purchase. Buyer-facing specification fields can help you identify what to check.
- Measure desk thickness at the mounting point, not only at an unobstructed corner.
- Check how much usable edge length the clamp needs and inspect the underside for a cable tray, drawer, crossbar, or other obstruction.
- Look for tapered, rounded, fragile, or beveled edges that may prevent a clean grip.
- Check whether the mount's pad or base can sit flat without damaging the surface.
- Verify the selected product's stated fit range, thread or interface, and instructions. If those facts are unavailable, treat compatibility as unconfirmed.
A conditional clamp-space comparison explains why a clamp may preserve open tabletop space only when the edge and underside are usable. If the edge cannot provide a clean, documented fit, change support styles rather than optimizing for compactness alone. For a practical follow-up, use these desk stability checks while inspecting the intended mounting point.
Protect the Filming Footprint on a Small Desk
A desk overhead camera mount for a small desk still needs a clear working zone. Reserve space for the product, hands, lights, and audio gear before deciding where the support will sit.
Mentally mark the product's center, the camera's overhead path, and the space your hands need to enter the frame. A mount can fit the edge yet still force the product against the desk edge, place the camera in the shot, or collide with a light. Check the eye-level path as well if the same setup will serve front-facing demonstrations.
Set the Load and Stability Margin Before Filming
Judge the full working setup at its maximum planned reach, not the camera body alone. Count every attached item, compare the combination with the selected product's current guidance, and test the secured desk-and-mount setup before recording.
Calculate the Complete Camera Load
The relevant load includes the camera or phone plus everything that stays attached while you film. A heavier or farther-offset setup places more demand on the support, but there is no universal formula or threshold that can approve every desk configuration. This boom-arm load guide provides buying context for considering payload and offset without establishing a universal limit.
| Load item | Include when checking | Why it changes the choice |
|---|---|---|
| Camera or phone | Always | Establishes the base payload and mounting interface |
| Lens, cage, or case | When attached during filming | Adds weight and may move the payload away from the support |
| Microphone, light, or adapter | When mounted on the rig | Changes the complete load and balance |
| Quick-release hardware | When left between positions | Adds hardware and may alter the camera's center of gravity |
| Cable strain | At both overhead and eye-level positions | Pull can move the camera or add demand during repositioning |
If the product documentation does not address your combined configuration, do not treat the setup as approved because the camera body appears light. Test it conservatively in the actual filming position and choose a different configuration if the result is uncertain.
Find and Reduce Sources of Wobble
A short movement test can reveal whether movement comes from the desk, the base, extended reach, camera balance, or a cable tug. Use this sequence before filming:
- Secure the base or clamp according to the selected product's instructions and inspect the desk at the mounting point.
- Place the complete camera setup in the farthest planned position, including the accessories and cables used during the demo.
- Shorten the reach or rebalance the camera if the setup moves, then test again rather than assuming another adjustment will solve it.
- Route cables without tension and check whether moving between positions pulls on the camera or support.
- Record a brief movement check. Stop and revise the setup if the desk, clamp, arm, or camera shifts.
Longer reach and greater payload offset can increase support demand, so the farthest planned position matters more than a quick test close to the base. A real-position test is a fit check, not a guarantee that a mount will eliminate vibration.
Plan Reach, Cable Routing, and Angle Changes Together
Size reach around the actual product area and both required camera positions. A setup is ready for the workflow only when the camera can move between overhead and eye-level views without collisions, cable pull, lost balance, or repeated guesswork.
Size Reach for the Actual Product Area
Measure from the secure mounting point to the center of the overhead frame, then check the clearance needed for the eye-level view. Include the product's footprint, your hand positions, and any light or microphone—not just whether the camera can point downward.
If the camera reaches the center only when the arm is fully extended or the desk edge is far from the product, treat that as a warning for the load-and-stability test. A shorter, better-balanced position may produce a more usable camera mount for top-down product filming than maximum reach.
Switch Between Overhead and Eye-Level Shots
For recurring angles, repeatability matters more than a claimed maximum articulation range. Mark both positions and make the framing check part of every change.
- Mark the overhead and eye-level positions on the desk or support path.
- Confirm that the camera, arm, product, lights, and hands have clearance at both marks.
- Move the support without forcing joints or pulling the camera through a cable loop.
- Re-level the camera and verify that the product is still centered and unobstructed.
A phone-specific phone demo setup can provide workflow ideas, while quick-release options can help you compare ways to change gear. Neither link establishes compatibility with your desk or camera.
Route Cables Without Adding Tension
Leave enough slack for both marked positions, but do not leave heavy cables hanging where they can pull across the mount or product area.
- Support heavier cables near the camera when needed, without locking the camera into one position.
- Keep cable paths away from the product, hands, desk edge, and camera movement.
- Test for tug at both positions, including the moment the camera is moved and re-leveled.
If cable slack works overhead but pulls at eye level, the workflow is not ready. Reroute the cable, change the mounting position, or choose a support arrangement that gives the cable a cleaner path.
Use a Final Fit Check Before You Buy a Desk Camera Mount
Buy only when the mount passes the physical desk-fit, complete-load, maximum-reach, cable, and two-position framing checks. If one requirement remains unresolved, change the support style or configuration instead of assuming compatibility.
- Measure the desk thickness, usable edge, underside clearance, edge profile, and obstructions.
- Identify the primary shot: mostly fixed overhead, frequent repositioning, or alternating overhead and eye-level views.
- Total the complete working load, including the camera or phone, lens or cage, microphone, light, adapters, quick-release hardware, and cable strain.
- Compare the selected product's current fit, interface, and load guidance with that complete configuration.
- Test the camera at the maximum planned reach on the actual desk, then shorten or rebalance the setup if it moves.
- Plan cable slack and mark both recurring camera positions.
- Recheck clearance, level, framing, and stability after moving between overhead and eye-level shots.
- Reject the mount if the edge is unusable, the footprint blocks the product, combined-load guidance is missing, cable pull remains, or the desk or support shifts.
After this neutral check, compare our streaming stand options, compact clamp option, and overhead mount option against your measurements. Use our product pages and instructions for current dimensions, interfaces, and limits; the links alone do not prove that a product fits your setup. If you change cameras often, you can also review our quick-release options after confirming the underlying mount fit.
FAQs
Use these questions to resolve wobble, combined-load, small-desk, and angle-change concerns before you buy. If a fit or stability check remains unresolved, do not assume the mount is compatible.
What Should I Check If My Overhead Camera Mount Still Wobbles?
Check the desk, base, reach, camera balance, and cable path separately. If the setup still shifts at shorter reach, stop using it and revise the support or mounting position.
Can a Desk Camera Mount Hold a Camera and a Light?
Only when current product guidance covers the combined setup and the physical test is stable. Count the camera, accessories, hardware, and cable pull together.
What Is the Best Desk Camera Mount for a Small Desk?
Compare usable edge access, underside clearance, preserved product area, and frame distance. A clamp may not fit if the edge is obstructed or reach is excessive.
How Can I Switch From Overhead to Eye-Level Shots Without Moving the Whole Setup?
Mark both positions, leave cable slack, check clearance, move without forcing joints, then re-level and verify framing. Change the route or support position if the cable pulls or the product is blocked.