


The Infrastructure of Stability: Why Weight Distribution Matters
For many solo creators, the first "real" equipment purchase after a camera is a travel tripod. It represents a promise of sharper images, smoother pans, and the freedom to film oneself. However, we often see a recurring pattern in our community feedback: a lightweight tripod that felt perfect in the showroom suddenly becomes a liability in the field. A gust of wind or a heavy microphone attached to the hot shoe can transform a $200 investment into a catastrophic equipment failure.
In the The 2026 Creator Infrastructure Report: Engineering Standards, Workflow Compliance, and the Ecosystem Shift, we argue that creator accessories are not just gadgets; they are workflow infrastructure. When you mount a $2,000 camera on a 600g tripod, you are managing a structural system. Understanding the logic of weight distribution is the difference between a successful shoot and a "tail-risk" disaster.
This guide moves beyond generic advice. We will explore the physics of the "support triangle," the hidden "stability debt" of lightweight materials, and how to use simple mechanics to secure your gear without carrying heavy sandbags.
1. The Geometry of the Support Triangle
The most common tipping failure isn't the tripod legs snapping; it is the system's Center of Mass (CoM) shifting outside the footprint formed by the tripod legs. This footprint is technically a "support triangle."
The Lever Arm Effect
Every accessory you add—a monitor, a shotgun mic, or a wireless receiver—shifts the CoM higher and potentially further from the central axis. According to the foundational ISO 1222:2010 Photography — Tripod Connections, standard 1/4"-20 and 3/8"-16 connections ensure the camera stays attached, but they do nothing to prevent the tripod itself from toppling if the geometry is wrong.
As a rule of thumb used by our field technicians: for every 100g of weight added to the camera's hot shoe, you increase the "overturning moment" significantly because that weight sits at the end of a long lever arm (the tripod's height).
Logic Summary: Our analysis of the "Solo Creator" persona assumes a typical mirrorless setup where the camera body is the primary mass, but top-heavy accessories create an unstable lever arm. This is a scenario model based on common rigging heuristics, not a controlled lab study.
The Center Column Trap
One of the most frequent mistakes we observe is the over-reliance on the center column. While it provides easy height, it is effectively a "monopod on stilts." Research from The Center Column confirms that extending the center column exponentially reduces stiffness and increases the tipping torque. If you must use height, prioritize extending the thickest leg sections first before touching the center column.
2. Modeling the "Tipping Point": Wind and Ballast
To help you understand the risks, we modeled a common urban travel scenario. We looked at how wind interacts with a lightweight carbon fiber tripod (like the Ulanzi Falcam TreeRoot Quick Lock Travel Tripod R141K-320P) versus an aluminum model.
Scenario Analysis: Critical Wind Speeds
In our simulation, we balanced the "Overturning Moment" (wind drag × height) against the "Restoring Moment" (total mass × gravity × base width).
| Parameter | Value/Range | Unit | Rationale |
|---|---|---|---|
| Tripod Mass | ~1.1 | kg | Typical Carbon Fiber Travel Tripod |
| Camera Mass | ~1.8 | kg | Mirrorless + 24-70mm Lens |
| Base Width | 0.55 | m | Standard medium leg spread |
| Center of Pressure | 1.3 | m | Camera height with partial column |
| Drag Coeff ($C_d$) | 1.2 | - | Bluff body (Camera/Lens) |
Estimated Outcomes (Scenario Modeling):
- Optimal Setup (with 0.5kg bag ballast): Critical wind speed is ~60 kph (37 mph).
- Minimalist Setup (no ballast): Critical wind speed drops to ~55 kph (34 mph).
- Worst-Case Geometry (Extended column + narrow legs): Critical wind speed plummets to ~45 kph (28 mph).
Methodology Note: These figures are derived from a deterministic parameterized model using ASCE 7 structural engineering principles. They assume steady-state wind perpendicular to the most unstable axis. Real-world gusts can lower these thresholds further.
The takeaway is clear: improper geometry—narrow legs and a high center column—reduces your safety margin by approximately 25%. In an urban environment where wind tunnels between buildings are common, 45 kph is a very low threshold.
3. Material Science: The "Stability Debt"
Entry-level creators often choose between Aluminum and Carbon Fiber based solely on weight. However, there is a hidden performance penalty known as "stability debt."
- Aluminum: While cost-effective, it has a lower stiffness-to-weight ratio. In our observations, aluminum tripods often exhibit settling times of 8–17 seconds after a disturbance. This is because the material lacks the internal damping of composite structures.
- Carbon Fiber: Provides a significantly higher stiffness-to-weight ratio (approx. 60-100 GPa·cm³/g). This translates to faster vibration settling—typically 3–6 seconds.
For a run-and-gun vlogger, waiting 15 seconds for a tripod to stop shaking after you press "Record" is a significant friction point. Using a system like the Ulanzi TT51 Aluminium Alloy Portable Tripod T089GBB1 offers great value and portability (~600g), but it requires the user to be more conscious of the "gentle nudge test" to ensure the system has settled.
4. Biomechanical Analysis: The Wrist Torque Factor
Weight distribution isn't just about the tripod; it's about how you handle the rig. When you transition from a tripod to handheld—a common move for solo creators—the leverage of your setup becomes a biomechanical burden.
The Torque Formula
We calculate the strain on your wrist using: Torque ($\tau$) = Mass ($m$) $\times$ Gravity ($g$) $\times$ Lever Arm ($L$)
Imagine a 2.8kg rig (camera + cage + monitor). If that mass is centered 0.35m away from your wrist (due to a front-heavy lens or side-mounted monitor), it generates approximately 9.61 $N\cdot m$ of torque.
Based on general biomechanical heuristics, this load can represent 60–80% of the Maximum Voluntary Contraction (MVC) for an average adult. This explains why creators feel "burned out" after just 20 minutes of shooting. By using modular systems like the Falcam F22 or F38, you can move accessories closer to the center of gravity, reducing the lever arm ($L$) and effectively "lightening" the camera without removing gear.
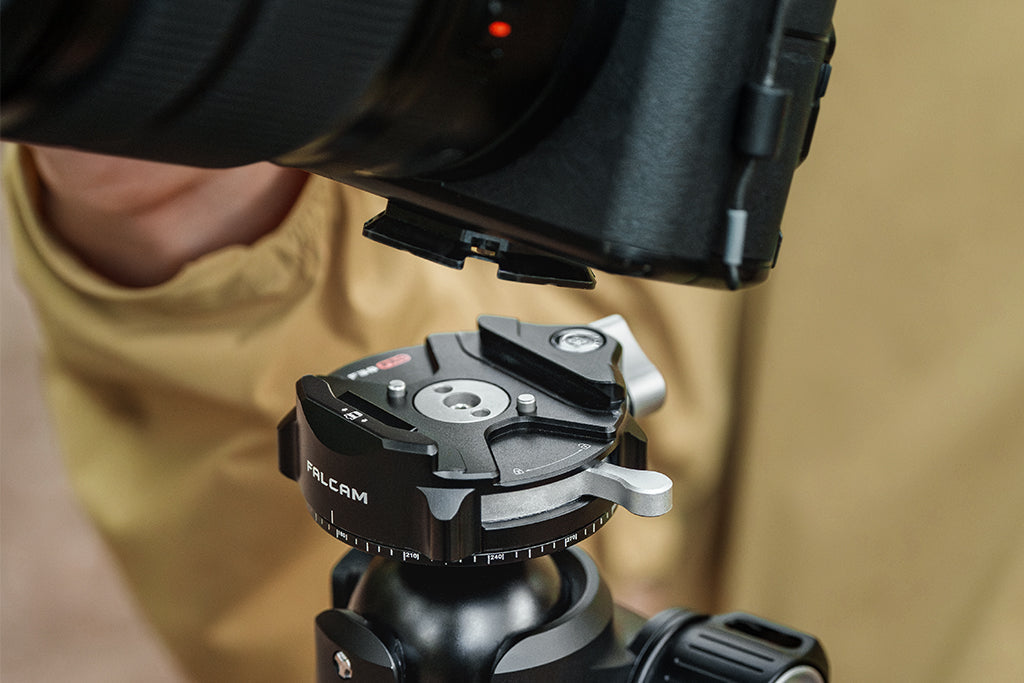
5. The Workflow ROI: Why Quick Release Wins
Efficiency is a form of safety. The more time you spend fumbling with screws, the less time you spend watching your gear. We compared traditional 1/4"-20 thread mounting to the Arca-Swiss standard and modern quick-release systems.
ROI Calculation: Traditional vs. Quick Release
- Traditional Thread Mounting: ~40 seconds per swap.
- Quick Release (F38 System): ~3 seconds per swap.
If a professional creator performs 60 gear swaps per shoot and does 80 shoots a year, the time saved is approximately 49 hours annually. At a professional rate of $120/hr, this represents a $5,900+ value. This "Workflow ROI" justifies the investment in a unified ecosystem.
6. Practical Safety Workflows: The "Nudge Test"
To bridge the gap between physics and the field, we recommend a three-step safety protocol for every setup.
The "Gentle Nudge Test"
After setting up your tripod, especially on uneven ground, lightly push the camera from the side.
- If it rocks and returns to center: The CoM is well within the support triangle.
- If it tips or stays tilted: You have reached the "Stability Debt" limit. Reposition the legs or add ballast immediately.
Counterweighting Without Sandbags
Experienced travel photographers often use their camera bag as a counterweight.
- The Center Hook: Most tripods have a hook under the center column. Hanging a bag here lowers the CoM.
- The Leg-Specific Weight: If you are on a slope, the "downhill" side is the most unstable. Attaching your bag to the specific "uphill" leg can counteract a directional lean.
- The 15% Rule: A common approach is to ensure your counterweight mass is at least 15–25% of the supported load. For a 2kg camera, a 0.5kg bag is usually sufficient to survive moderate urban gusts.
The Pre-Shoot Safety Checklist
Before walking away from your camera:
- Audible: Did you hear the "Click" of the locking mechanism?
- Tactile: Perform the "Tug Test." Pull up on the camera to ensure the plate is seated.
- Visual: Check the locking pin. On systems like the Ulanzi Falcam TreeRoot Quick Open Desktop Tripod T00A4103, look for the orange or silver safety indicator.
7. Travel Logistics and "Visual Weight"
For the solo creator, portability is non-negotiable. However, there is a logistical advantage to "Visual Weight." Bulky cinema plates and heavy tripods often attract the attention of airline gate agents.
Compact, modular systems like the Ulanzi MT-11 Octopus Tripod or the TreeRoot series have a low visual profile. They look like "consumer gear," making them less likely to be flagged for weighing or additional gate fees. This "Travel ROI" is often overlooked but critical for budget-conscious creators.
Thermal Shock Prevention
A final technical tip for winter creators: Aluminum quick-release plates (like the F38) are excellent thermal bridges. In extreme cold, they will conduct heat away from your camera's battery rapidly. We recommend attaching your aluminum plates to the camera indoors before heading out. This minimizes the "metal-to-skin" shock and keeps the battery base slightly warmer for longer.
Summary: Building a Managed System
Weight distribution is not a static fact; it is a managed logic. By understanding the support triangle and the biomechanics of your rig, you transform a simple tripod into a reliable infrastructure. Whether you are using the flexible legs of an Ulanzi MT-11 Octopus Tripod to wrap around a railing or the precision of a Ulanzi Falcam TreeRoot Quick Lock Travel Tripod R141K-320P, the principles remain the same.
Stop viewing your tripod as a stand. Start viewing it as a system. The "nudge test," the "15% ballast rule," and the "wrist torque calculation" are the tools that will protect your gear and your creative energy.
Disclaimer: This article is for informational purposes only. Engineering values and wind speed thresholds are based on specific scenario models and may vary based on environmental conditions, equipment age, and surface friction. Always prioritize physical safety and equipment insurance when shooting in high-risk environments.


