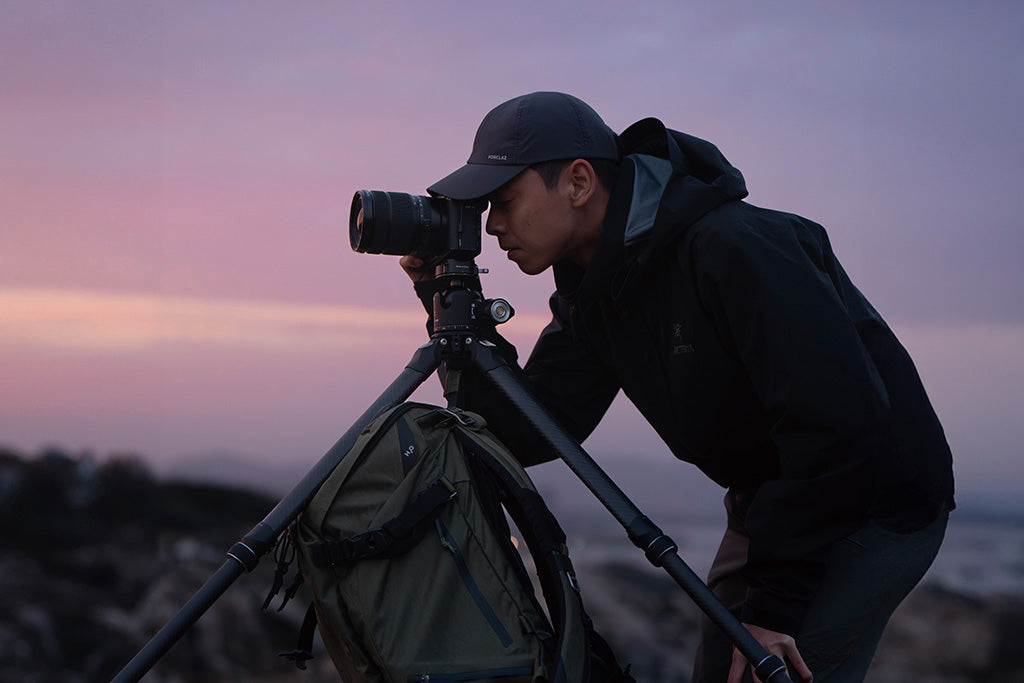
The Physics of Instability: Why Rigs Swing
When we transition from static tripod work to high-motion handheld shooting, the physics governing our gear changes fundamentally. On a tripod, we prioritize a centered load to prevent tipping. In motion, we must account for inertia and the "pendulum effect."
A common pattern we observe in our support workshop is placing heavy monitors, large shotgun microphones, or high-capacity external batteries at the top rear of the camera cage. While this seems convenient for visibility, it creates a top-heavy "see-saw" effect. This configuration raises the center of gravity (CoG) far above the handgrip, turning the entire rig into a lever that can fight your wrist with every step.
The "Wrist Torque" Biomechanical Analysis
To understand why a top-heavy rig feels exponentially heavier over a ten-hour shoot day, we look at the biomechanics of the human wrist. Weight alone isn't the primary enemy; leverage is.
We can estimate the physical strain using the torque formula: Torque ($\tau$) = Mass ($m$) $\times$ Gravity ($g$) $\times$ Lever Arm ($L$)
Consider a scenario where a creator uses a 2.8kg rig. If the center of gravity is offset by 0.35m from the pivot point of the wrist (the lever arm), the torque generated is approximately $9.61 N\cdot m$.
Ergonomic Heuristic: This calculation assumes a standard gravitational constant of $9.8 m/s^2$. Based on our internal ergonomic modeling—which uses common anthropometric data as a baseline—a torque load in this range can approach an estimated 60-80% of the Maximum Voluntary Contraction (MVC) for an average adult. This is not a clinical measurement but a practical rule of thumb to explain the rapid onset of "shaky hands" and localized fatigue in the forearm and trapezius muscles. By moving accessories to lower mounting points, we reduce the lever arm ($L$), which significantly decreases the torque required to stabilize the camera.
Diagnosing the "Pendulum Effect"
Before we can fix a rig, we must diagnose its specific imbalances. We often suggest the "Elbow Test" as a reliable diagnostic tool for solo creators to perform in their own workspace.
The Elbow Test (Step-by-Step)
- Fully Build the Rig: Include all batteries, media, and cables.
- Neutral Grip: Stand upright and let your arm hang naturally at your side while gripping the main handle.
-
Observe the Swing:
- If the camera wants to rotate forward or backward in your hand, the CoG is off-axis.
- If it feels like it is trying to "swing" away from your leg during a slight walk-in-place, the top-heavy pendulum effect is present.
A balanced rig should feel relatively neutral in a resting hang. However, for high-motion walking shots, many practitioners find that a slightly forward-heavy rig—where more weight is concentrated over the lens—can provide better inertial control. This forward bias helps resist unintended upward tilts caused by the "pendulum swing" of your walking gait.
Common Pitfalls in Component Placement
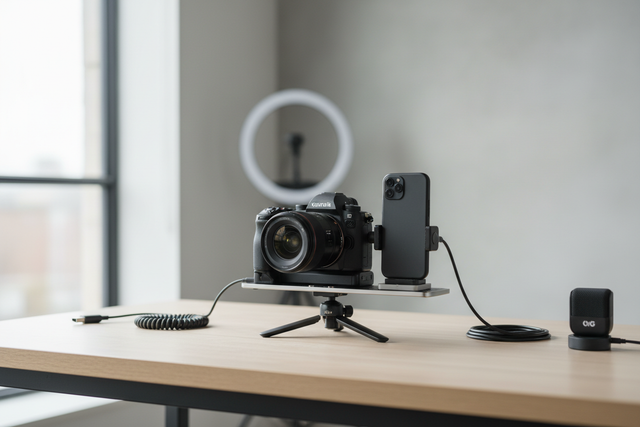
- The High-Mounted Monitor: Placing a 500g monitor on top of a cold shoe raises the CoG significantly.
- Top-Heavy Power Solutions: Mounting a V-mount battery on a top handle is a primary cause of the "see-saw" effect.
- Lateral Imbalance: Offsetting a side handle without counter-balancing the opposite side causes the rig to "lean," forcing the wrist to constantly exert lateral force to keep the horizon level.
The Structured Solution: Lowering the Center of Gravity
To neutralize the pendulum effect, we suggest migrating mass from the top of the cage to the base. This is where a modular quick-release system becomes a structural necessity rather than a luxury.
Strategy 1: The Low-Profile Baseplate
Adding 200-300g of counterweight directly beneath the lens via a low-profile baseplate often neutralizes swing more effectively than trying to perfectly balance the entire rig laterally. By concentrating mass at the lowest point of the Arca-Swiss connection, you create a "keel" effect, similar to a sailboat, which helps the rig naturally resist swaying.
How to Test This: Before buying new gear, try taping a small 250g weight (roughly the weight of a large smartphone) to the bottom of your camera cage. Perform a 30-second walking test. If you notice a reduction in wrist tension, a permanent baseplate solution is likely beneficial for your setup.
Strategy 2: Modular Accessory Migration
Instead of using the top handle for everything, utilize the side and bottom mounting points of your cage.
- Move the Monitor: Use an F22 or F38 mount to attach the monitor to the side of the cage, level with the lens axis.
- Relocate Audio: Use low-profile mounts for wireless receivers. Ensure they are compliant with FCC Part 74 Subpart H for US operations or ETSI EN 300 422-1 for European interoperability.
- Battery Placement: Use a base-mounted battery plate. This not only lowers the CoG but also provides a more stable surface when setting the camera down between takes.
Modeling Note (Reproducible Parameters): Our analysis of center-of-gravity shifts assumes the following parameters for a standard "prosumer" mirrorless build.
Parameter Value or Range Unit Rationale Camera Body Mass 700 - 900 g Standard Full-Frame Mirrorless Lens Mass 600 - 1200 g 24-70mm f/2.8 Equivalent Cage Mass 200 - 300 g Aluminum Alloy Construction Monitor Mass 400 - 600 g 5-inch with Battery Target CoG Height < 50 mm Height above the sensor plane Boundary Conditions: This model is an illustrative example. It may not apply to ultra-lightweight "vlogging" setups (<1kg total) or heavy cinema rigs (>10kg) where dual-handle configurations change the pivot physics entirely.
Engineering Reliability: Standards and Material Science
When building a mission-critical rig, the interfaces between components are the most likely points of failure. We distinguish between marketing claims and engineering standards to ensure equipment safety.
Material Accuracy: Aluminum vs. Carbon Fiber
A common misconception is that all high-end rigging plates should be carbon fiber. In reality, precision-machined Aluminum Alloy (typically 6061 or 7075) is the industry standard for quick-release plates like the F38 or F50. While carbon fiber is excellent for tripod legs due to its vibration-damping properties, aluminum provides the necessary rigidity and machining tolerances (zero-play) required for load-bearing mounts.
Note on Thermal Shock: In extreme cold, aluminum acts as a "thermal bridge." We recommend attaching your plates to the camera indoors to minimize "metal-to-skin" shock and to prevent the plate from rapidly conducting cold to the camera's internal battery.
Load Capacity: Static vs. Dynamic
It is vital to understand the difference between load ratings. For example, a high-performance mount might be rated for an 80kg Vertical Static Load. This is a laboratory result representing the force required to break the lock while stationary.
For handheld creators, the Dynamic Payload—the weight the system can safely handle while swinging, jumping, or running—is significantly lower.
- The 3kg Threshold Test: For rigs exceeding 3kg in high-motion scenarios, we recommend moving to larger standards like the F50 or using anti-deflection versions of the F38.
- Verification Step: Perform a "Shake Test" by holding the rig and performing three quick vertical "jabs" in the air. If you feel any micro-movement or "play" in the quick-release plate, the mount may be approaching its dynamic stability limit.
This approach aligns with the mounting safety principles found in ISO 1222:2010 Photography — Tripod Connections, which provides the foundational standards for screw-based mounting and interface stability.
The Workflow ROI: Why Modularity Matters
For the solo creator, efficiency isn't just about comfort; it is a measurable financial metric. Transitioning between a handheld "pendulum-balanced" rig and a tripod usually involves tedious unscrewing and re-balancing.
The "Time-to-Shoot" Calculation
We can quantify the value of a modular quick-release system (like F22 or F38) by looking at the time saved during a typical production day.
- Traditional Thread Mounting: ~40 seconds per swap.
- Quick Release Mounting: ~3 seconds per swap.
If a professional creator performs 60 swaps per shoot (switching from handheld to tripod, moving a monitor, or changing batteries) and works 80 shoots per year, the time saved is approximately 49 hours annually. At a professional rate of $120/hour, this represents a ~$5,900+ value. This structural efficiency justifies the investment in a unified ecosystem, as detailed in The 2026 Creator Infrastructure Report.
Visual Weight and Travel
Beyond time, there is the "Visual Weight" of your gear. Compact, modular systems have a lower profile than bulky cinema plates. This can make your rig look less "industrial" to airline gate agents, potentially reducing the likelihood of being flagged for gate-checking expensive equipment. For more on this, see our guide on Optimizing Vertical Rig Portability.
Pre-Shoot Safety Checklist
Stability is nothing without security. Before you begin a high-motion sequence, we recommend this three-point safety check for every quick-release connection to help prevent equipment drops:
- Audible: Did you hear the "Click"? Modern mounts are designed with a distinct mechanical sound to confirm engagement.
- Tactile: Perform the "Tug Test." Immediately after mounting, give the camera or accessory a firm pull to ensure the locking pin is fully seated.
- Visual: Check the locking indicator. Many systems use a color-coded status (such as an orange or silver pin) to show whether the lock is engaged or in "transition" mode.
Additionally, pay attention to cable management. A heavy HDMI or USB-C cable can create unwanted torque on a side mount. We recommend using cable clamps to provide strain relief and keep the mass close to the cage body.
Summary of Dynamic Balancing
Achieving a stable handheld shot is a matter of managing the physical center of gravity. By diagnosing the pendulum effect through the elbow test and systematically moving mass to the base of the rig, you can reduce wrist torque and increase your "ready-to-shoot" endurance.
Whether you are Minimizing Wrist Strain in Long-Duration Vertical Shoots or Balancing Heavy Rigs on Travel Tripods, the principles remain the same: lower the CoG, respect the torque limits of your body, and use modular interfaces to maintain a fast, reliable workflow.
References
- ISO 1222:2010 Photography — Tripod Connections (Supports mounting stability and screw-interface standards).
- The 2026 Creator Infrastructure Report (Supports workflow ROI and efficiency data).
- FCC Part 74 Subpart H - Wireless Microphone Regulations (Regulatory compliance for wireless audio placement).
- ETSI EN 300 422-1 - Wireless Audio Standards (European interoperability for audio accessories).
Disclaimer: This article is for informational purposes only. The biomechanical analysis and torque calculations are based on scenario modeling and general heuristics, not clinical medical studies. Results can vary based on individual physical condition and specific equipment configurations. Individuals with pre-existing wrist, arm, or back conditions should consult a medical professional or ergonomic specialist before handling heavy camera equipment for extended periods. Always verify the dynamic load capacity of your specific rigging components before use.