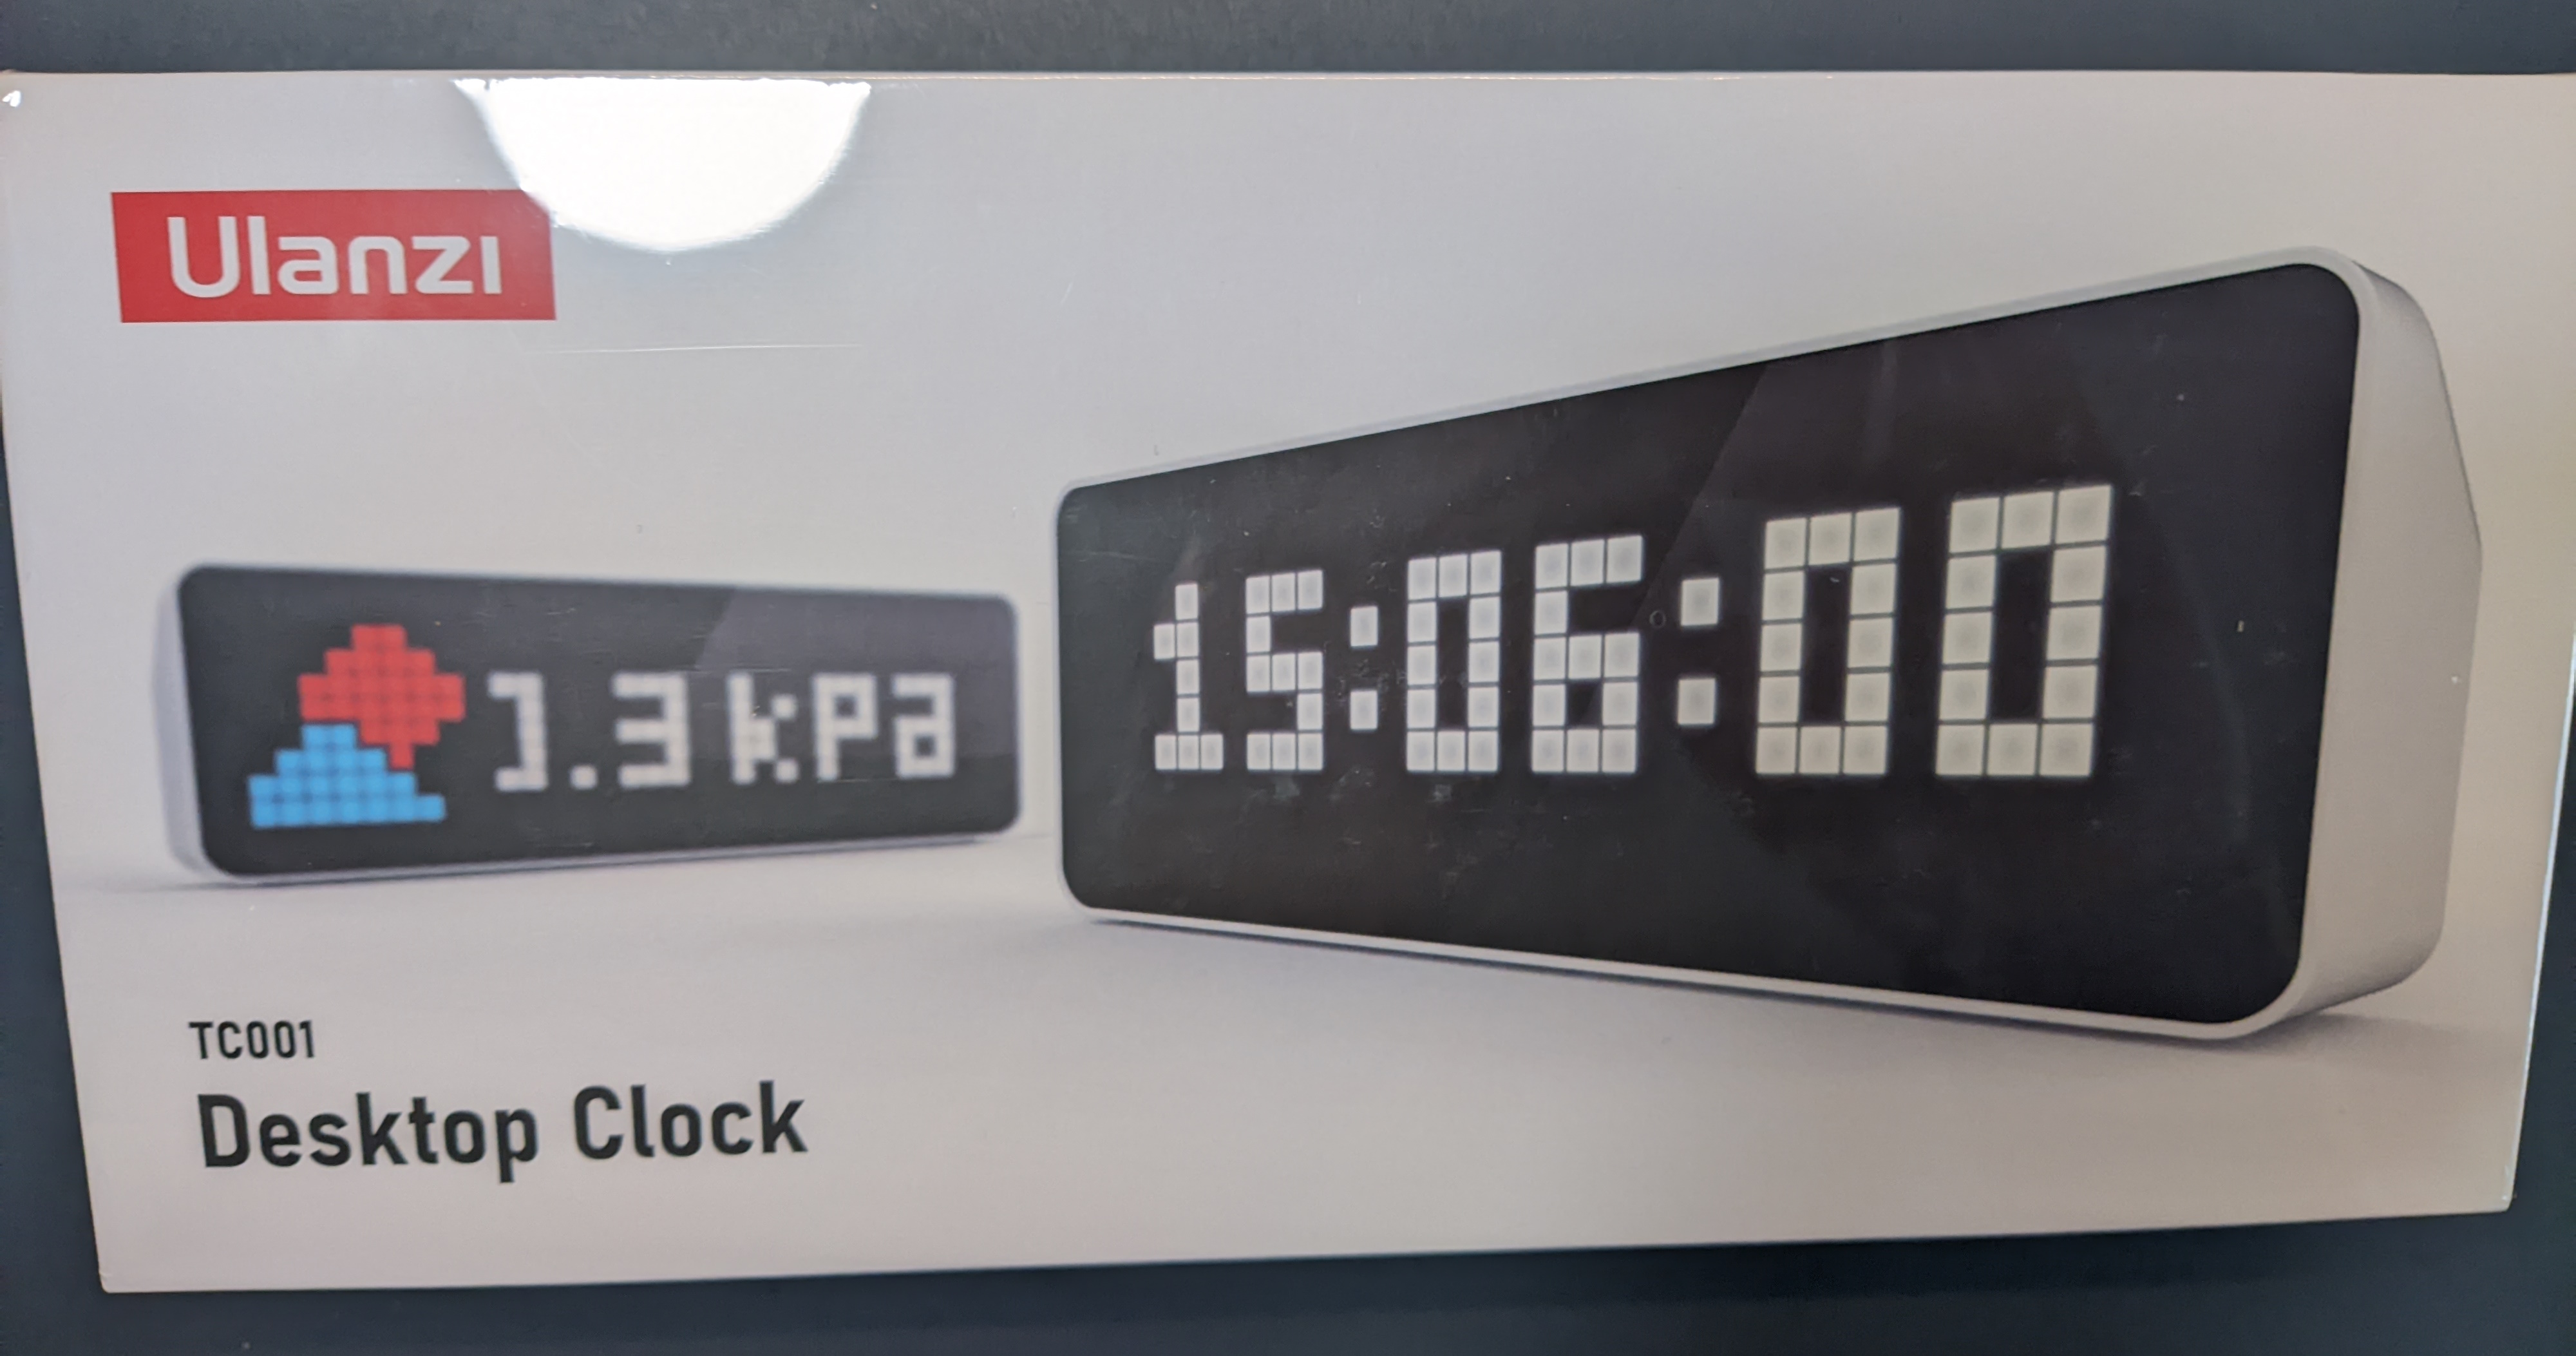
As I was trawling AliExpress in search for a decent but cheap photography light I found Ulanzi, a Chinese brand specialized in making video and photography equipment. Browsing their product list something peculiar jumped out in the recommended tab. A desktop pixel clock targeted to YouTubers, the Ulanzi TC001, priced at 59.99$. After various sales and coupons the price dropped down to a very affordable 43$ and that made me click the buy button.
Two weeks later it was here and packed in a nice heavy glossy box, similar to what mobile phones come in. Inside was the pixel clock, a black USB-C cable and instructions in Chinese and English. There is no power supply but any 5V 2A or more USB charger will do.
The clock is powered via an USB-C port in the back but it also has a 4400mAh rechargeable battery that can power it for a few hours. Ulanzi claims 5 hours but that depends on the brightness and how many and how often the pixels are being lit.
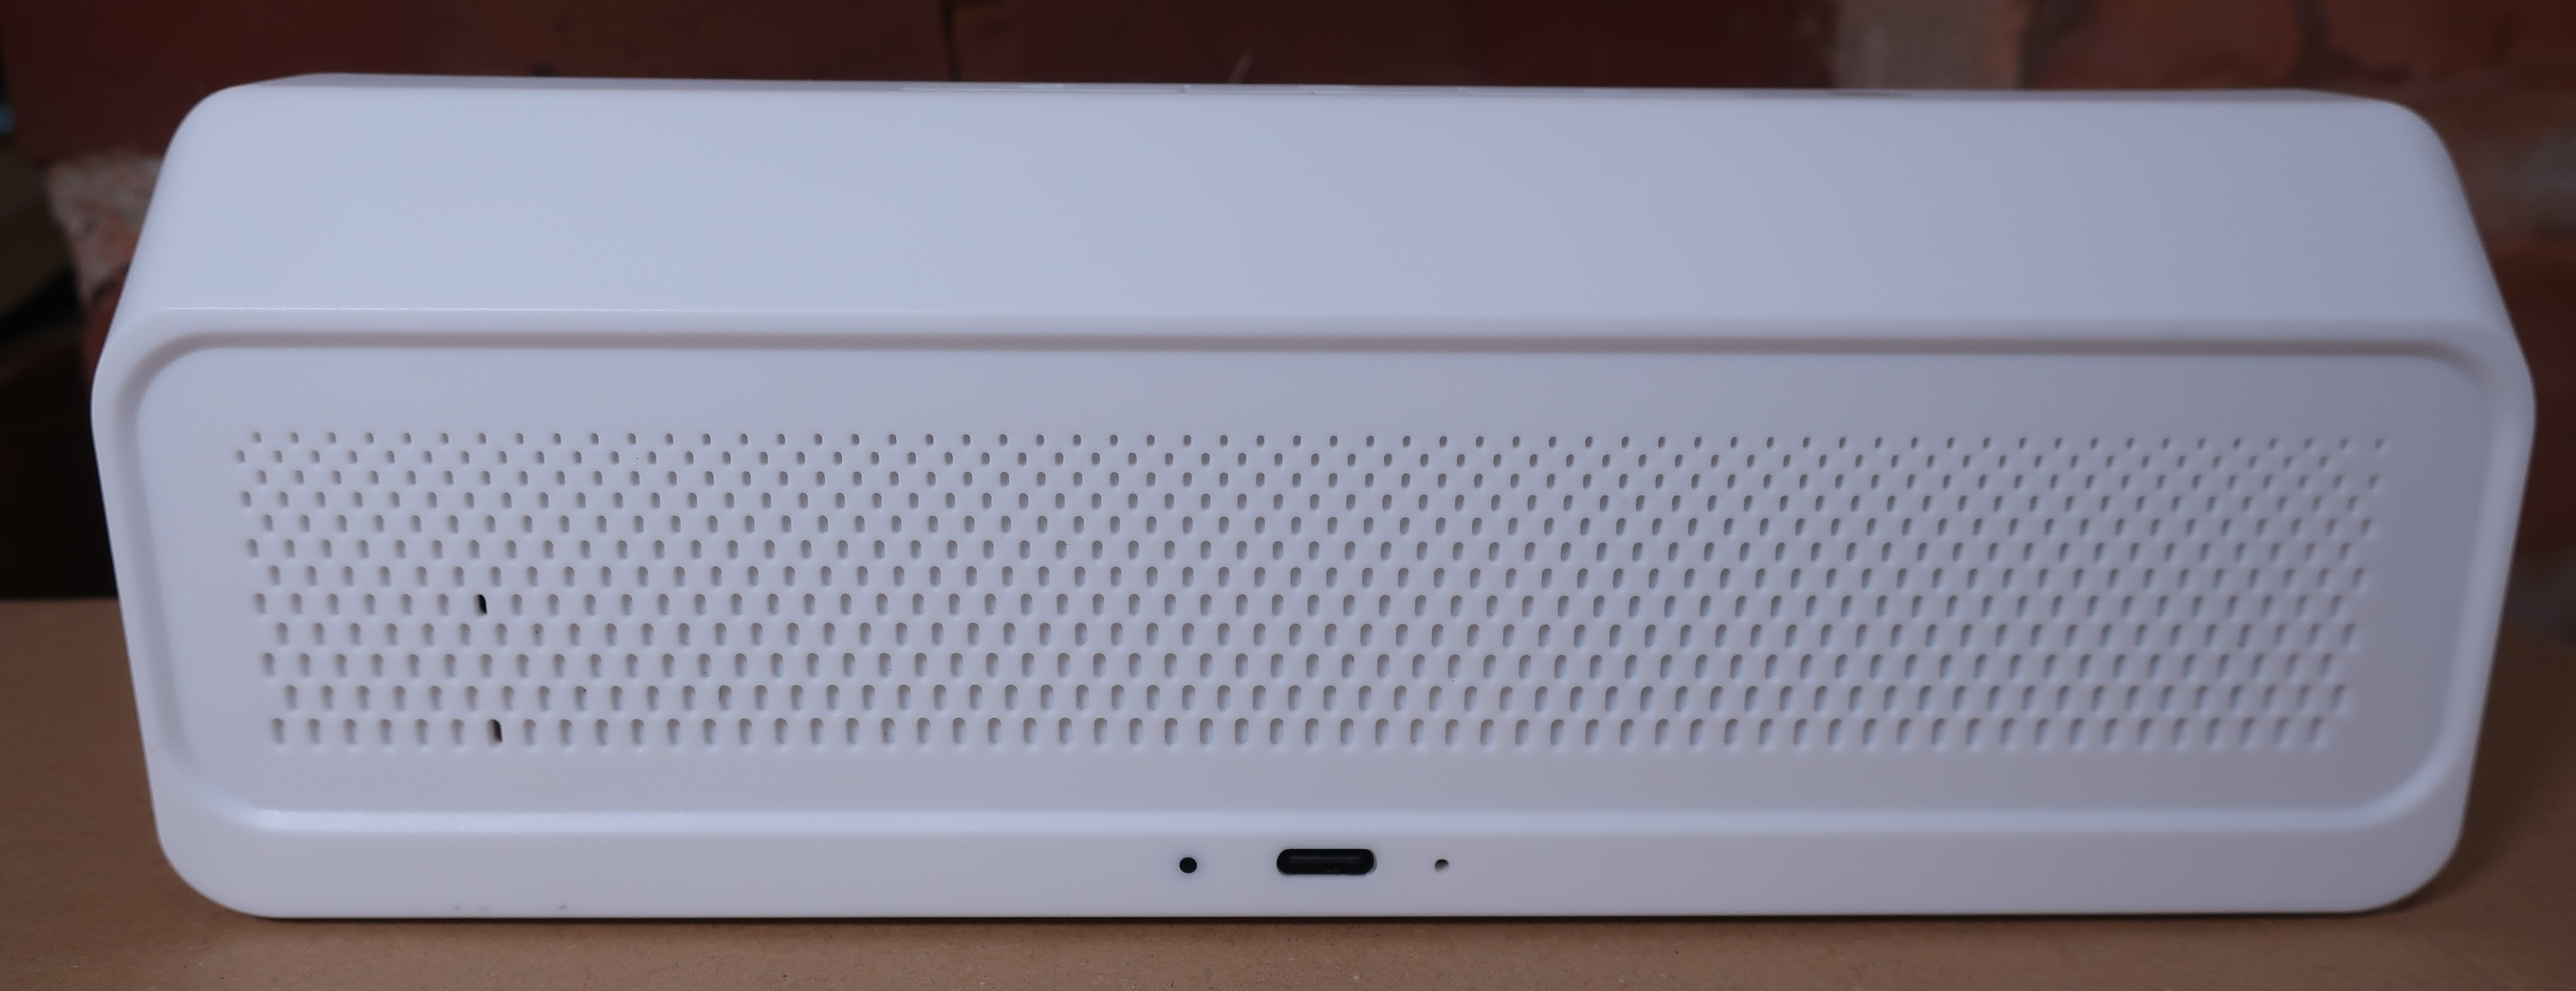
The clock is 200.58x70.25x31.86 mm sized and has 256 individual addressable LEDs in 8 rows and 32 columns running on a standard ESP32.
![]()
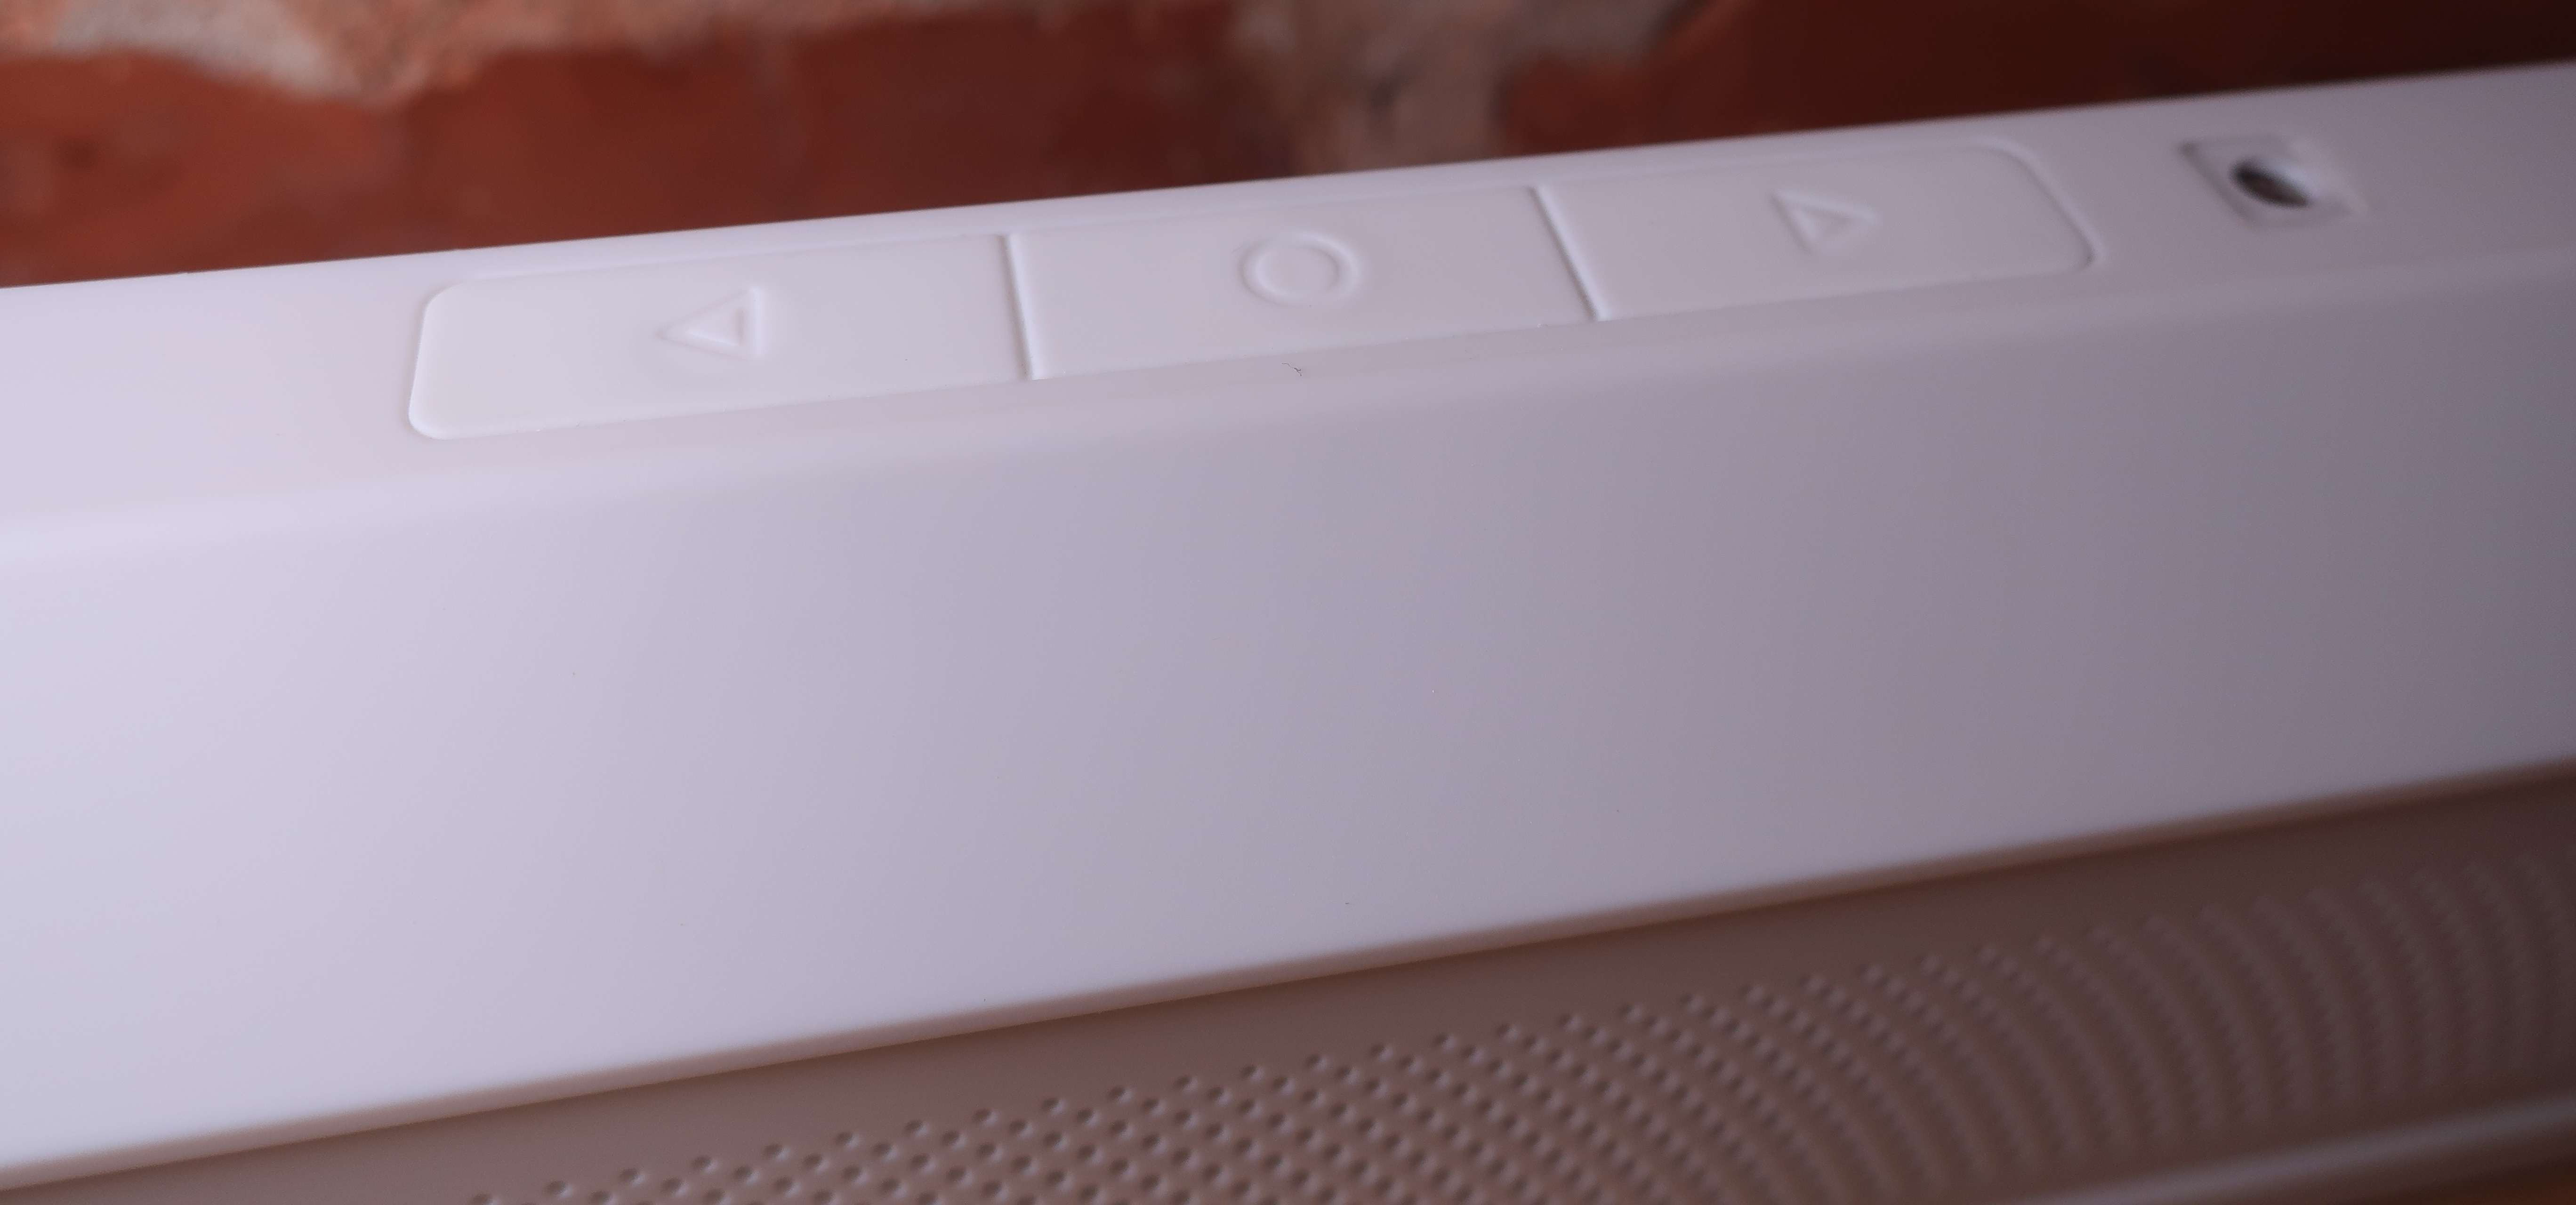
On the top of the case are 3 buttons and an analogue light sensor. Inside is a buzzer and a temperature and humidity sensor.
When connected to power the first time it will be in AP mode ready for configuration. The instructions are very clear on that so there’s no point to rehash it here.
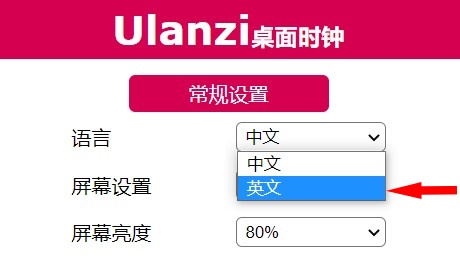
When you’re done with the network configuration you navigate to http://clock.local (or the IP address displayed on the clock) to access the settings which are initially in Chinese. No worries though, you can simply switch to English using the drop down pictured. After clicking save and a restart you’re ready to configure.
Not going to dwell on the original firmware anymore because the same old story repeats. The affordable hardware is severely hampered by its lacking firmware.
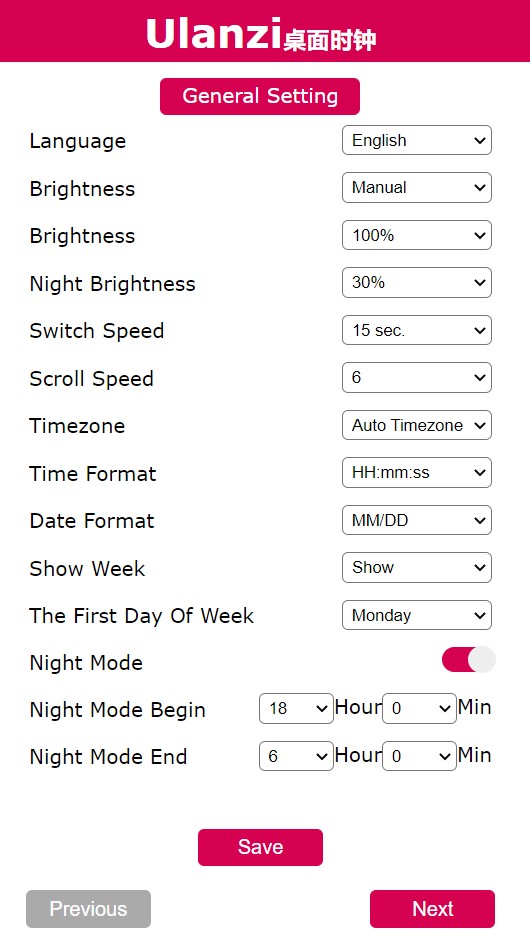
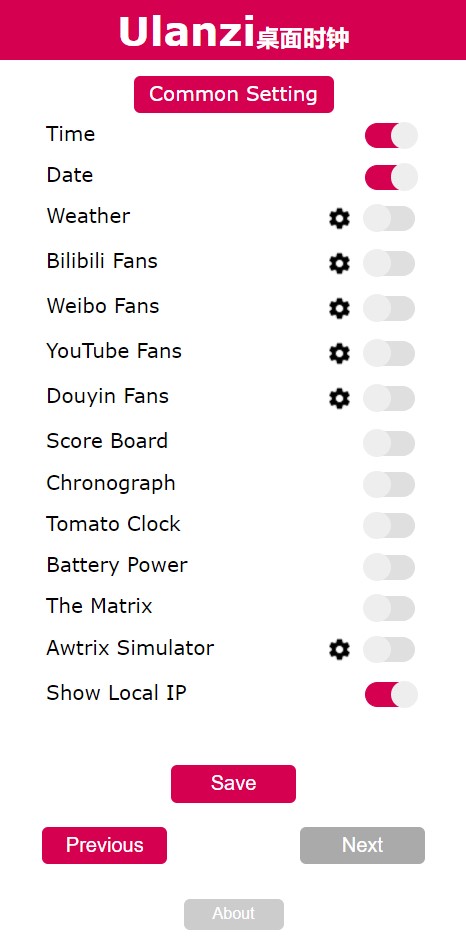
Ulanzi positions this as a YouTuber clock and promotes the subscriber count feature in its marketing material. Besides that, the majority of implemented features are for Chinese specific services. The small number of usable services might’ve been forgivable if not for the fact that the used Chinese weather API doesn’t send data for locations outside of China. There are a couple of interesting features like a game score clock and stopwatch which I can see being used coupled with the battery power, but that’s a niche feature and doesn’t require connectivity. A Pomodoro, or as the interface calls it, Tomato timer is another niche feature but useful if you implement that productivity technique. In the end you’re left with a clock, date and a Matrix animation for average home use. Nothing special but there is an interesting inclusion to make this clock actually useful…
Awtrix Makes it Better
The Awtrix simulator! Awtrix is, or rather, was (development is discontinued), a German project for pixel matrix displays initially created for ESP8266. Due to hardware restrictions it was necessary to run an Awtrix host server on another computer which would control the pixel matrix. Awtrix simulator in TC001’s firmware simulates an Awtrix matrix and allows you to control the clock using a standard Awtrix host.
Despite the discontinued development in August of 2022, the Awtrix community keeps the infrastructure running and their Discord server is still active. You can still find the Awtrix PCB or entire kit on AliExpress.
There are multiple ways to install the host server, you just need a Linux or Windows computer
If you have a Linux server or a Windows machine follow the official Installation documentation
If you’re running Home Assistant OS an addon is available at https://github.com/wHyEt/ha-awtrix2-addon
When the Awtrix host server is running set up Awtrix simulator in Ulanzi webUI:
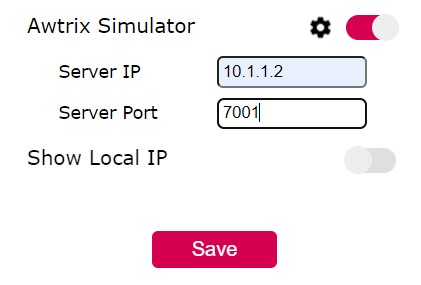
Server IP should be the IP of the Awtrix host server and port is 7001 (the default). It is recommended to turn off all other features so they don’t interrupt the Awtrix rotation. Alternatively you can increase Switch Speed or even set it to never if you really need some of the original features.
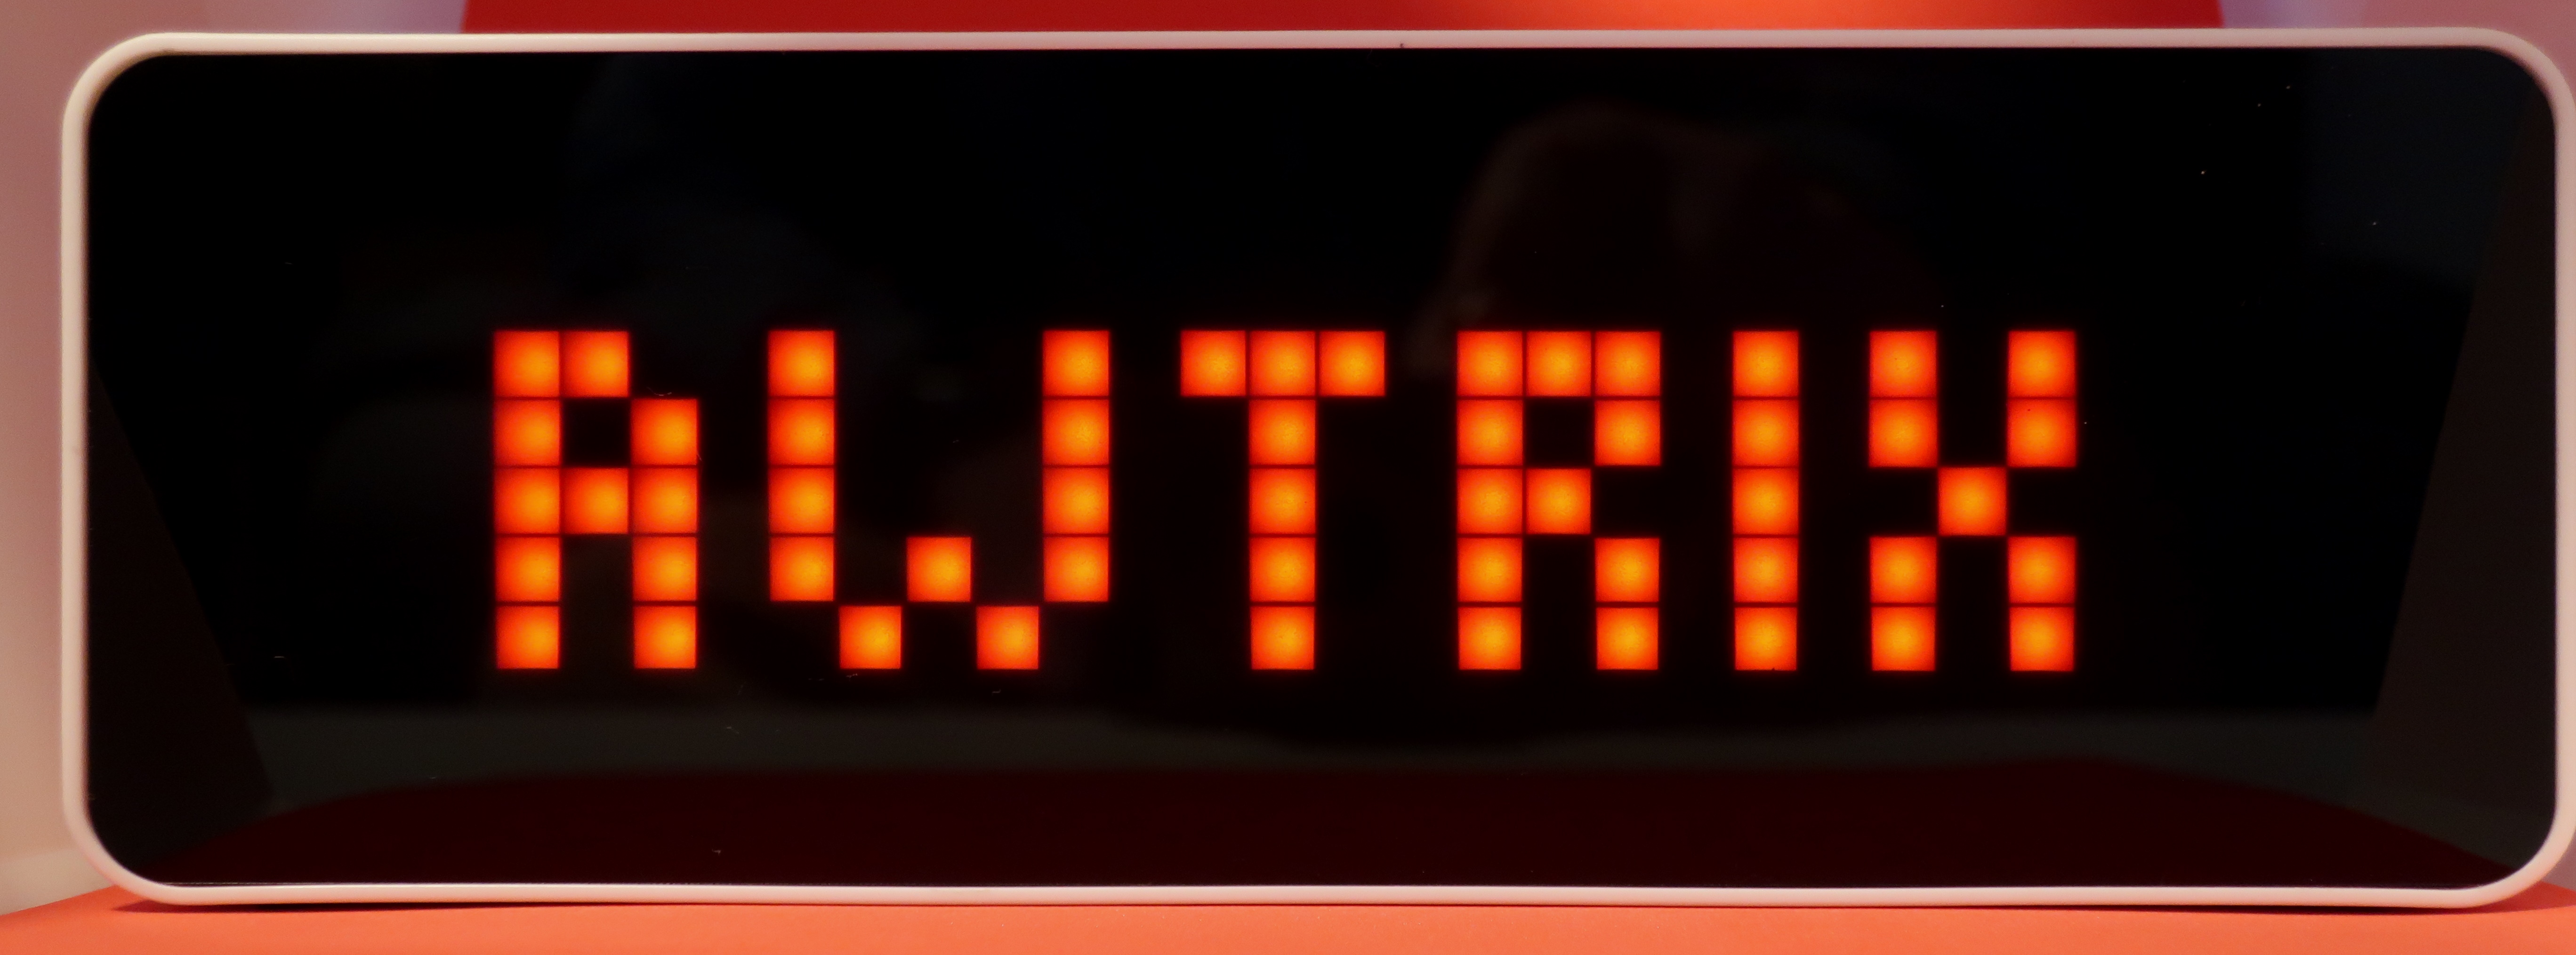
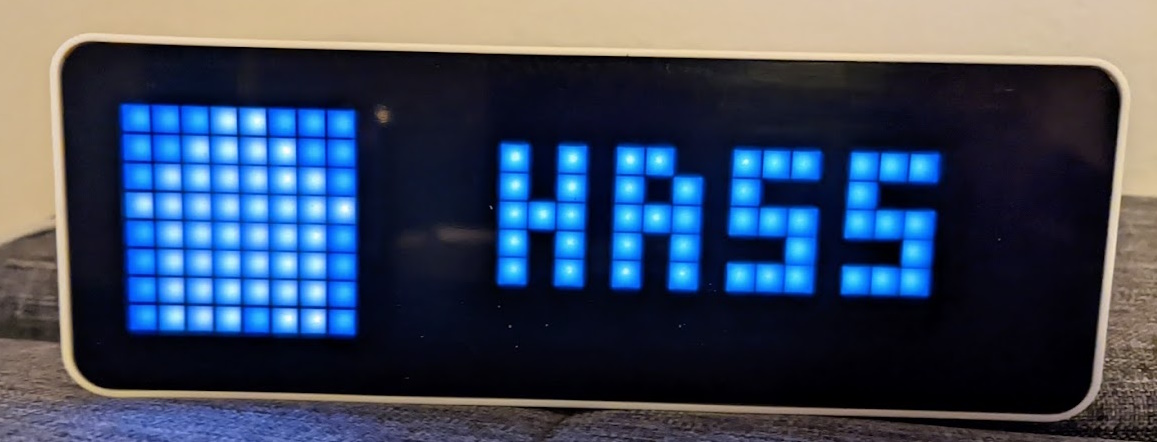
Click save and after a restart the pixel clock should display AWTRIX in red.
You can also check if it’s connected in the host server dashboard.

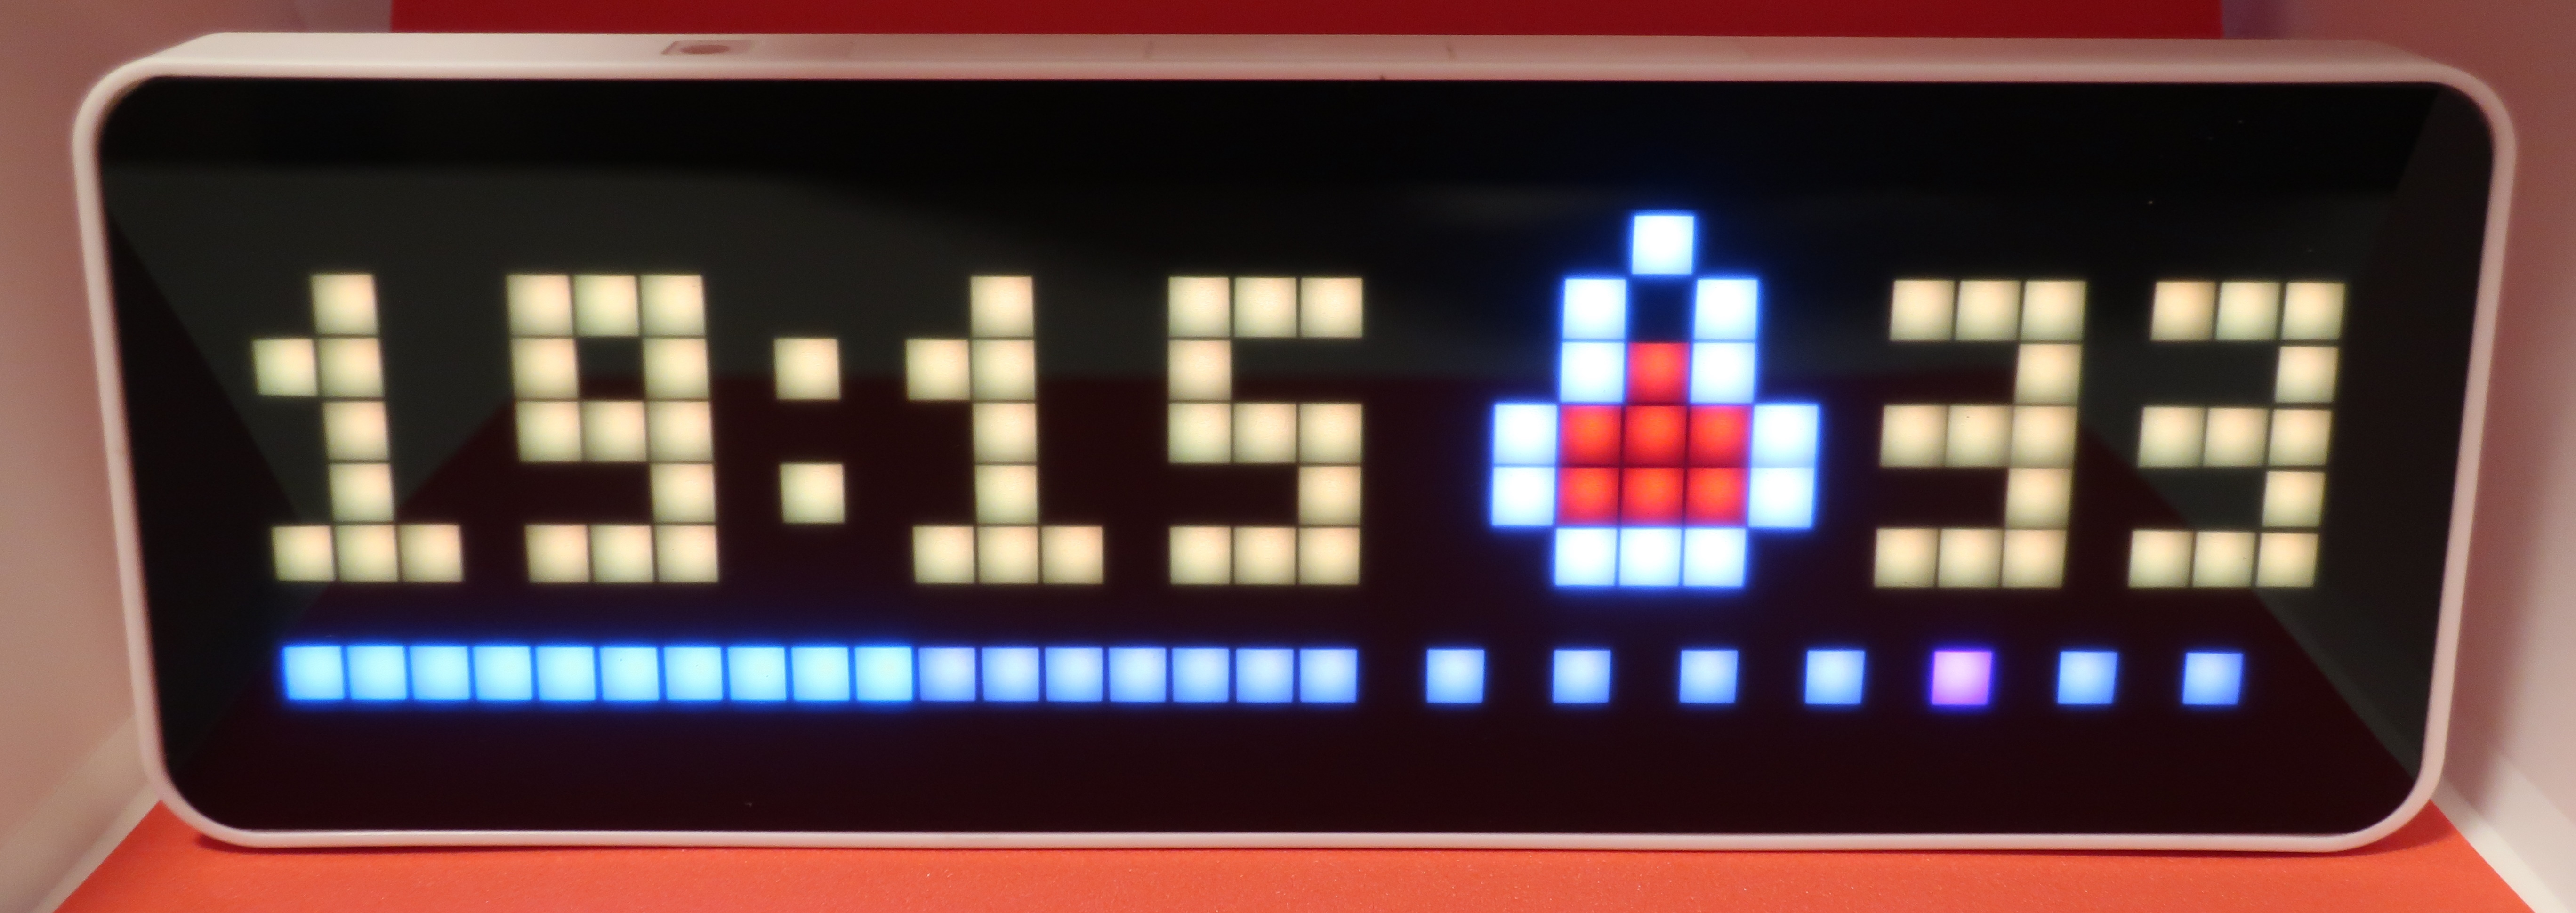
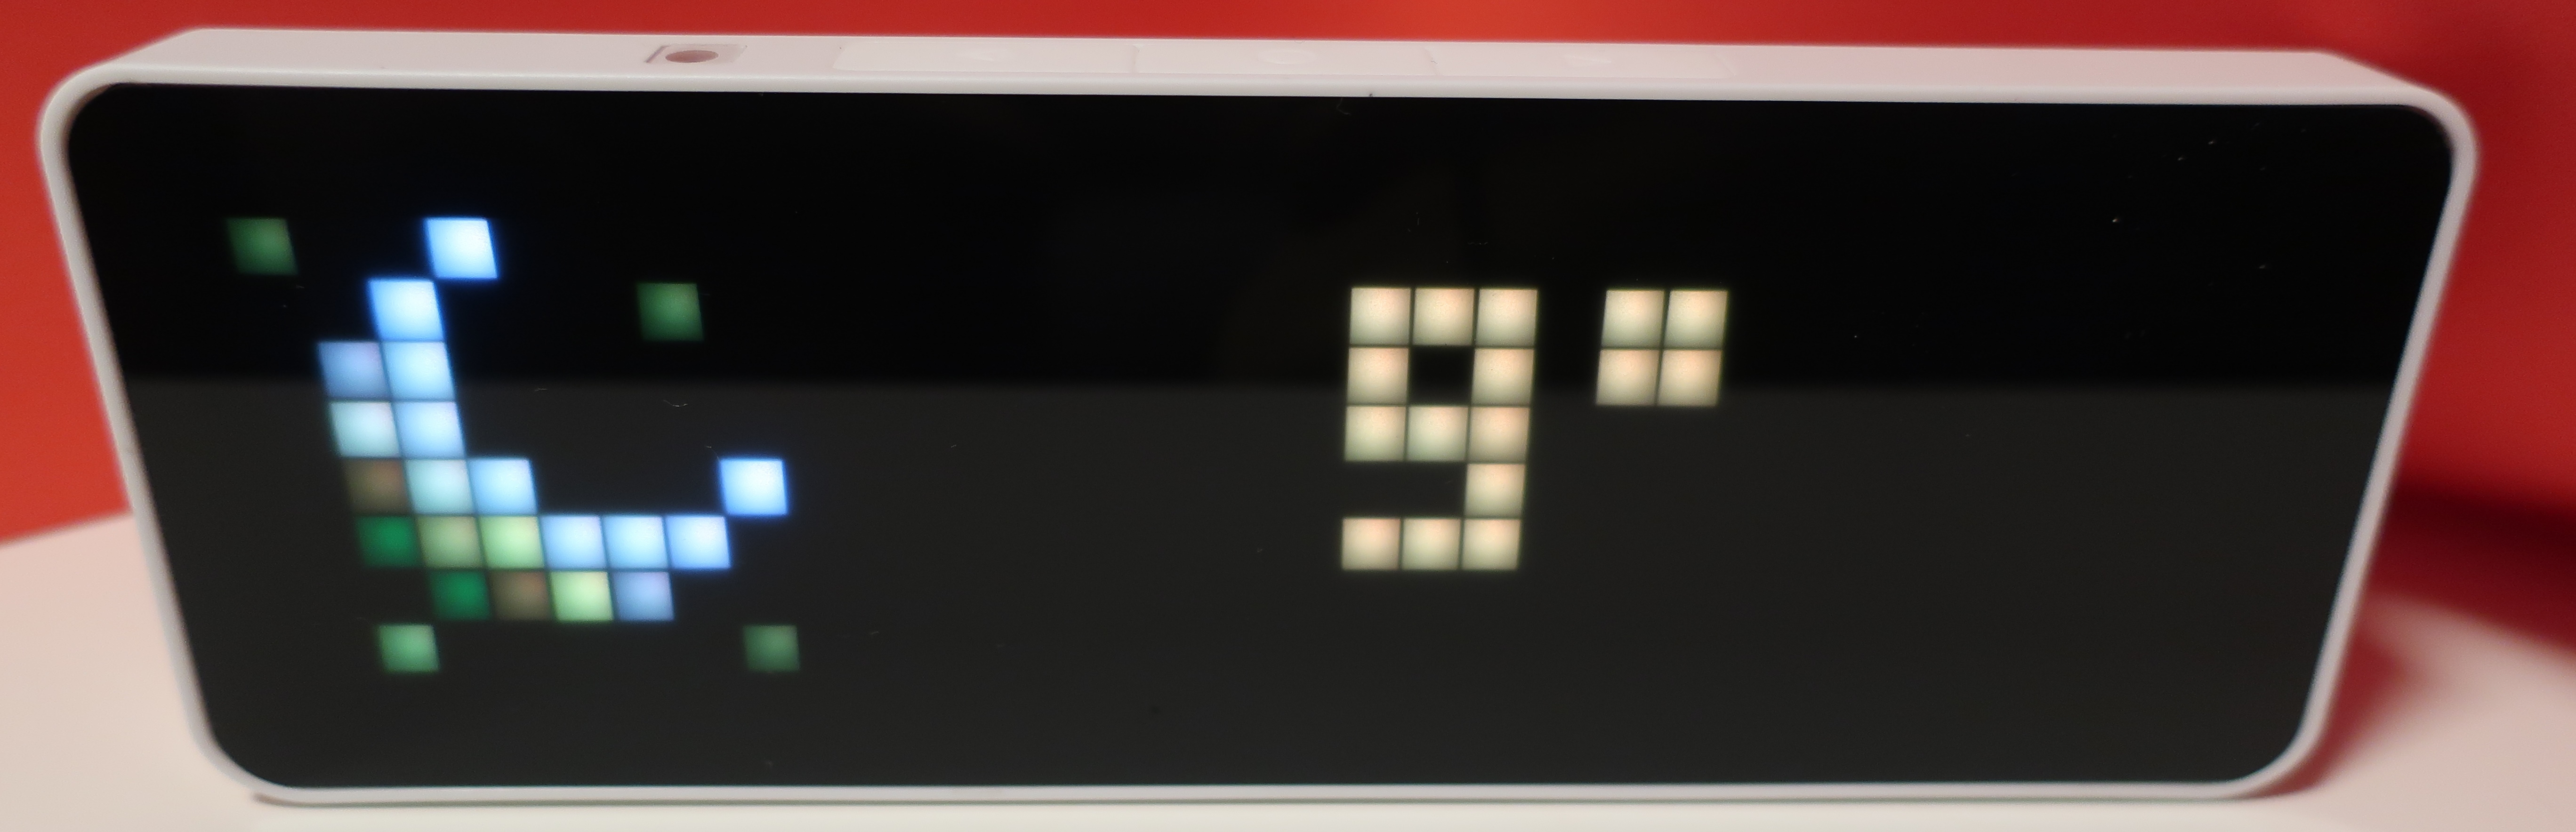
Awtrix has 78 apps to display and a wide selection of icons and animations for custom messages.
You can control the server or send custom messages using the MQTT/HTTP API
Take heed, this way is far from perfect, animations tend to be laggy or freeze at times. Entire Awtrix simulator component reboots from time to time, most likely caused by frequent disconnects between the matrix and server. At times they do not reconnect and I have to restart the host server. It’s just an OK way to expand the capabilities using the factory firmware.
The Killer Feature
This tweet shows some of the insides and that the front glass is glued so I didn’t bother disassembling mine since you don’t really need to do that.
That USB-C port in the back isn’t used just for power, it’s a complete serial interface just like a standard NodeMCU development board. That means you can flash the ESP32 without any soldering or even holding buttons on boot.
This makes the possibilities endless and I believe there will be a lot of development around this device once the word gets out.
Before playing with mine I backed up the original firmware twice with esptool.py. Better safe than sorry.
‘esptool -p COM9 -b 921600 read_flash 0x0 0x400000 ulanzi_tc001_factory.bin’
Make sure to use a good USB-C data cable, the one supplied with the TC001 was a bit flaky while backing up so I used a shorter one from my phone.
I flashed Tasmota on it using both serial and the firmware’s OTA upgrade feature. Yes you can even do that but the OTA flash might fail with other firmware. This made it easier to find the pinout without opening the device and tracing the pins with a multimeter, hopefully I got them all. Visit the Tasmota template page for flashing instructions, configuration and pinout.
With Tasmota it was easier to track battery usage with the ADC sensor and I published some of my findings on my Twitter account in this tweet, this one, that one and also here.
Conclusion
An ESP32 powered addressable LED pixel matrix in a nicely designed and well made enclosure that’s easily flashable like a development board. You don’t need extra hardware and there is no soldering, just plug in the USB cable and go.
An excellent choice if you’re looking for a pixel style display for notifications, animations or just a clock/weather display. There are many ways to use it and you’ll probably find one that’s perfect for you. The 8x32 pixels don’t give you a whole lot of room to get very artistic, but there’s the Pixoo64 for that and a review is in the works.
Built in temperature and humidity sensor is worthless for reading room temperature because it is enclosed with an ESP32 and a LED matrix who are both constantly heating it up.
Ulanzi Smart Pixel Clock is available from following stores:
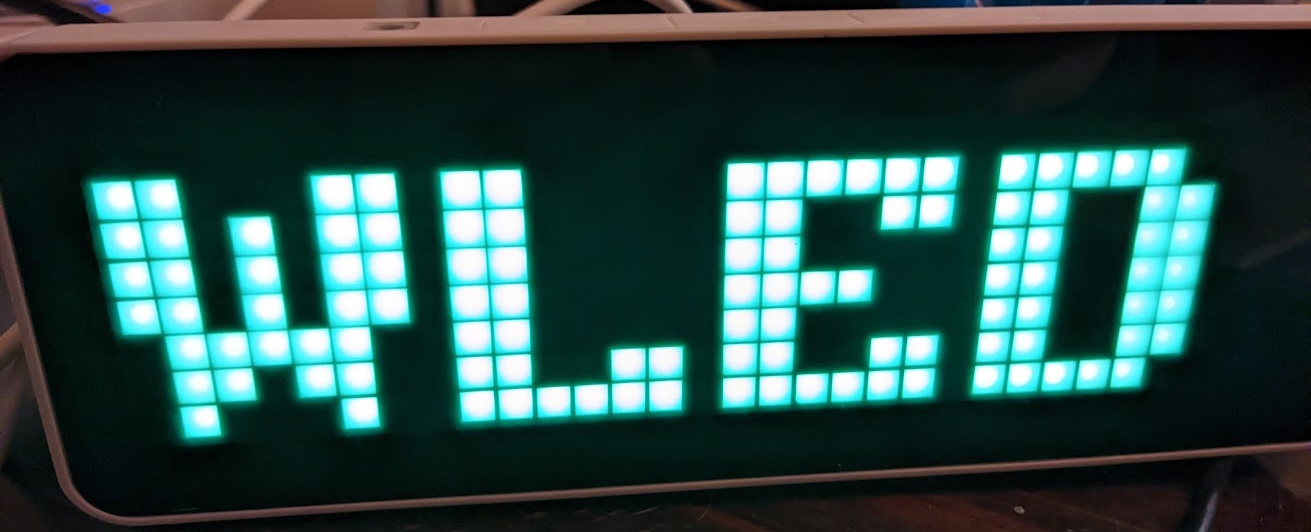
Next on the “firmware to try” list is WLED since it has 2D matrix support since v0.14.
Thanks to Blakadder for the review article, here is the link to the original article.