Lighting is one of the most important elements in creating compelling photographs. The way light interacts with your subject impacts everything from clarity and detail to the mood and emotion conveyed. As a photographer, understanding different lighting qualities and types enables better creativity and control in your image-making. This guide explores key considerations in choosing the photography lighting best suited to your needs.
Importance of Understanding Light for Photography
Light makes or breaks a photograph. The direction, diffusion, color, and angle of light dramatically impact aesthetics, details, and mood. Photographers who master articulating light gain creative abilities to intentionally heighten visual storytelling.
Training your eye to actively notice lighting as you go about life accelerates mastery. Study outdoor illumination across times of day and weather conditions. See how soft light versus harsh shadows captivates differently. Then recreate those patterns in photographs to spark comparable emotions.
Experiment until directing light feels intuitive for manifesting your imagined visions. Skilled lighting elevates mundane moments into entrancing visual artistry with impact. Light takes raw subjects and through considered illumination transforms them into photographs that move others.
Hard vs. Soft Light
Photography lighting falls into two main categories – hard and soft. Each creates distinct effects:
1. Hard Light
Hard light comes directly from a focused illumination point hitting the subject. Picture the bright sun directly overhead producing crisp still shadows.
Benefits:
- Emphasizes textures from high-contrast
- Creates defined lines and dramatic dimension
Limitations:
- Harsh mixing of highlights and shadows
- Can overly accentuate imperfections
Best for revealing precise details. Mismatched with flattering portraits.
2. Soft Light
Soft light originates from a diffused, scattered source before reflecting onto the subject. Think foggy day sunlight filtered through clouds.
Benefits:
- Wraps smoothly across contours for flattery
- Easier mixing of highlight and shadow tones
Limitations:
- Less intense subject illumination
- Potentially dull, flat ambiance
Works well to model subjects gently. Not ideal for conveying gritty character.
Consider if your goal is revealing every skin pore or gently smoothing overall skin texture based on needs.
Types of Light for Photography
Photographers shape two kinds of light sources: natural and artificial. Each offers distinct qualities:
1. Natural Light
Any illumination not created by people provides naturally occurring light. This includes:
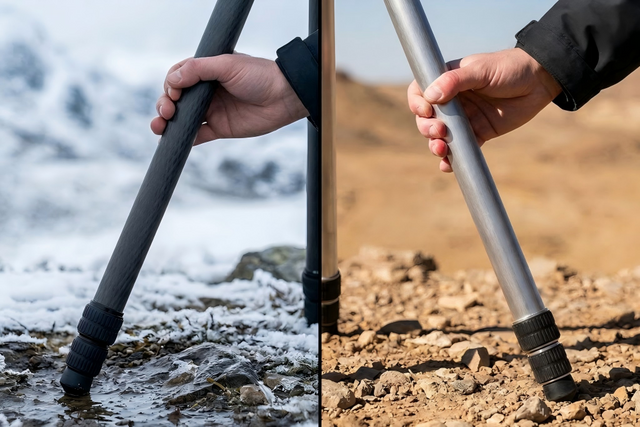
- Sun - Hard or soft depending on atmospheric conditions
- Moon- Low intensity, bluish tone
- Lightning - Dramatic, milliseconds duration
- Fire - Warm, flickering dynamic range
Skilled photographers accurately predict effects based on time of day, weather forecasts, and environment. They then leverage backgrounds that enhance the identified qualities of the given light.

2. Artificial Light
Artificial lights can be categorized by functionality:
Exposure & Continuous:
- Camera Flashes: Quick supplemental bursts to balance exposure
- Continuous Lights: Steady illumination for video or long exposures
Color & Effects:
- LED RGB Lights: Generates colored lighting for vibrant looks
- Gels and Filters: Modifies light color and quality
Main Lighting Body:
- Strobe Lights: Emits high-power pulses for primary subject illumination
- Monolights: Self-contained flash units with built-in power
Light Modifiers:
- Diffusers: Softens and spreads light beams
- Reflectors: Redirects light onto subjects or into shadows
- Umbrellas: Bounces and scatters light broadly
- Softboxes: Controls light spread and reduces harshness
- Snoots/Grids: Focuses light into spotlights or shapes
Grouping artificial sources by exposure filling, color effects, intensity control, and light adjustments clarifies unique lighting roles. Thoughtfully combining flashes, gels, strobes, and modifiers enables the flexible crafting of desired photographic atmospheres.

How to Use Light for Photography Effectively
Proper directing and positioning of categorized light serves photography goals:
1. Exposure & Continuous Lights
Front/Flat Lighting
- Position centered on subject
- Provides even, shadowless illumination
- Flattering for portraits
Side Lighting
- Placed at 45-60 degree angle
- Adds dimension through shadows
- Can accentuate facial contours
Backlighting
- Placed behind subject
- Outlines subject distinctly
- Risks losing detail

2. Color & Effect Lighting
Colored Gel Filters
- Tint continuous or strobe lights
- Sets mood with vibrant hues
- Enhances black-and-white conversion contrast
Textured/Patterned Projections
- Templates altering light shapes
- Creates background visual interest
- Highlights subject textures
3. Main Light Shaping
Diffusers
- Softens shadows, wraps lighting
- Controls harsh strobe spill
Reflectors
- Redirects light onto shadow areas
- Brightens macro product details
- Adds catchlights to eyes
Flags
- Metal or fabric cutoffs
- Precisely shadows unwanted zones
Adjust the direction, hardness, and color of categorized lights. This guides focus, establishes depth, and enables matching lighting to desired moods.
Factors in Choosing Lighting for Photography
Multiple factors guide matching lights to photography:
1. Subject Qualities
- Desired Texture Rendering:Say photographing weathered barn wood. Hard overhead sunlight spotlights each groove versus soft foggy dawn gently swelling grain. Determine flattering emphasis.
- Direction Determining Depth: Light striking a lighthouse dead-on loses dimension versus 45-degree side-raking showing roundness. Evaluate subject dimensionality goals.
2. Shooting Environments
- Gear Portability Requirements:Speedlights offer easier transport hiking mountain peaks over cumbersome studio kits. But events stay confined indoors. Assess location mobility constraints.
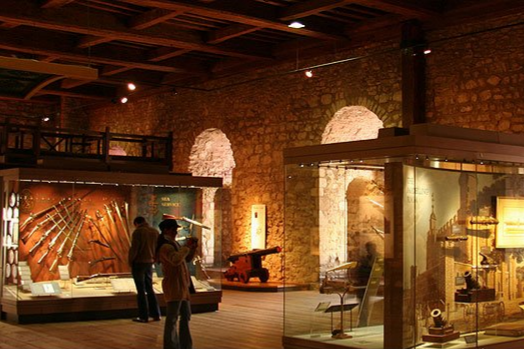
- Existing Ambient Light Conditions: Supplement moonlight forest shots with subtle LED panels versus overpowering dark reception halls with bright floods. Take stock of environmental illumination.
3. Overall Artistic Intent
- Light Color Matching Mood: Warm continuous tungsten lighting recalls vintage living room scenes while clinically cool LEDs suit laboratory product videos. Desired tone considered.
- Beam Positioning Conveying Background Separation: Rim light sharply detaches centric focus points from backgrounds versus top-down flattening spatial depth. Effects vary drastically.
Carefully weighing the needs of the subject, shooting environments, and intended aesthetics together informs ideal lighting selection. Test options align most factors first.
What Type of Lighting Is Best for Photography

Rather than one "best" light, identify what lighting qualities your photos require.
For Portraits:
Diffused, soft light is most flattering. Position a large window-filtered natural light source or reflective umbrella in front to evenly illuminate facial features. Observe how direction casts shadows highlighting contours.
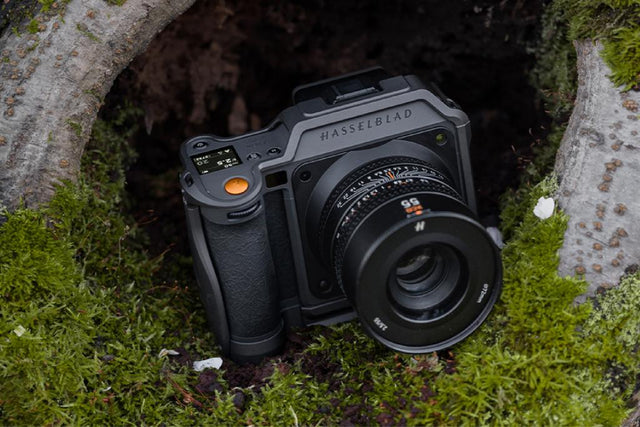
For Product Shots:
Select crisp, consistent lighting like focused continuous LEDs to showcase every product detail. Place lights at 45-degree angles to convey dimension. Backlights optionally boost separation.
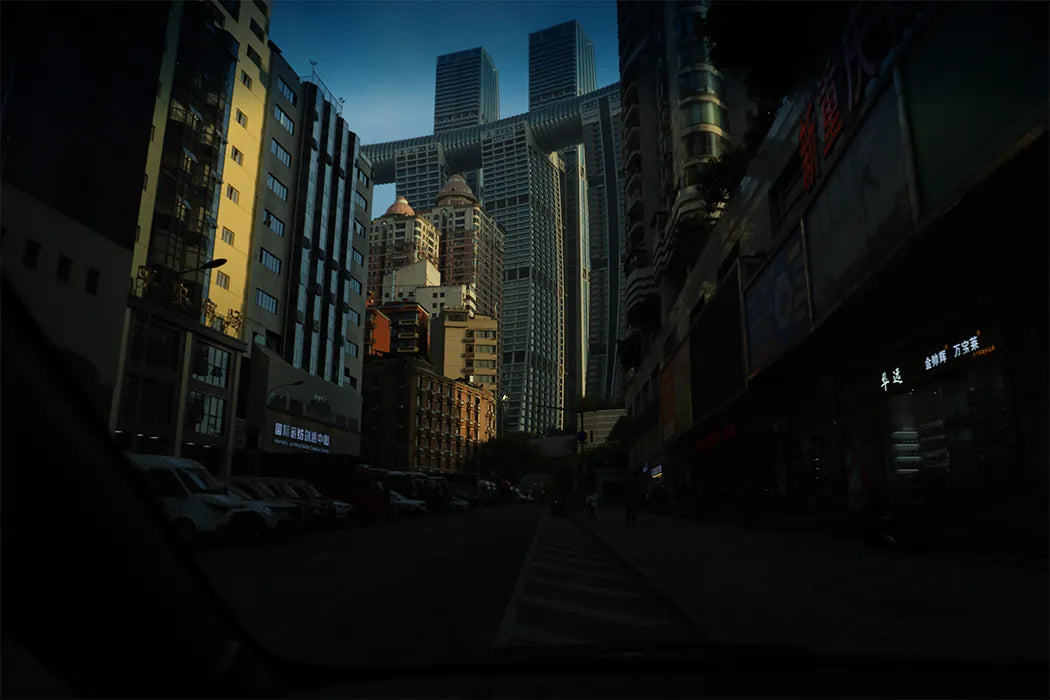
For Landscapes:
Time sunrise or sunset's magical hour when rich horizontal beams spotlight nature's textures. Or shoot on overcast days to emulate studio softbox effects opening shadow details.
For Video:
Set up continuous, portable light rings or panels with adjustable intensity to maintain consistent scene illumination. Soften harsh bulbs with clip-on diffusers to wrap subjects evenly.
Determine what lighting qualities, direction, and accessories best emphasize your photographic subjects and scenes. Identifying optimal setups for genres cuts editing struggles.
How to Optimize Photography Lighting Settings

While exact camera setting technicalities vary across gears, stick to these practical principles:
Diffuse unmodified hard light using white screens/sheets. Your camera exposes the bright spots - diffusing wraps soft light across the full scene to balance visibility and mood.
Reduce Contrast & Shadows
In daylight shade subjects from direct sun. For night/low light leverage off-camera flash or reflectors as fill illumination to open harshly contrasted darkness.
Customize Continuous RGB/Gels
Tweak continuous video lights with gels or RGB mixing to establish vibrant color moods. Limit effects to accent versus overwhelm.
Sculpt Depth Through Positioning
Feather-light across subjects at 45-degree angles to define the form and add pleasing dimension. Subtly paint rather than frontally flash subjects.
Essentially gently shape abundant, diffuse illumination while eliminating contrast hotspots and pools of darkness. Customize the tone for the cherry on top. This establishes professional depth, focus, and vibrance in all images.
Picking Proper Light Takes Practice
Ideal photography lighting simply manifests shaping ample, flattering illumination while eliminating harsh shadows and glare. Position diffuse sources at considered angles gracefully modeling subjects' intended textures, forms, and tones. Then accent with vibrant gels. Skillfully mixing light's direction, fall-off, and color through hands-on experimentation refining personal vision elevates images profoundly. Dedicated practice makes mastering light's emotional, and visual potency intuitive.