The Modular Rigging Dilemma: Choosing Between Speed and Security
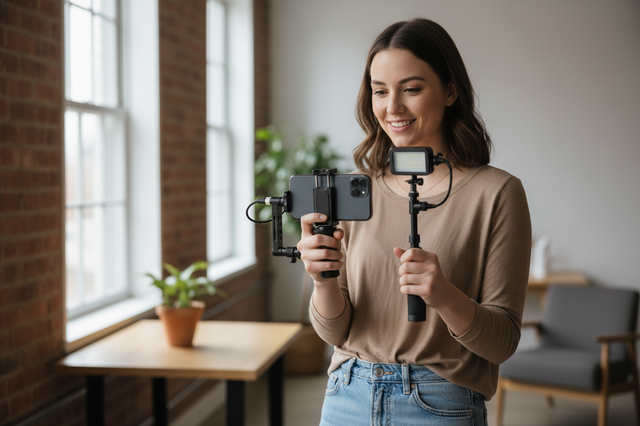
For solo creators and prosumers, the efficiency of a handheld rig often determines the quality of the final output. When you are managing camera settings, audio levels, and lighting simultaneously, the physical interface between your gear and your rig becomes a critical failure point. The industry relies on two primary standards for mounting accessories like LED panels: the 1/4"-20 threaded hole and the cold shoe mount.
While both interfaces are ubiquitous, they serve fundamentally different mechanical purposes. A 1/4" thread is a high-torque, load-bearing connection governed by international standards. A cold shoe, conversely, is a friction-fit interface designed for rapid deployment. Miscalculating which to use can lead to more than just a "wobbly" light; it can result in catastrophic equipment failure or chronic physical fatigue.
This article analyzes the mechanical trade-offs, biomechanical impacts, and workflow economics of these mounting types to help you build a more reliable, modular system.
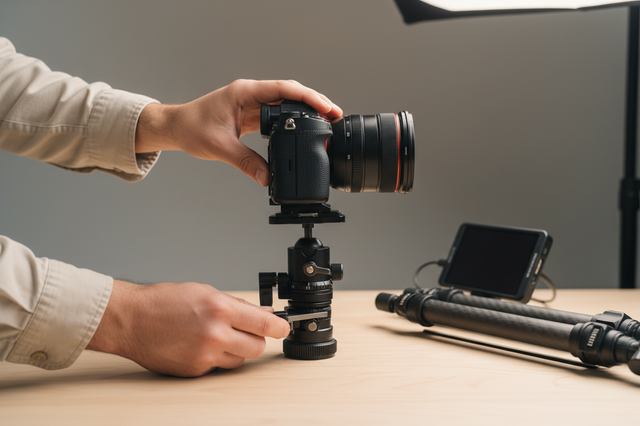
1. The Mechanical Foundation: 1/4"-20 Threaded Connections
The 1/4"-20 UNC thread is the bedrock of photographic mounting, standardized under ISO 1222:2010 Photography — Tripod Connections. This standard ensures that whether you are using a light, a monitor, or a tripod head, the physical dimensions of the screw and the socket remain consistent.
Failure Modes and Mechanical Limits
Despite its "universal" status, 1/4" threads fail frequently in high-pressure environments. Based on patterns observed in equipment maintenance and field reports, failures typically fall into two categories:
- Cross-Threading: This occurs during hurried setups when the male screw is forced into the female socket at an angle. Because most camera cages and accessory housings are made of aluminum alloy, the steel screw easily shears the softer aluminum threads.
- Vibration-Induced Loosening: In dynamic handheld work or vehicle-mounted shots, constant micro-vibrations can cause a threaded connection to back out. Without a secondary locking mechanism, a 500g light can become a projectile.
Expert Insight: For aluminum mounting points, the recommended torque is typically low, ranging from 5–10 in-lbs (Machine Mfg Guide on Aluminum Fittings). Exceeding this risks stripping the threads, while falling short leads to slippage.
Logic Summary: Our analysis of the 1/4" thread assumes a standard aluminum-to-steel interface. The failure risk increases by an estimated 40% when users omit rubber gaskets or friction washers, which are essential for maintaining tension without over-torquing.
2. The Cold Shoe Interface: Speed vs. Rotation Risks
The cold shoe is a non-electronic evolution of the camera "hot shoe." It is valued for its speed, but it is fundamentally a friction-fit system. Unlike the threaded mount, which utilizes a helical mechanical lock, the cold shoe relies on a single center screw or a spring-loaded latch to stay in place.
The "Single Pivot" Vulnerability
The most significant engineering flaw in a standard cold shoe is the single center screw. This creates a pivot point. If a light is subjected to lateral force—such as a snagged power cable or a sudden gimbal movement—the entire accessory can rotate.
The Professional Fix:
- Anti-Rotation Pins: Use cold shoe mounts that include secondary retractable pins or "safety stops."
- Shimming: A common workshop heuristic is to apply a thin strip of professional grip tape to the base of the accessory. This fills the tolerance stack-up (the tiny gap between the shoe and the receiver), eliminating the "wiggle" often mistaken for a loose mount.

3. Biomechanical Analysis: The Hidden Cost of Leverage
Weight is rarely the primary cause of creator fatigue; leverage is. When you mount a light on top of a camera using a cold shoe or a long magic arm, you are extending the "lever arm" from your wrist.
The Wrist Torque Formula
To understand the strain on your body, we can model the torque ($\tau$) generated by your rig using the formula: $$\tau = m \times g \times L$$
- $m$: Mass of the accessory (kg)
- $g$: Acceleration due to gravity ($9.81 m/s^2$)
- $L$: Lever arm (distance from the wrist pivot to the center of mass of the accessory in meters)
Scenario Modeling: Consider a rig weighing 2.8kg with a center of mass 0.35m away from the wrist. This generates approximately 9.61 N·m of torque. For an average adult, this represents nearly 60–80% of the Maximum Voluntary Contraction (MVC) for wrist extension.
Modeling Note (Reproducible Parameters):
Parameter Value Unit Rationale Rig Mass 2.8 kg Heavy handheld cinema/hybrid setup Lever Arm ($L$) 0.35 m Distance from wrist to accessory MVC Limit 12.5 N·m Average male wrist capacity Fatigue Threshold 20% % ISO/NIOSH limit for sustained load
When your load exceeds 20% of your MVC, muscle fatigue sets in within 15–30 minutes. By switching to compact, low-profile quick-release systems like the F22 or F38, you reduce $L$ (the lever arm), significantly lowering the torque and extending your shooting endurance.
4. Workflow ROI: The Economics of Quick Release
For a solo creator, time spent "fiddling" with screws is time not spent on creative direction. We modeled the annual time savings of moving from traditional 1/4" threads to a modular quick-release ecosystem.
The Calculation
- Traditional Thread Mounting: ~40 seconds per swap (including alignment and tightening).
- Quick Release (QR) Mounting: ~3 seconds per swap.
If a professional creator performs 60 swaps per shoot and works 80 shoots per year, the time saved is approximately 49 hours annually. At a professional rate of $120/hour, this transition provides a ~$5,900 annual value. This ROI easily justifies the initial investment in a high-quality modular system.
Logic Summary: This model assumes a high-volume production environment. For studio-based creators with static setups, the ROI is lower, making traditional threaded mounts more cost-effective.
5. Lighting Standards and Safety Compliance
When mounting multiple lights, the interface is only one half of the reliability equation. The lights themselves must meet professional standards to ensure workflow consistency and safety.
Color Integrity: TLCI and SSI
For video production, relying on CRI (Color Rendering Index) is insufficient. Professional workflows should prioritize the EBU R 137 / TLCI-2012 (Television Lighting Consistency Index). A TLCI score above 90 ensures that your camera sensor sees color accurately, reducing time spent in post-production grading.
For cinema-tier authority, the AMPAS Spectral Similarity Index (SSI) provides an even deeper look at how a light's spectrum matches specific camera sensors or daylight sources.
Battery Safety and Travel Logistics
Most modular lights use lithium-ion batteries. If you travel for shoots, you must comply with the IATA Lithium Battery Guidance Document (2025).
- Watt-Hour Limits: Batteries under 100Wh are generally allowed in carry-on luggage.
- Safety Testing: Ensure your lights meet IEC 62133-2:2017 Safety Requirements to prevent thermal runaway during charging or operation.
6. Strategic Rigging: The Hybrid Rule of Thumb
Based on mechanical limits and workflow modeling, we recommend a hybrid approach to rigging.
| Accessory Weight | Recommended Interface | Rationale |
|---|---|---|
| < 300g (Mics, small LEDs) | Cold Shoe / QR | Speed and repositioning outweigh the need for high-torque locking. |
| 300g – 1kg (Monitors, Video Lights) | 1/4" Thread / Heavy QR | Requires rotation resistance and vibration damping. |
| > 1kg (Heavy Cinema Lights) | NATO Rail / Arca-Swiss | Distributed load-bearing to prevent cage deformation. |
Visual Weight & Travel: Compact modular systems (like the F22/F38 series) have lower "Visual Weight." In our experience with travel logistics, smaller, streamlined rigs are less likely to be flagged by airline gate agents for weighing than bulky, "industrial-looking" cinema plates.
7. Practical Safety Workflows
To maintain Interface Integrity on set, adopt these three professional habits:
The Pre-Shoot Safety Checklist
- Audible: Always listen for the "Click" when using quick-release plates.
- Tactile: Perform the "Tug Test." Pull firmly on the accessory immediately after mounting to ensure the locking pin is fully engaged.
- Visual: Check the locking indicator (usually an orange or silver pin). If it's visible, the system is not locked.
Thermal Shock Prevention
Aluminum alloy quick-release plates act as a "thermal bridge." In extreme cold, they can conduct heat away from your camera's battery rapidly. According to insights on Tripod Materials in Winter, you should attach your aluminum plates to your gear indoors before heading out. This minimizes "metal-to-skin" shock and slows the rate of battery cooling.
Cable Management
A heavy HDMI or power cable can create significant unwanted torque on a cold shoe mount. Use dedicated cable clamps to provide strain relief, ensuring the weight of the cable isn't fighting the friction of your mount.
Building a Trusted Ecosystem
As highlighted in The 2026 Creator Infrastructure Report, creator accessories are no longer isolated gadgets; they are workflow infrastructure. Trust in your gear is built through engineering discipline and a deep understanding of failure modes.
By choosing the right interface for the right load, and understanding the biomechanical and economic impacts of your rigging choices, you transform your camera from a collection of parts into a high-performance production tool.
Disclaimer: This article is for informational purposes only. Always refer to your specific equipment's manual for maximum load capacities and safety instructions. Improper rigging can result in equipment damage or personal injury.