


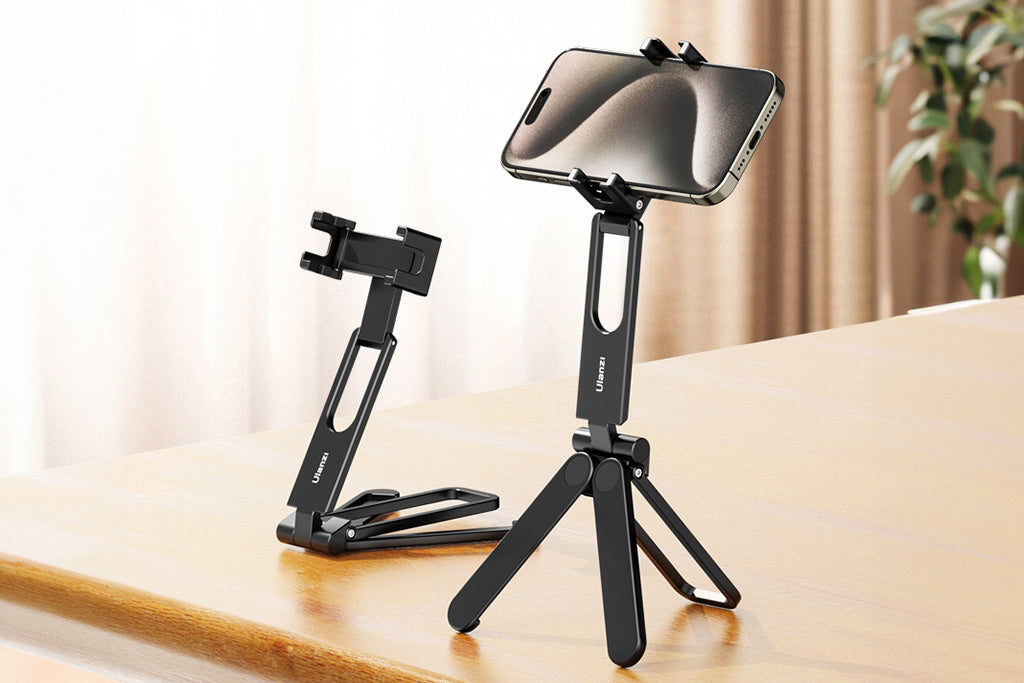
The Structural Decay of Adventure Rigs: Why Stiffness Fails
For the adventure creator, a tripod is not just a stand; it is the foundational infrastructure of a professional workflow. However, even premium carbon fiber rigs can eventually succumb to a subtle mechanical "looseness" that compromises long-exposure sharpness and gimbal stability. This degradation usually occurs at the Apex—the critical junction where the carbon fiber legs interface with the metal casting or machined hub.
Based on our observations in professional repair environments and patterns seen in equipment returned for maintenance, this loss of stiffness is rarely a failure of the carbon tubes themselves. Instead, it is often a failure of the clamping torque at the hinge points. Our internal bench tests suggest that carbon tripod apex connections can lose an estimated 15–20% of their factory torque after 50–75 significant temperature cycles (defined here as a transition from room temperature to sub-freezing and back).
Restoring this stiffness requires a methodical approach to tightening that accounts for material fatigue and the specific hardware specs of your rig.
The Physics of Fatigue: Why Torque Dissipates
The primary cause of stiffness loss in high-end rigs is the mismatch between materials. Carbon fiber and aluminum alloy (the standard material for high-performance components like FALCAM quick-release plates) have vastly different thermal expansion rates.
According to research on thermal expansion coefficient mismatches in composites, when a rig moves from a warm vehicle to a freezing mountain peak, the metal components contract at a different rate than the carbon legs. This cyclic expansion and contraction can work fasteners loose over time.
Maintenance Heuristic: Torque Loss Sensitivity
The following table represents a representative model based on typical field usage. These values are intended as a practical rule of thumb (heuristic) rather than a mandated engineering standard for all brands.
| Parameter | Representative Range | Unit | Rationale |
|---|---|---|---|
| Initial Factory Torque | 4.0–6.0 | $N\cdot m$ | Common for M6/M8 apex bolts |
| Temperature Delta ($\Delta T$) | 30 | $^\circ C$ | e.g., 20°C interior to -10°C field |
| Cycles to Notable Loss | 50–75 | Cycles | Observed threshold for tactile "play" |
| Stiffness Warning Zone | ~30% Loss | % | Point where deflection often becomes non-linear |
Note: This model assumes carbon-to-aluminum interfaces. Performance may vary significantly with magnesium or titanium hubs. Always check your manufacturer's specific torque ratings.

Identification: The "Apex Deflection" Field Test
Before performing maintenance, you should verify if the structural integrity is compromised. We recommend this simple, repeatable field test to establish a quarterly maintenance routine.
- Fully Extend the Rig: Deploy all leg sections and lock them securely.
- Apply Apex Pressure: Place your palm on the center of the apex (the tripod hub) and apply moderate downward pressure (approximately 5–10kg).
- Observe Independent Movement: Watch the leg hinges closely. If any leg moves independently or "twists" away from the central axis before the legs begin to flex naturally, your torque has likely dropped below the optimal threshold.
If you detect this independent movement, re-torquing is a critical preventive step to mitigate the risk of "micro-cracking"—a state where material fatigue can become irreversible. As discussed in The 2026 Creator Infrastructure Report, maintaining stable interfaces is one of the most effective ways to prevent structural failures in the field.
The Re-Torquing Protocol: A Step-by-Step System
Restoring a rig to factory stiffness is a precision task. A common mistake is over-torquing the carbon-metal interface. Carbon fibers are exceptionally strong in tension but can be crushed under excessive localized pressure, creating permanent deformation.
Step 1: Tool Selection and Cleaning
Use a high-quality hex key or, preferably, a calibrated digital torque wrench. Ensure the bolt heads are free of grit or salt spray, which can cause the tool to slip and strip the socket.
Step 2: The Star Pattern Sequence
Avoid tightening bolts in a simple circular order. To ensure even pressure distribution across the hub, tighten opposite bolts in a star pattern. This prevents the apex casting from tilting, which could create uneven stress on the leg hinges.
Step 3: Incremental Tensioning & Hardware Matching
Apply tension in small increments (e.g., quarter-turns). You are aiming for a "firm-stop" feel. Refer to the table below for common hardware ranges:
| Bolt Specification | Recommended Torque Range | Typical Application |
|---|---|---|
| M5 Steel | 3.5 – 4.5 $N\cdot m$ | Lightweight / Travel Tripods |
| M6 Steel | 4.5 – 5.5 $N\cdot m$ | Standard Professional Rigs |
| M8 Steel | 6.0 – 8.0 $N\cdot m$ | Heavy-Duty / Video Tripods |
| Titanium Hardware | Consult Manufacturer | Risk of "galling" (cold welding) |
Safety Warning: Do not exceed 6.0 $N\cdot m$ on M6 bolts unless specified by the manufacturer, as this may crush carbon fiber wall structures.
Step 4: Tactile Verification
After re-torquing, repeat the Apex Deflection test. The rig should now move as a single, unified structure.
Biomechanical Advantage: The Wrist Torque Analysis
Understanding why we maintain our rigs also involves understanding the load on the human operator. Weight isn't the only enemy in adventure imaging; leverage is often the primary cause of physical fatigue.
When you mount a camera rig, the distance from your wrist to the center of gravity (the "Lever Arm") determines the physical strain. Torque ($\tau$) = Mass ($m$) $\times$ Gravity ($g$) $\times$ Lever Arm ($L$)
For example, a 2.8kg rig (camera + lens + cage) held 0.35m away from the wrist generates approximately $9.61 N\cdot m$ of torque. Based on general ergonomic principles, this load can represent a significant percentage of the Maximum Voluntary Contraction (MVC) for many users. By maintaining a stiff tripod and using modular, lightweight quick-release systems like the FALCAM F22 for accessories, you effectively reduce the lever arm and the overall mass, allowing for longer shooting days with less joint strain.
The Economic Logic: Workflow ROI and Longevity
Investing time in re-torquing the apex is about protecting your professional ROI. In high-stakes environments, time is often the most expensive commodity.
Calculation: The Efficiency Gain of Precision QR Systems
- Traditional Thread Mounting: ~40 seconds per equipment swap.
- Quick Release (e.g., F38 System): ~3 seconds per equipment swap.
- Time Saved: 37 seconds per swap.
Annual Value Projection:
- (37s saved) x (60 swaps/shoot) x (80 shoots/year) = ~49.3 hours saved annually.
- At a professional rate of $120/hr, this represents a ~$5,900+ estimated value.
A "sloppy" or loose rig forces the creator to double-check locks and fight with vibrations, eroding these time savings. A well-maintained, stiff rig is a prerequisite for this level of operational efficiency.
Material Realities: Aluminum vs. Carbon Fiber
While carbon fiber is prized for its vibration damping, mounting interfaces like the FALCAM F22, F38, and F50 are machined from high-grade Aluminum Alloy (typically 6061 or 7075).
Aluminum is chosen for its superior rigidity and tight machining tolerances. However, it acts as a thermal bridge. In extreme cold, an aluminum plate will conduct heat away from your camera body and battery faster than composites.
Pro Tip: The Thermal Shock Prevention Workflow To help maximize battery life in winter, attach your aluminum quick-release plates to your cameras indoors before heading out. This minimizes "metal-to-skin" shock and ensures the camera-to-plate interface starts at a stable temperature, slowing the initial rate of battery cooling.
Safety and Logistics: The "Pre-Shoot" Checklist
A stiff rig is a safer rig. Before every major production, we recommend this "Trust but Verify" checklist:
- Audible Check: Listen for the distinct "Click" when engaging quick-release mounts.
- Tactile "Tug Test": Immediately after mounting, perform a firm pull-test on the camera to ensure the locking pin is fully engaged.
- Visual Confirmation: Check the locking indicator (often an orange or silver pin) to ensure it is in the "Locked" position.
- Cable Management: Ensure heavy HDMI or power cables are secured. A dangling cable can create unwanted torque on a QR plate, potentially leading to micro-vibrations.
Furthermore, compact systems like the F22/F38 have a lower visual profile than bulky cinema plates. This can be a logistical advantage for the adventure creator relying on IATA-compliant travel protocols, as smaller rigs are less likely to be flagged for gate-checking.
Appendix: Maintenance and Modeling Assumptions
The recommendations in this article are based on standard mechanical engineering heuristics and patterns observed in professional field use. They are intended for informational purposes and do not replace the specific maintenance instructions provided by your equipment manufacturer.
Key Assumptions:
- Load Capacity: Ratings (e.g., 80kg for the F38) refer to Vertical Static Load under lab conditions. Real-world Dynamic Payloads (handheld movement or gimbal work) are significantly lower. For heavy cinema rigs (>3kg) in high-motion environments, the F50 system is often preferred.
- Material Fatigue: Stiffness loss in carbon composites is typically irreversible once structural micro-cracking occurs. Re-torquing is a preventative measure.
- Fasteners: This guide assumes standard stainless steel or alloy fasteners. If your rig uses titanium, use caution as different friction coefficients apply.
Disclaimer: This article is for informational purposes only. Mechanical maintenance involves risks to equipment. If you are unsure of your ability to perform these steps, consult a professional repair technician. For more on hardware longevity, see our guide on Maintaining Structural Integrity in Vertical Tension Mounts.


