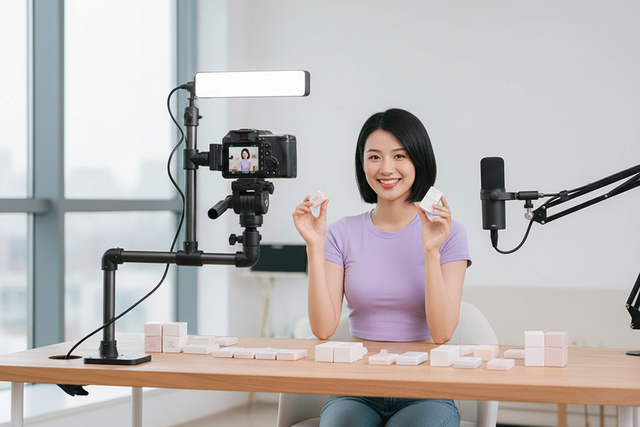
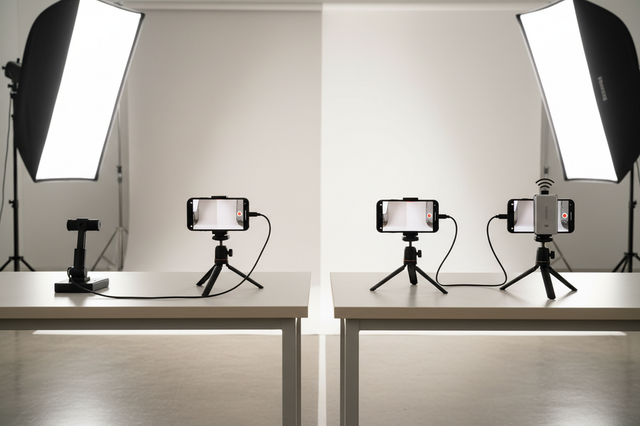
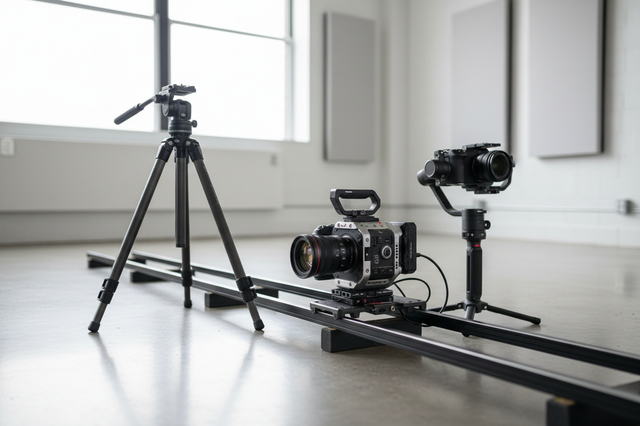
A grab-and-go creator setup stays useful when it is treated as a verified state, not just a packed bag. Build a fixed core kit around your most common shoot, return each item to an assigned home, check power and connections after use, restore the next device preset, and run one final departure check. That routine reduces avoidable omissions without promising that every shoot will be trouble-free or instantly ready.

Give Your Grab and Go Creator Setup a Fixed Home
The best default pack-out contains the equipment you use repeatedly, while specialty items stay in a labeled add-on area. Choose storage—a bag, drawer, shelf, or desk station—based on the actual volume of the kit that travels, not on everything you own.
Choose the Core Kit for Your Most Common Shoot
Start with the device and shooting pattern you use most often. A phone-first kit, compact-camera kit, and hybrid kit may share some items, but they should not be assumed to share every connection or mount.
Use these categories as a practical starting point rather than a complete list for every creator:

- Capture: the phone, camera, lens, or other primary recording device.
- Audio: the microphone, receiver, wind protection, or headphones needed for the usual recording task.
- Power: the device battery, spare battery where applicable, charging case, charger, or power bank that the next shoot actually uses.
- Mounting: the clamp, plate, handle, tripod connection, or other support hardware for the usual position.
- Connections: the identified cables and adapters required for charging, file transfer, audio, or accessory power.
- Carry: the bag, pouch, or compartment system that keeps the core group together.
Move a specialty lens, unusual adapter, extra light, or project-specific prop to a separate assignment group. A compact crossbody camera bag can be a relevant carry-home option when its volume matches the kit you actually take, but check the current product details before buying.
Create Visible Zones for Capture and Carry
Give the device, power items, cables, mounts, and small adapters separate visible locations. A drawer can use labeled sections; a desk station can use trays; a bag can use dedicated pockets. The goal is to see what is present and what has not been returned without emptying the entire kit.
Keep the storage volume close to the traveling kit. If a large container encourages reserve accessories to mix with daily items, use a smaller default zone and a clearly marked reserve area instead. This is the practical value of compact creator gear organization: the next reset has fewer places to search, while assignment-specific gear remains available when needed.
Reset Power Before the Next Shoot
Power belongs in the post-shoot reset, not in an assumption that a device was charged last time. Check the exact device, spare batteries, charging case, and power bank you expect to use; follow the maker's charging and storage guidance, and mark anything unchecked as not ready.
Match Charging to Your Shooting Frequency
Your reset cadence should follow how often you shoot. It should not depend on one battery percentage or charging schedule, because phones, cameras, battery packs, and charging systems have different requirements.
| Shooting frequency | Post-shoot reset | Items to verify | Departure check |
|---|---|---|---|
| Daily or near-daily | Check power after every session and return the required charger or cable to its assigned slot. | Device, active battery, charging case, and any power source used that day. | Verify again when the next shoot uses a different device or location. |
| Several times per week | Include power in each reset, even when the next shoot is not yet fully defined. | The device most likely to travel, its required charger, and any labeled backup. | Check before leaving once the device and shoot are confirmed. |
| Occasional shoots | Perform a deliberate check when the next shoot is scheduled, rather than trusting storage time. | Device power state, charger, cable, spare power, and any device-specific requirements. | Complete the full grab check immediately before departure. |
For a daily routine, the reset can be brief: check each power source, recharge or replace what needs attention, and return the correct charger to its home. For an occasional routine, do not call the kit ready until you have actively checked it against the next shoot.
Keep a Backup Without Overpacking
Backup power adds value when the location, shoot length, or charging access makes a power interruption inconvenient. It adds maintenance when you carry it by habit but rarely verify its state. Keep it separate or label it clearly, and include it only when the device and assignment make it useful.
If the backup is unchecked, treat it as reserve—not as proof that the primary device is ready. For device-specific charging or storage decisions, use the manufacturer's documentation rather than a generic battery rule. A portable vlog kit may help you browse related categories, but the exact power needs still belong to the individual devices in your setup.
Keep Cables and Adapters in One Traceable Set
Organize cables by the connection they perform, then verify each set against the exact device. A matching connector alone does not prove that a cable supports the charging, data-transfer, audio, or accessory-power task you need.
| Connection need | Cable or adapter set | Assigned location | Exact-device check |
|---|---|---|---|
| Charging | The cable and charger combination specified or supported for the device. | A labeled power pocket or charging tray. | Confirm the device's charging instructions before relying on it. |
| File transfer | The cable or adapter used to move footage from that device. | A device-labeled cable sleeve or pouch. | Check the manual's transfer procedure and both ends of the connection. |
| Audio | The cable, receiver, adapter, or interface required by the microphone and recording device. | The audio section of the core kit. | Confirm connector type, device support, and the intended audio path. |
| Accessory power | The connection used for a light, monitor, receiver, or other accessory. | With the accessory or in a labeled power section. | Verify the exact accessory and power method rather than relying on fit. |
Keep one clearly identified ready-kit set and move rarely used cables to reserve storage. After charging or editing, return both ends to the right set; a cable left at the desk is still missing from the mobile filming kit.
Device manuals can define a specific transfer workflow. For example, the Insta360 X5 manual's cable and transfer procedure directs users to use the official USB-C cable and select File Transfer. That is a device-specific example, not a universal rule for every USB-C cable, camera, or phone.
Restore Mounts and Device Presets After Each Shoot
A packed setup can still need reconfiguration if the last device, orientation, or mount hardware remains in place. Treat a device change as a reset event: restore the preset for the next phone, compact camera, or interchangeable-lens workflow and verify the exact hardware before leaving.
Use One Preset for Each Device Type
Record the parts that must be checked for each device type instead of relying on memory. Keep the presets separate even when some components are shared.
| Device type | Mount hardware | Orientation | Settings to verify | Item that remains packed |
|---|---|---|---|---|
| Phone | The exact phone clamp, plate, or holder used for the planned position. | Portrait or landscape, plus the intended camera direction. | Recording mode, framing, audio path, and any app setting you routinely change. | The compatible phone connection and the device-specific support hardware. |
| Compact camera | The plate, cage, or mount specified for that camera. | Lens direction, screen position, and intended shooting angle. | Recording mode, audio input, stabilization or other settings relevant to the shoot. | The camera-specific cable, battery, and storage items where required. |
| Interchangeable-lens camera | The exact plate, cage, or support hardware for that body and lens combination. | Balance, orientation, and access to controls. | The settings that differ from your phone or compact-camera preset. | Only the hardware and connections confirmed for the next configuration. |
A modular quick-release mount collection can be a browsing path for creators comparing mount options, but compatibility depends on the exact device, plate, mount, and load specifications. Do not treat a shared ecosystem as automatic approval for every combination.
Test the Swap Before Packing the Setup Away
After changing devices, perform one dry swap before you close the bag or return the setup to its home. Follow this sequence:
- Attach the exact clamp, plate, or mount hardware for the next device.
- Check alignment, orientation, and access to the device controls.
- Confirm that the device is held by the intended hardware and that the required connection is present.
- Return unused mount parts to their labeled location.
This is a configuration check, not a universal safety or load test. If any part, plate, or device is unfamiliar, consult the relevant manufacturer specifications before using the combination.
Finish With a Two-Minute Grab Check
Before departure, check the device, power, required connections, mount configuration, recording media or storage, and shoot-specific add-ons. After the shoot, remove temporary items and restore the default state so the next reset starts from a known arrangement.
Use one checklist rather than relying on memory:
- Device: Is the exact phone, camera, or other recorder for this shoot in the kit?
- Power: Have you checked the device, required battery or charging case, charger, and any backup you intend to use?
- Connections: Are the labeled charging, transfer, audio, and accessory-power sets present?
- Mount: Is the correct clamp, plate, orientation, and preset restored for this device?
- Storage: Does the device require a memory card or other recording medium, and have you checked the relevant space or availability?
- Special items: Did you add the assignment-specific lens, light, microphone, prop, permit-related item, or other temporary accessory?
Some devices have requirements that make a packed kit incomplete without a final device check. For example, DJI's Osmo Pocket 3 guidance identifies compatible charging options and a microSD card requirement for captured footage. Apply that example only to the specified device; other cameras and phones may use different charging and storage arrangements.
Use a Shoot-Specific Add-On Envelope
Keep the default kit unchanged and add only what the assignment needs. An envelope can be physical, such as a labeled pouch, or digital, such as a short shoot note attached to the packing checklist. Mark the add-on before departure, then remove it during the post-shoot reset so temporary gear does not quietly become permanent clutter.
Review the Routine After Missed Items
Revise the step that allowed the omission instead of simply adding more gear. Review the routine after:
- a missed item or cable;
- a device change that required unexpected reconfiguration; or
- a recurring search through the bag, drawer, or desk station.
Move the item, rename the zone, or add one specific check. If reserve accessories create more confusion than value, move them out of the default kit. A creator desk setup can be a useful category to browse when the home base itself is the source of repeated reset friction.
Frequently Asked Questions
How Should I Handle a Kit Shared Between a Phone and Camera?
Keep a shared core only where the exact connections and mounts are compatible. Use separate labeled presets for the phone and camera, and verify the connector, orientation, settings, and device support every time the configuration changes. If one shared item repeatedly creates confusion, move it to a device-specific pouch instead of forcing both workflows into one default pack.
What Should Stay Packed If I Cannot Charge the Kit Overnight?
Pack the items required for the next confirmed shoot and clearly mark any power source you have not checked. Use the device maker's charging guidance rather than a universal threshold; if the charging state is unknown, the kit is not verified ready. You may also reduce the default pack to the device and accessories you will actually use instead of carrying an unchecked backup.
Should I Leave a Memory Card or Storage Accessory in the Ready Kit?
Keep a dedicated recording option only when it fits the exact device, your footage-transfer routine, and your privacy preferences. Before departure, confirm that the device supports the card or accessory and that available space is appropriate for the planned recording. If you remove media after each shoot, make that removal-and-replace step part of the checklist rather than assuming it stayed in the device.
When Should I Remove Gear From a Grab-and-Go Kit?
Move gear to labeled reserve storage when it belongs to a finished project, needs cleaning or repair, no longer fits the main device, or repeatedly causes confusion during the final check. Keep it available for reassignment, but outside the default kit until a specific shoot calls for it. This rotation keeps the core pack tied to current use instead of gradually becoming a storage bin.
Apply the reset after your next shoot: return the core kit to its fixed home, verify the exact power and cable needs, restore the next device preset, and run the departure checklist. If a storage, carry, mount, or desk-base gap remains after that test, browse only the category that solves that specific gap.