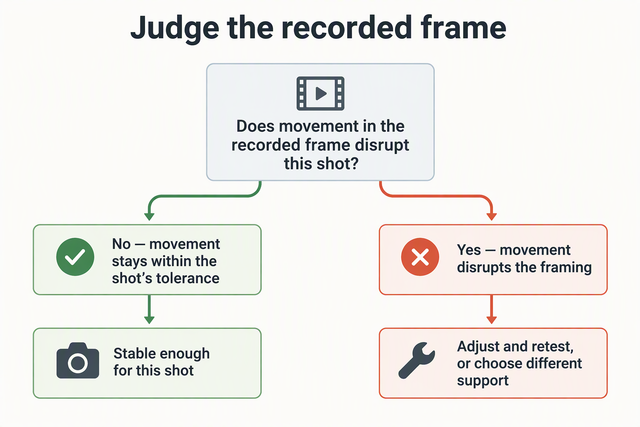
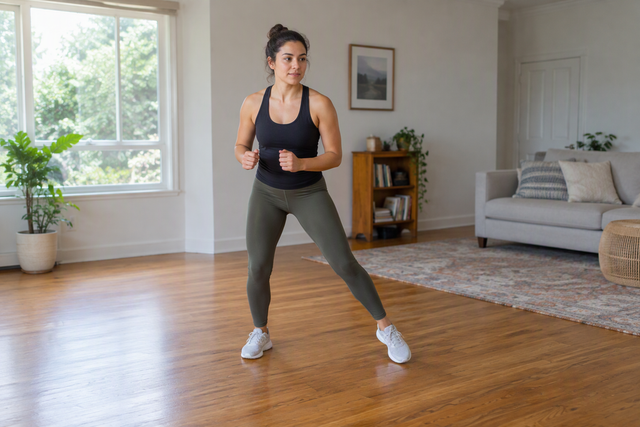
For walking videos, choose the POV mount setup that still shows your intended view during a short test walk, because the camera moves every time you do. For stationary tutorials, choose the position that keeps your hands, tools, and work area in frame during a dry run, since you can set the angle before you start. Neither head nor neck mounts win every time, so your test in the real scene makes the call.

Once you know which scene you're shooting, check the exact mount's camera fit, size range, and adjustment options before you rely on it for a full recording.
Choose a walking mount by testing the moving frame
For walking footage, pick the setup whose view stays usable during a real walk, not the one that looks best while you stand in front of a mirror. The camera rides on your body, so a position that frames well at rest can point somewhere else once you start moving.
- Decide what the shot must show. Maybe that's the path ahead, a storefront at eye level, or your hands on a dog leash. Name it before you pick a position.
- Use your real gear in the planned position. Wear the same camera, clothing, backpack straps, and jacket you'll have on for the full video.
- Record a short, representative walk. Match the pace, turns, stairs, and stops the final video will include.
- Review the clip on a larger screen. Ask whether the intended subject stays in frame, whether the path drifts out of view, and whether a collar, strap, or chin crowds the edge.
- Adjust or switch positions if the view fails. Change the angle, tighten the fit, or try a different position. Then record another test clip before the full video.
This test is a practical way to choose, and it doesn't crown one style of POV mount for every walk. A head, neck, or chest position earns its spot by passing this check with your camera, your outfit, and your route. Say a neck-worn camera starts aiming lower as you walk, or a heavy coat pushes it down. Our neck-mount tilt check walks through a check, adjust, and test routine for getting a level, forward-facing view back.
Frame a stationary tutorial around the demonstration
For a tutorial where you stay in one place, build the frame around the demonstration and keep the position that shows your hands, tools, and materials during a dry run. You can set the angle before you begin, so the question here is coverage of the task, not keeping up with movement.
- Identify the action and the area to show. For a sewing demo, that might be the needle, the fabric edge, and the hand guiding it.
- Position and angle the camera toward that area. Set it up while you're seated or standing exactly as you will during the recording.
- Perform a real portion of the task. Go through the actual hand movements instead of checking an empty table.
- Check the footage for visibility. Confirm that your hands, tools, and work area stay in view the whole time, and note any moment when a lean or head turn pushes the work out of frame.
- Reposition and repeat if anything disappears. Make one change at a time so you can see which adjustment fixed the problem.

Camera height changes what the viewer sees. PetaPixel's action camera mount roundup notes that a hat mount keeps the camera at eye level, while a chest mount sits at a lower angle than a first-person view and may be blocked by arms or extra harnesses. In a hands-on demo, that's exactly what to watch for in your dry run: whether your own arms cover the work.
Sometimes no wearable position gives the angle a task needs, such as a straight-down view of a cutting mat. That points to a different setup, not a better wearable mount. Our guide to a desk-clamped overhead POV rig covers that route for solo crafters.
Verify the exact mount's fit and adjustments
Before you commit to a specific mount, match your exact camera and its attachment interface to the product's formal compatibility information. Then compare the listed fit and adjustment ranges with how you plan to wear it.
- Camera model and interface: Look for your camera or its mounting interface in the compatibility field, not just in a feature headline.
- Adapter needs: Confirm whether your camera needs an adapter or mounting piece to attach, and whether you already have the right one.
- Fit range: Measure your head circumference in inches for head-mounted gear, and check neck-strap length ranges against the manufacturer's fit guidance rather than assuming strap length equals neck circumference.
- Adjustment and orientation: Check the listed tilt, rotation, and horizontal or vertical options against the angle your scene needs.
- Stated use: Read what the listing says the mount is designed for, such as hands-free POV filming, and compare it with your plan.
Two of our own listings show what these entries look like in practice. Our CM027 head strap mount lists a head-size range of 19.69 to 27.56 in, and its formal compatibility spec lists action cameras. Its feature text also mentions phones, so plan around an action camera unless your exact phone setup is covered in the compatibility details.
Our ZJ09 neck mount lists an adjustable 4.72 to 13.78 in strap and 360° rotation for switching between horizontal and vertical framing. Ranges like these tell you whether a mount can fit you and turn the way you need. How the frame behaves on a walk or over a workbench still comes from your scene test.
If you shoot on a DJI Osmo Action, start the interface check with our accessories for DJI Osmo Action and confirm the mounting details on each listing. Once a mount clears these checks, put it on with your real camera and record one short test in the actual scene before you start a full-length recording.
FAQs
Can one POV mount setup work for both walking videos and tutorials?
It can, but only if it passes both tests. A position that holds a usable view on a walk may still miss your hands at a workbench, and the reverse is also possible. If you plan to film both, expect to re-adjust the angle between scenes and record a quick test clip each time you switch.
Does 360° rotation mean my shot will stay framed?
No. Rotation tells you the camera can turn between orientations, such as horizontal for a wide view or vertical for a phone-style format. It doesn't control where the lens points once you move, lean, or reach. Framing comes from placement and fit, which you confirm by watching a test clip.
What should I do if I'm not sure my camera fits a mount?
Go by the formal compatibility field and the attachment interface, not a broad description. If your camera isn't listed, check whether a standard adapter connects it to the mount's interface before buying. If you want to use a phone instead of an action camera, our guide on choosing a phone rig explains how case-installed dimensions and clamp fit affect what attaches securely.