

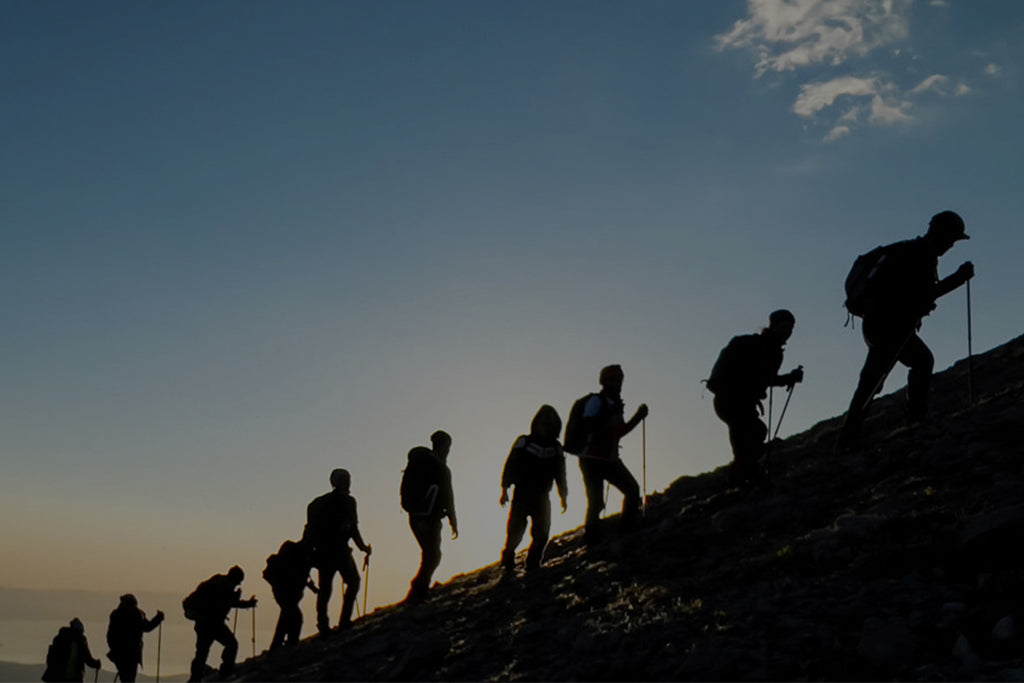
Hiking takes you through some of the most amazing places, and along the way, each snapshot can tell a story. Imagine holding onto those moments forever with just your camera. This article is your handy guide to doing just that. We'll guide you through selecting the right camera for trail adventures, setting it up for stunning and vibrant images, and taking photographs that both honor and preserve the natural beauty around you, ensuring you stay safe and show respect while on the trail. No matter if it's wide-open scenery or a surprise animal encounter, our advice will make sure your hikes are remembered in stunning detail. Let's step into the world of outdoor photography and learn how to capture the memories you'll treasure.
What Should You Pack for Amazing Hiking Photography?
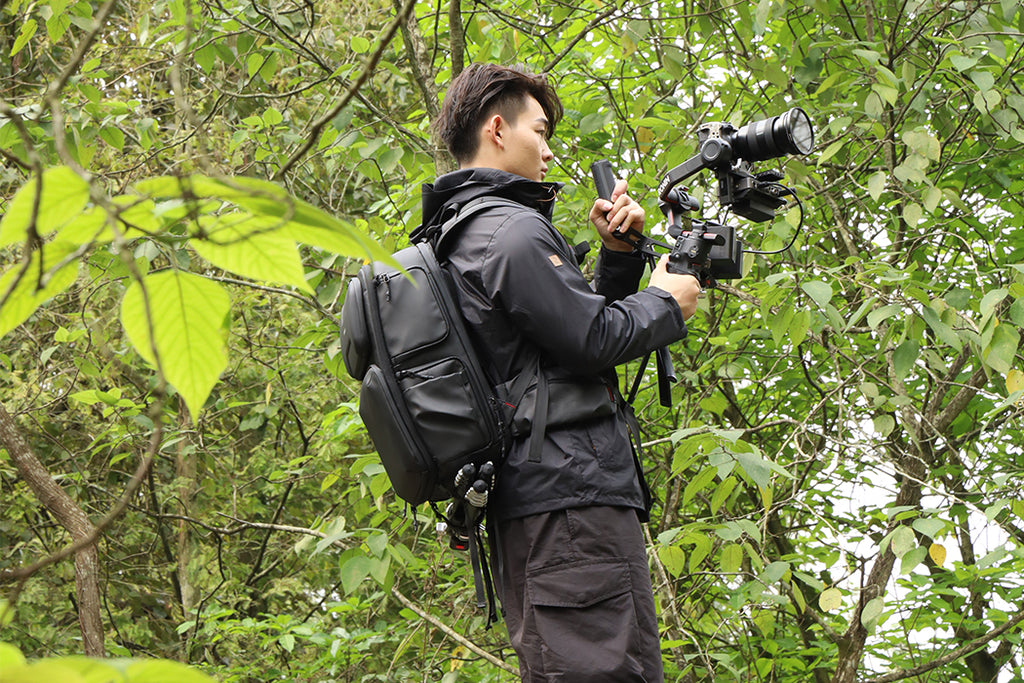
Before you hit the trails, getting familiar with your camera gear is key. Cameras come in all shapes and sizes, each with their own benefits for hiking photography. Let's break it down:
Camera Types
- DSLR: These cameras are known for their high image quality and versatility. However, they can be bulky, which might make them tougher to carry on long hikes.
- Mirrorless: Offering similar quality to DSLRs but in a smaller package, mirrorless cameras are great for saving space and weight.
- Point-and-Shoot: If convenience is your top priority, these cameras are compact and user-friendly, ideal for quick shots without fussing over settings.
- Smartphone: Never underestimate your phone camera. They're always at hand, and the latest models can snap some impressive shots.
Each type has its place on the trail, whether you prioritize image quality, weight, or ease of use.
Lens Selection
- Wide-angle lenses are perfect for capturing vast landscapes, making those mountain vistas look as epic as they feel.
- Telephoto lenses let you zoom in on distant wildlife without disturbing them.
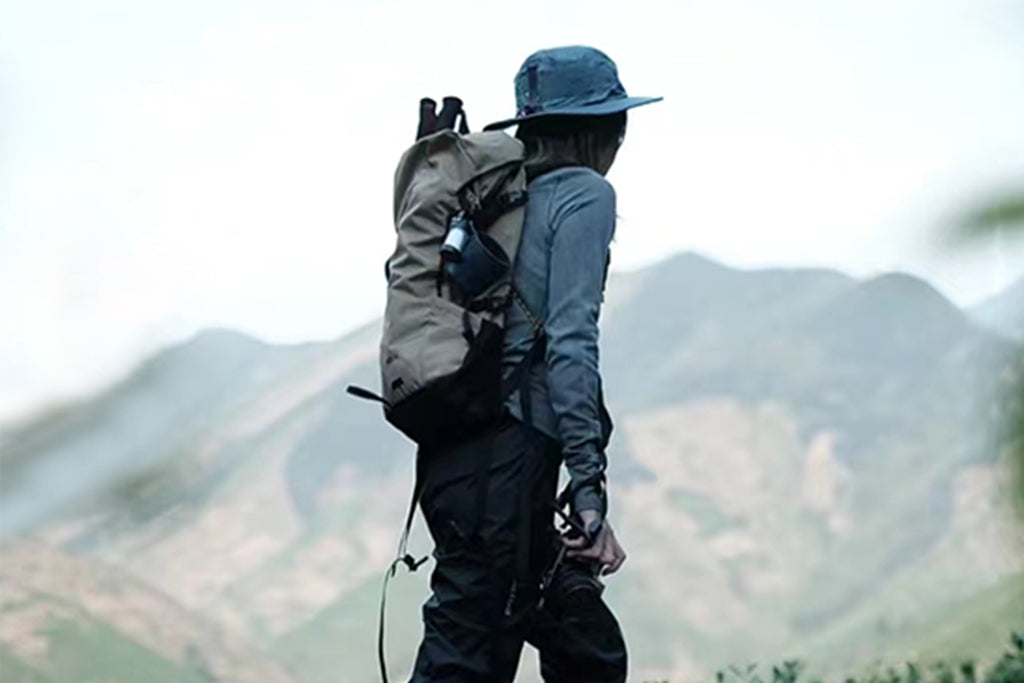
Essential Accessories
- Tripods: A tripod is invaluable when capturing images that require long exposures, such as the silky water of a mountain stream or the serene light at twilight. They come in various weights and sizes, but for hiking, a lightweight, compact, and durable tripod that can easily be attached to a backpack is ideal. Some are even designed with flexible legs to grip uneven surfaces or wrap around objects.
- Monopods: For those who need something even more portable and quick to set up, a monopod is an excellent choice. It offers added stability compared to hand-held shooting, which is crucial for sharpness in your photos, particularly with telephoto lenses where the camera shake is magnified. They're perfect for situations where you need to move frequently, like tracking wildlife or changing viewpoints rapidly.
- Using filters: While touching on tripods and monopods, remember that filters are another accessory that can transform your images. A polarizing filter, for example, can reduce reflections and deepen the blue of the sky, making your landscape photographs more vibrant.
- Batteries: Keep them charged and ready, so when the golden hour paints the sky, your camera is powered up to seize the fleeting light.
- Memory cards: Pack enough capacity, and maybe even a bit more, to hold every high-resolution image without compromise.
- Polarizing filters: Polarizing filters cut through the glare reflecting off water and leaves, allowing the true colors of nature to shine forth.
- Neutral density filters: Neutral density filters give you control over exposure times, facilitating those creamy-smooth shots of daylight streams and waterfalls.
Knowing what gear works best for your style of hiking and photography sets the foundation for amazing photos. Remember, the best camera is the one that you're comfortable carrying and using. So pack your bag, and let's get ready for some incredible photography on the go!
How to Quickly Learn Photography Basics
Taking great photos isn't just about having the right gear; it's also about understanding the basics. Here's a simple breakdown to help you get started:
The Exposure Triangle
- ISO settings: This controls how sensitive your camera is to light. On sunny days, keep it low. If it's overcast or you're under thick trees, bump it up, but watch out for grain in your pictures.
- Aperture: Think of this like the eye of your camera. A wide aperture (a lower f-number) lets in more light and blurs the background. A small aperture (a higher f-number) sharpens the whole scene. It's great for landscapes where you want every detail crisp.
- Shutter speed: This decides how long the camera's shutter stays open. Fast speeds freeze action, perfect for capturing that bird mid-flight. Slower speeds can create a blur effect, showing motion like flowing water.
Composition Techniques
- Rule of thirds: Imagine your image is divided by two horizontal and two vertical lines. Place interesting parts of your scene along those lines or at their intersections to make your photo more engaging.
- Leading lines and natural frames:Use paths, streams, branches, or rocks to draw the eye into your picture or frame it naturally. It gives your photo depth and perspective.
- Foreground interest: A log, a pile of leaves, or any other element close to you can add a sense of scale and intrigue to your shots.
These basics are your toolkit for turning what you see on your hike into beautiful photographs. They may seem simple, but they're powerful techniques that professional photographers use all the time. With these skills in your back pocket, you'll be ready to take on any trail with confidence and creativity.
How to Plan Your Hiking Photography
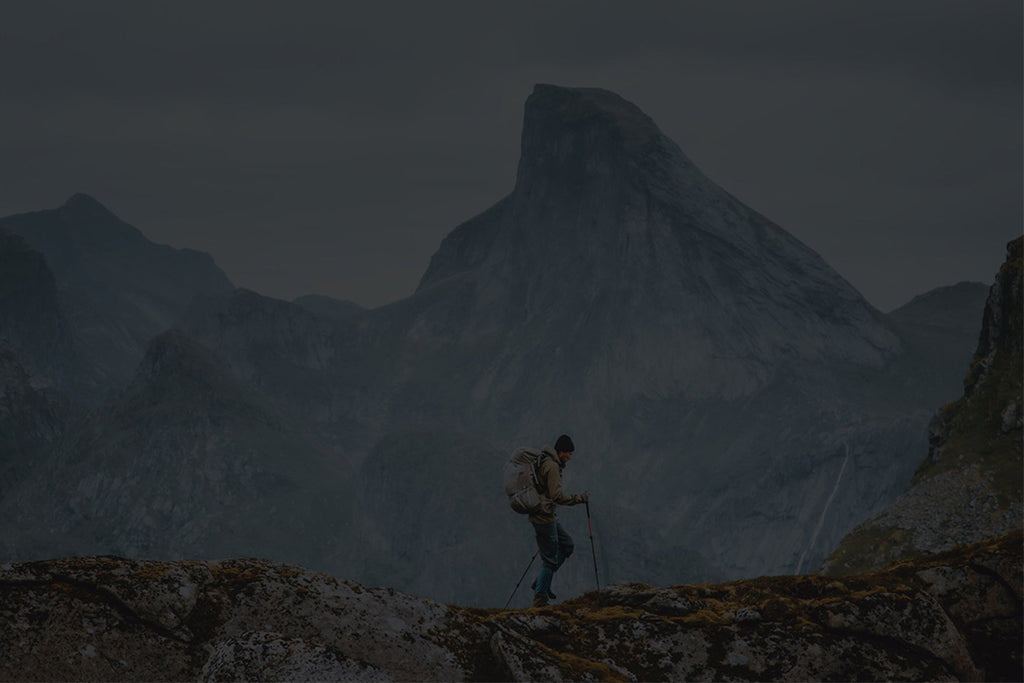
A little planning can go a long way in making sure you get those frame-worthy shots. Here's how to set yourself up for success:
Researching Locations
- Scouting vistas and landmarks:Look up the trail ahead of time and note any scenic spots or landmarks that might make for a great photo. Online maps and hiking apps can be super helpful for this.
- Timing for golden hour and blue hour shots: The soft light at sunrise and sunset, known as the golden hour, gives everything a warm glow. Right before sunrise and after sunset, the blue hour offers a cool, ethereal light. Plan to be at scenic spots during these times for magical lighting.
Weather Considerations
- Dealing with unpredictable weather: Weather can change quickly outdoors, so check the forecast. A waterproof camera bag can save the day if rain sneaks up on you.
- Best practices for rain and snow: If it's wet or cold, keep your camera under wraps until you're ready to shoot. Hand warmers can help keep batteries from draining too fast in the cold.
Safety Measures
- Protecting your gear:A sturdy camera strap will prevent drops, and lens caps are a must to protect against scratches.
- Navigating trails safely while carrying photography equipment: Make sure your backpack is comfortable and adjusts to distribute the weight evenly. It keeps you safe and less tired on the trail.
By taking the time to research and prepare, you'll not only enjoy your hike more but you'll also be in the right place at the right moment to take stunning photos. Whether it's capturing the early morning mist over the mountains or a clear night sky, good planning means you won't miss out.
Which Shooting Techniques Work Best for Different Hiking Subjects?
Capturing the essence of your hike involves understanding how to best photograph the variety of subjects you'll encounter. Here's how to adapt your approach:
Landscape Photography
- Capturing vastness and scale:Use a wide-angle lens to encompass as much of the scene as possible. Find a point of interest, like a lone tree or a rock formation, to give your photo scale and depth.
- HDR and panorama techniques:High Dynamic Range (HDR) photography allows you to capture more details in both the shadows and highlights. Panoramas can show the full glory of a landscape by stitching together multiple shots into one wide photo.
Wildlife Photography
- Ethical considerations and distance:Always respect wildlife by keeping a safe distance. Use a telephoto lens to get close-up shots without disturbing the animals.
- Patience and quietness as key factors: Wildlife moments can be fleeting, so patience is crucial. Move quietly and keep an eye out for opportunities without causing stress to the animals.
Macro Photography
- Discovering the micro world of nature: Tiny details can make for fascinating subjects. Flowers, insects, or raindrops on leaves can reveal a whole world when viewed up close.
- Focusing techniques for close-ups:Manual focus often offers better control for macro shots. Adjust your aperture to ensure your subject is in sharp focus while softly blurring the background.
Each type of photography has its own charm and challenges. Whether you're capturing the grandeur of a landscape, the delicate details of a leaf, or the sudden appearance of a wild deer, knowing these techniques will help you create powerful, vivid images that bring your outdoor experiences to life.
How to Overcome Common Photography Challenges on Hikes When Shooting Outdoors

Out in the wild, you're bound to encounter a few hurdles that test your photography skills. Here's how to handle some common ones:
Dealing with Difficult Lighting
- High contrast situations: When the light varies greatly in a scene, like a bright sky against a dark forest, use your camera's HDR mode or bracketing function. This lets you take multiple shots at different exposures and combine them later for an even exposure throughout.
- Low light techniques: For those dimly lit moments at dawn, dusk, or under heavy canopy, stabilize your camera on a tripod and slow down your shutter speed to let more light in. Remember, a remote or timer can help avoid camera shake.
Moving Subjects
- Adjusting settings for dynamic captures: If you're trying to photograph something moving, like a bird in flight or a waterfall, play with your shutter speed. A faster shutter can freeze motion, while a slower one can create a sense of flow and movement.
- Panning methods: Panning involves moving the camera along in time with the moving subject and can result in a sharp subject against a blurred background, conveying speed and action.
Crowded Landscapes
- Finding unique angles: Try looking for new perspectives if a spot is crowded. Get low to the ground for a fresh angle or find a natural feature to frame your shot and block out people.
- Early starts to avoid crowds: An early start often means you get the place to yourself. Plus, morning light can add a special quality to your images that you don't get at other times of the day.
Photography, like hiking, often throws unexpected challenges your way. Stay flexible, creative, and patient. You'll not only come back with great photos but also stories about how you got them!
How to Keep Safe and Respectful When Photographing on Trails
Staying Safe While Snapping Shots
Before you go hiking, take some time to look up information about the trail. Understanding the length, terrain, and any unique challenges can help you prepare. Pack a backpack with safety essentials, like a first aid kit for minor injuries, extra snacks and water to stay energized, and a charged phone or GPS device so you can call for help if you need it. When you're on the hike, follow the trails that have been marked out. These are set paths designed to guide hikers safely through the area while also protecting the landscape from being damaged by foot traffic.
Wildlife Photography Do's and Don'ts
When you spot wildlife, it's important to keep your distance to avoid disturbing them. Use a camera with a zoom lens to get a close-up shot without getting physically close. You should never feed wild animals because it can interfere with their natural diet and survival skills. Also, using your camera's flash can frighten animals, so it's best to rely on natural light for your wildlife photos. This approach helps ensure that animals can continue their normal behavior even when they are subjects of photography.
Caring for Nature as You Click
Nature is both a beautiful subject for photography and a delicate ecosystem that needs protection. Make sure you carry any trash you create back out with you. Even something as small as a wrapper can be harmful to wildlife and unsightly for other visitors. Always walk on the established trails, which helps protect plant life and prevents soil erosion. If you're setting up a tripod to take a photo, do so gently and carefully to avoid damaging the terrain or plants around you.
Taking Photos with Heart and Respect
Photographing locations with cultural, historical, or spiritual importance requires sensitivity. Always act with respect, and follow any posted rules. In some places, you might need to get a permit before you can take photos; make sure you do this to avoid legal issues and to show respect for the site. Be mindful about sharing the location of a sensitive area online. When too many people visit a single location, especially one that's off the beaten path, it can lead to damage and spoil the experience for others.
From Peaks to Pictures: Creating Lasting Memories of Your Hikes
Going on a hike and taking pictures is all about having fun and keeping those special moments alive. We've talked about all the camera stuff and how to take a great shot, but really, the most important thing is to enjoy the walk and the views. Remember to take your camera, be ready for anything, and take pictures that tell your adventure's story. Grab your gear and hit the trail, ready to snap those awesome sights and memories that'll stick with you long after your boots are off and you're back home.